
As a Mac user, you may be pondering over utilizing Windows 10 on your device. Although Macs are inherently built to operate using the macOS system, there are instances when the need or desire for using Windows prevails. Fortunately, with Boot Camp, the installation and usage of Windows 10 on a Mac becomes a straightforward task.
Boot Camp is a utility that comes pre-installed on every Mac. It allows you to partition your Mac’s hard drive so you can install and run Windows 10 alongside macOS. That way, you can use all the features and apps of Windows 10 while still having access to all your favorite Mac apps.
However, not every Mac model supports Boot Camp. M1 and M2 chip Macs don’t support Boot Camp, so if you have one of those models, you’ll need to find another way to use Windows 10/11 on your Mac. Click here to see more…
In this post, we’ll show you how to use Boot Camp to install Windows 10 on your Mac and also give you some tips on how to make the most of using both macOS and Windows 10 on the same computer.
My Expereience with Windows 10 on my Mac
I’ve been using Windows 10 on my MacBook Pro for a few weeks now, and I have to say that I’m really happy with it. The biggest advantage that Windows has over MacOS is the ability to run all the different apps and programs that I need for work.
It took me around 40 minutes to get Windows 10 up and running on my Mac. The process was pretty straightforward and didn’t require me to do use a USB drive or anything like that.
Installing Windows 10 on a Mac using Boot Camp
Here Is What You Need
To install Windows 10 on your Mac using Boot Camp, you’ll need the following:
– A copy of the Windows 10 installation media (.ISO). You can download this from Microsoft’s website.
– You need to have at least 60GB of free storage space on your Mac’s hard drive. Windows 10 takes up around 25-30GB of space, so you need to make sure you have enough room for both operating systems.
– Intel-based Macs, if you not sure if your Mac qualifies, check here.
– Power adapter, you’ll need this to keep your Mac charged during the installation process.
No products found.
Download Windows 10 ISO From Microsoft’s Website
The first thing you need to do is download the Windows 10 installation media from Microsoft’s website.
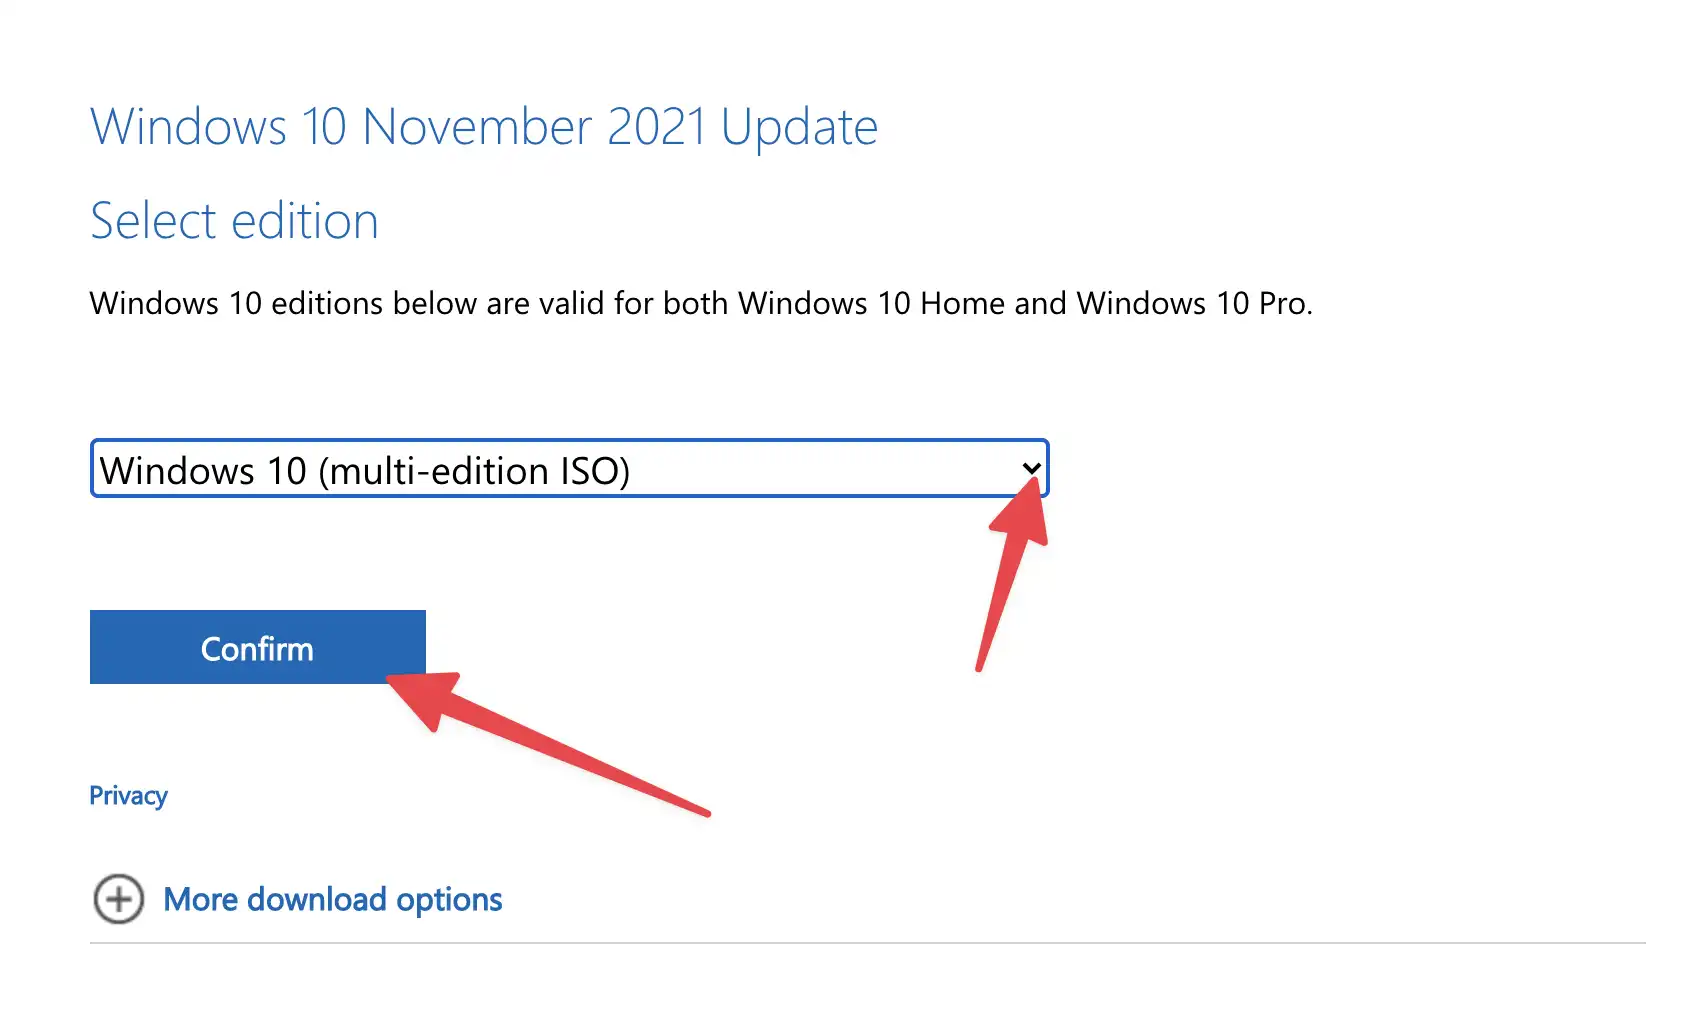
1. On Mac, open Safari and go to Microsoft’s Windows 10 download page.
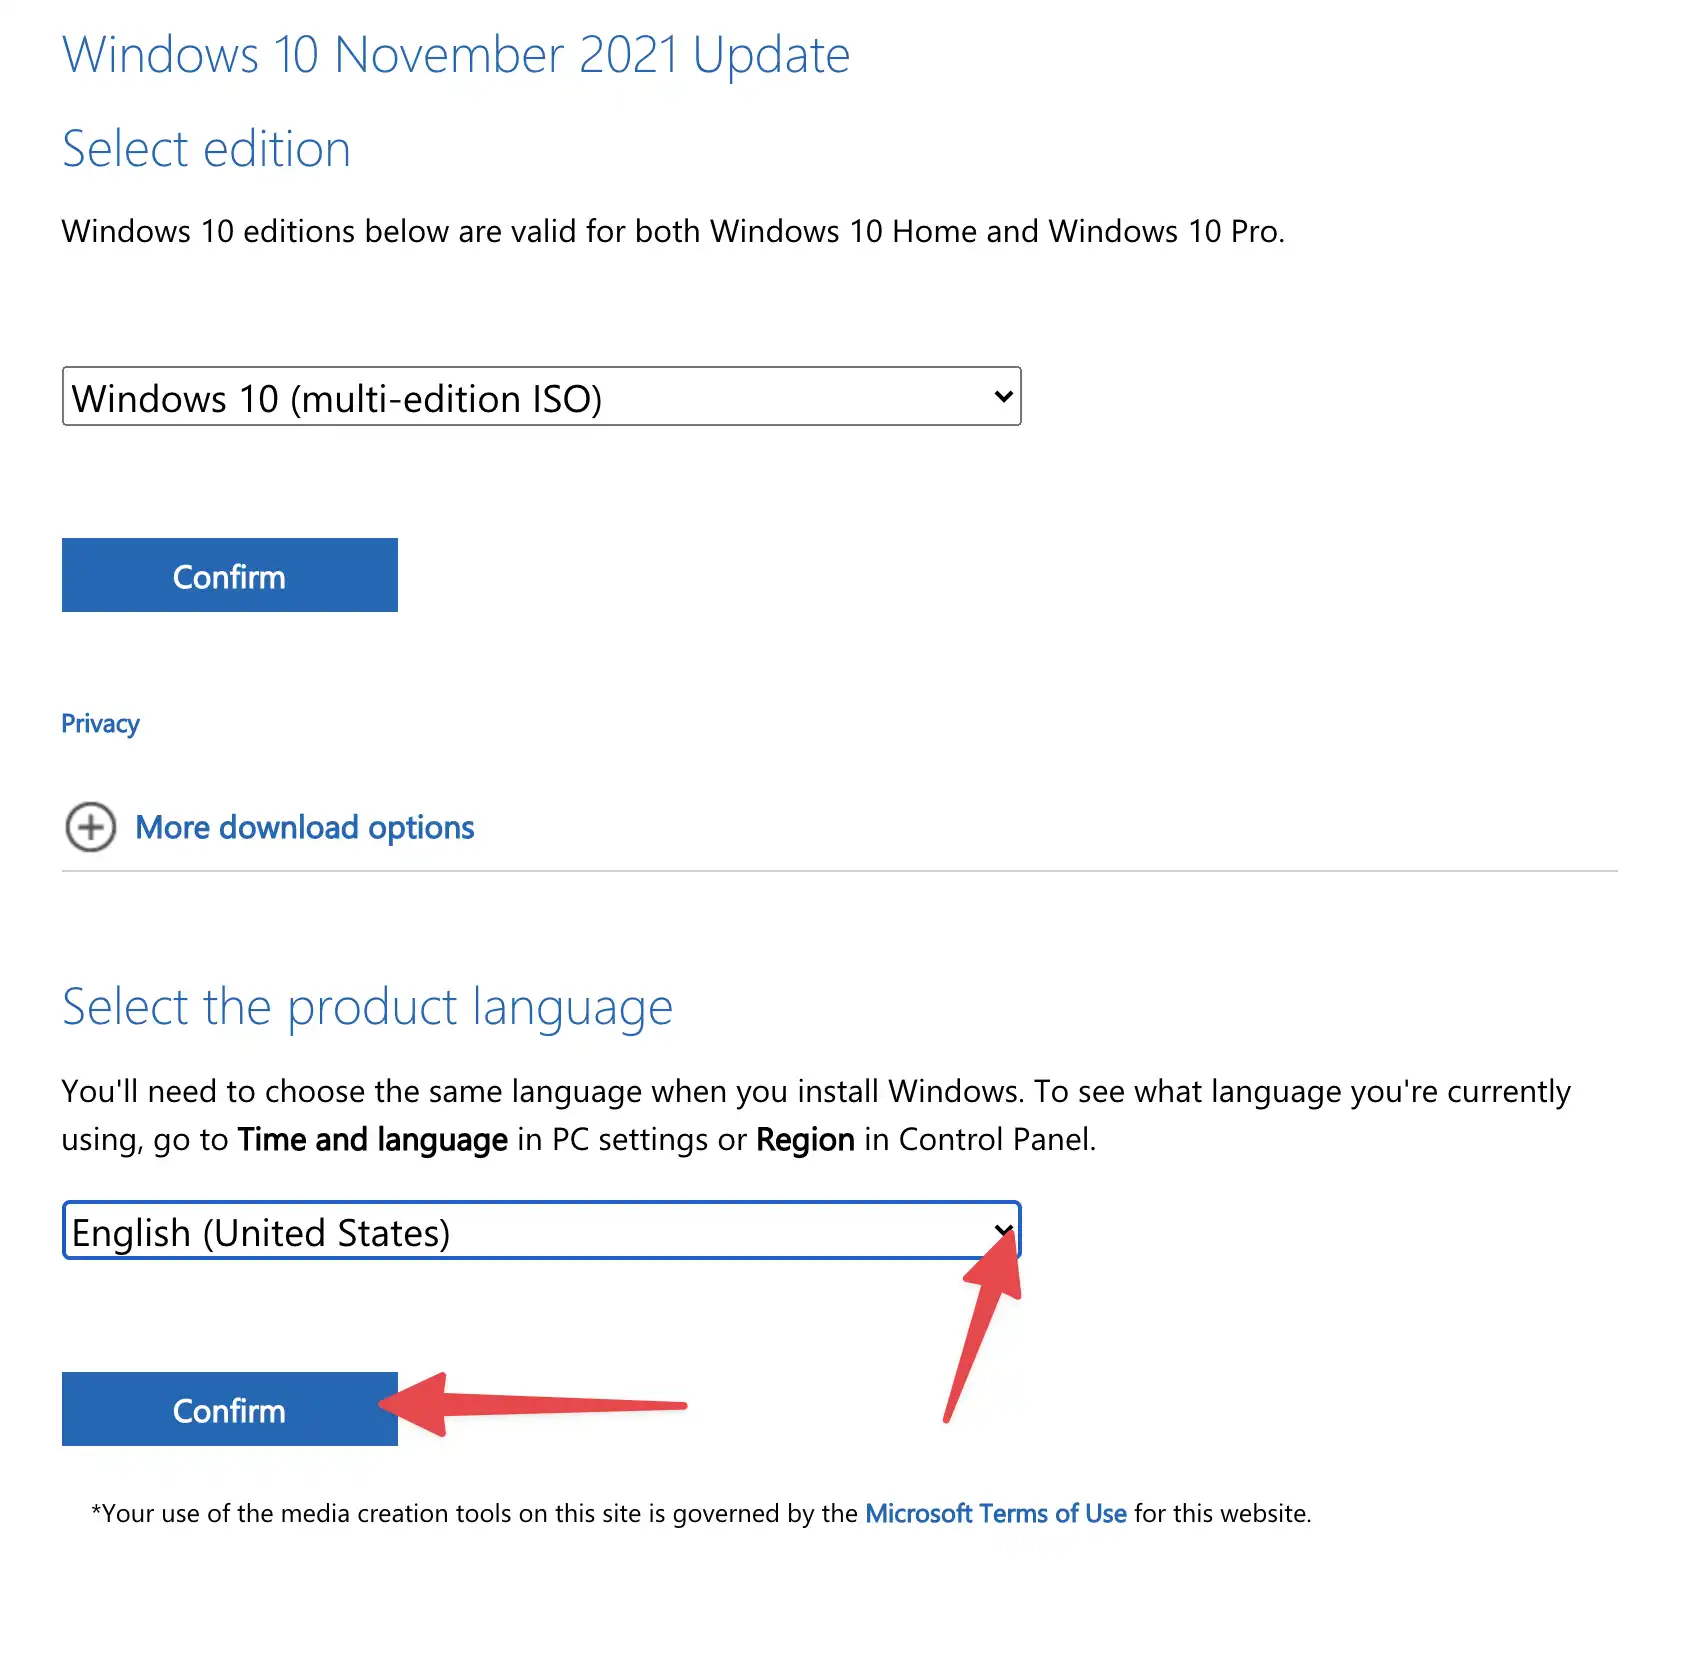
2. From Select Edition, select Windows 10 (multi-edition ISO) and then click on Confirm.
3. Continue with the on-screen instructions to complete the download. From Select the product language, select English or the language of your choice and then click on Confirm.
4. On the next screen, select the 64-bit or 32-bit version of Windows 10, depending on which version you want to install. Of course, 64-bit is recommended for most Macs.
Wait for the Windows 10 .ISO file to download. It should take a few minutes depending on your internet connection.
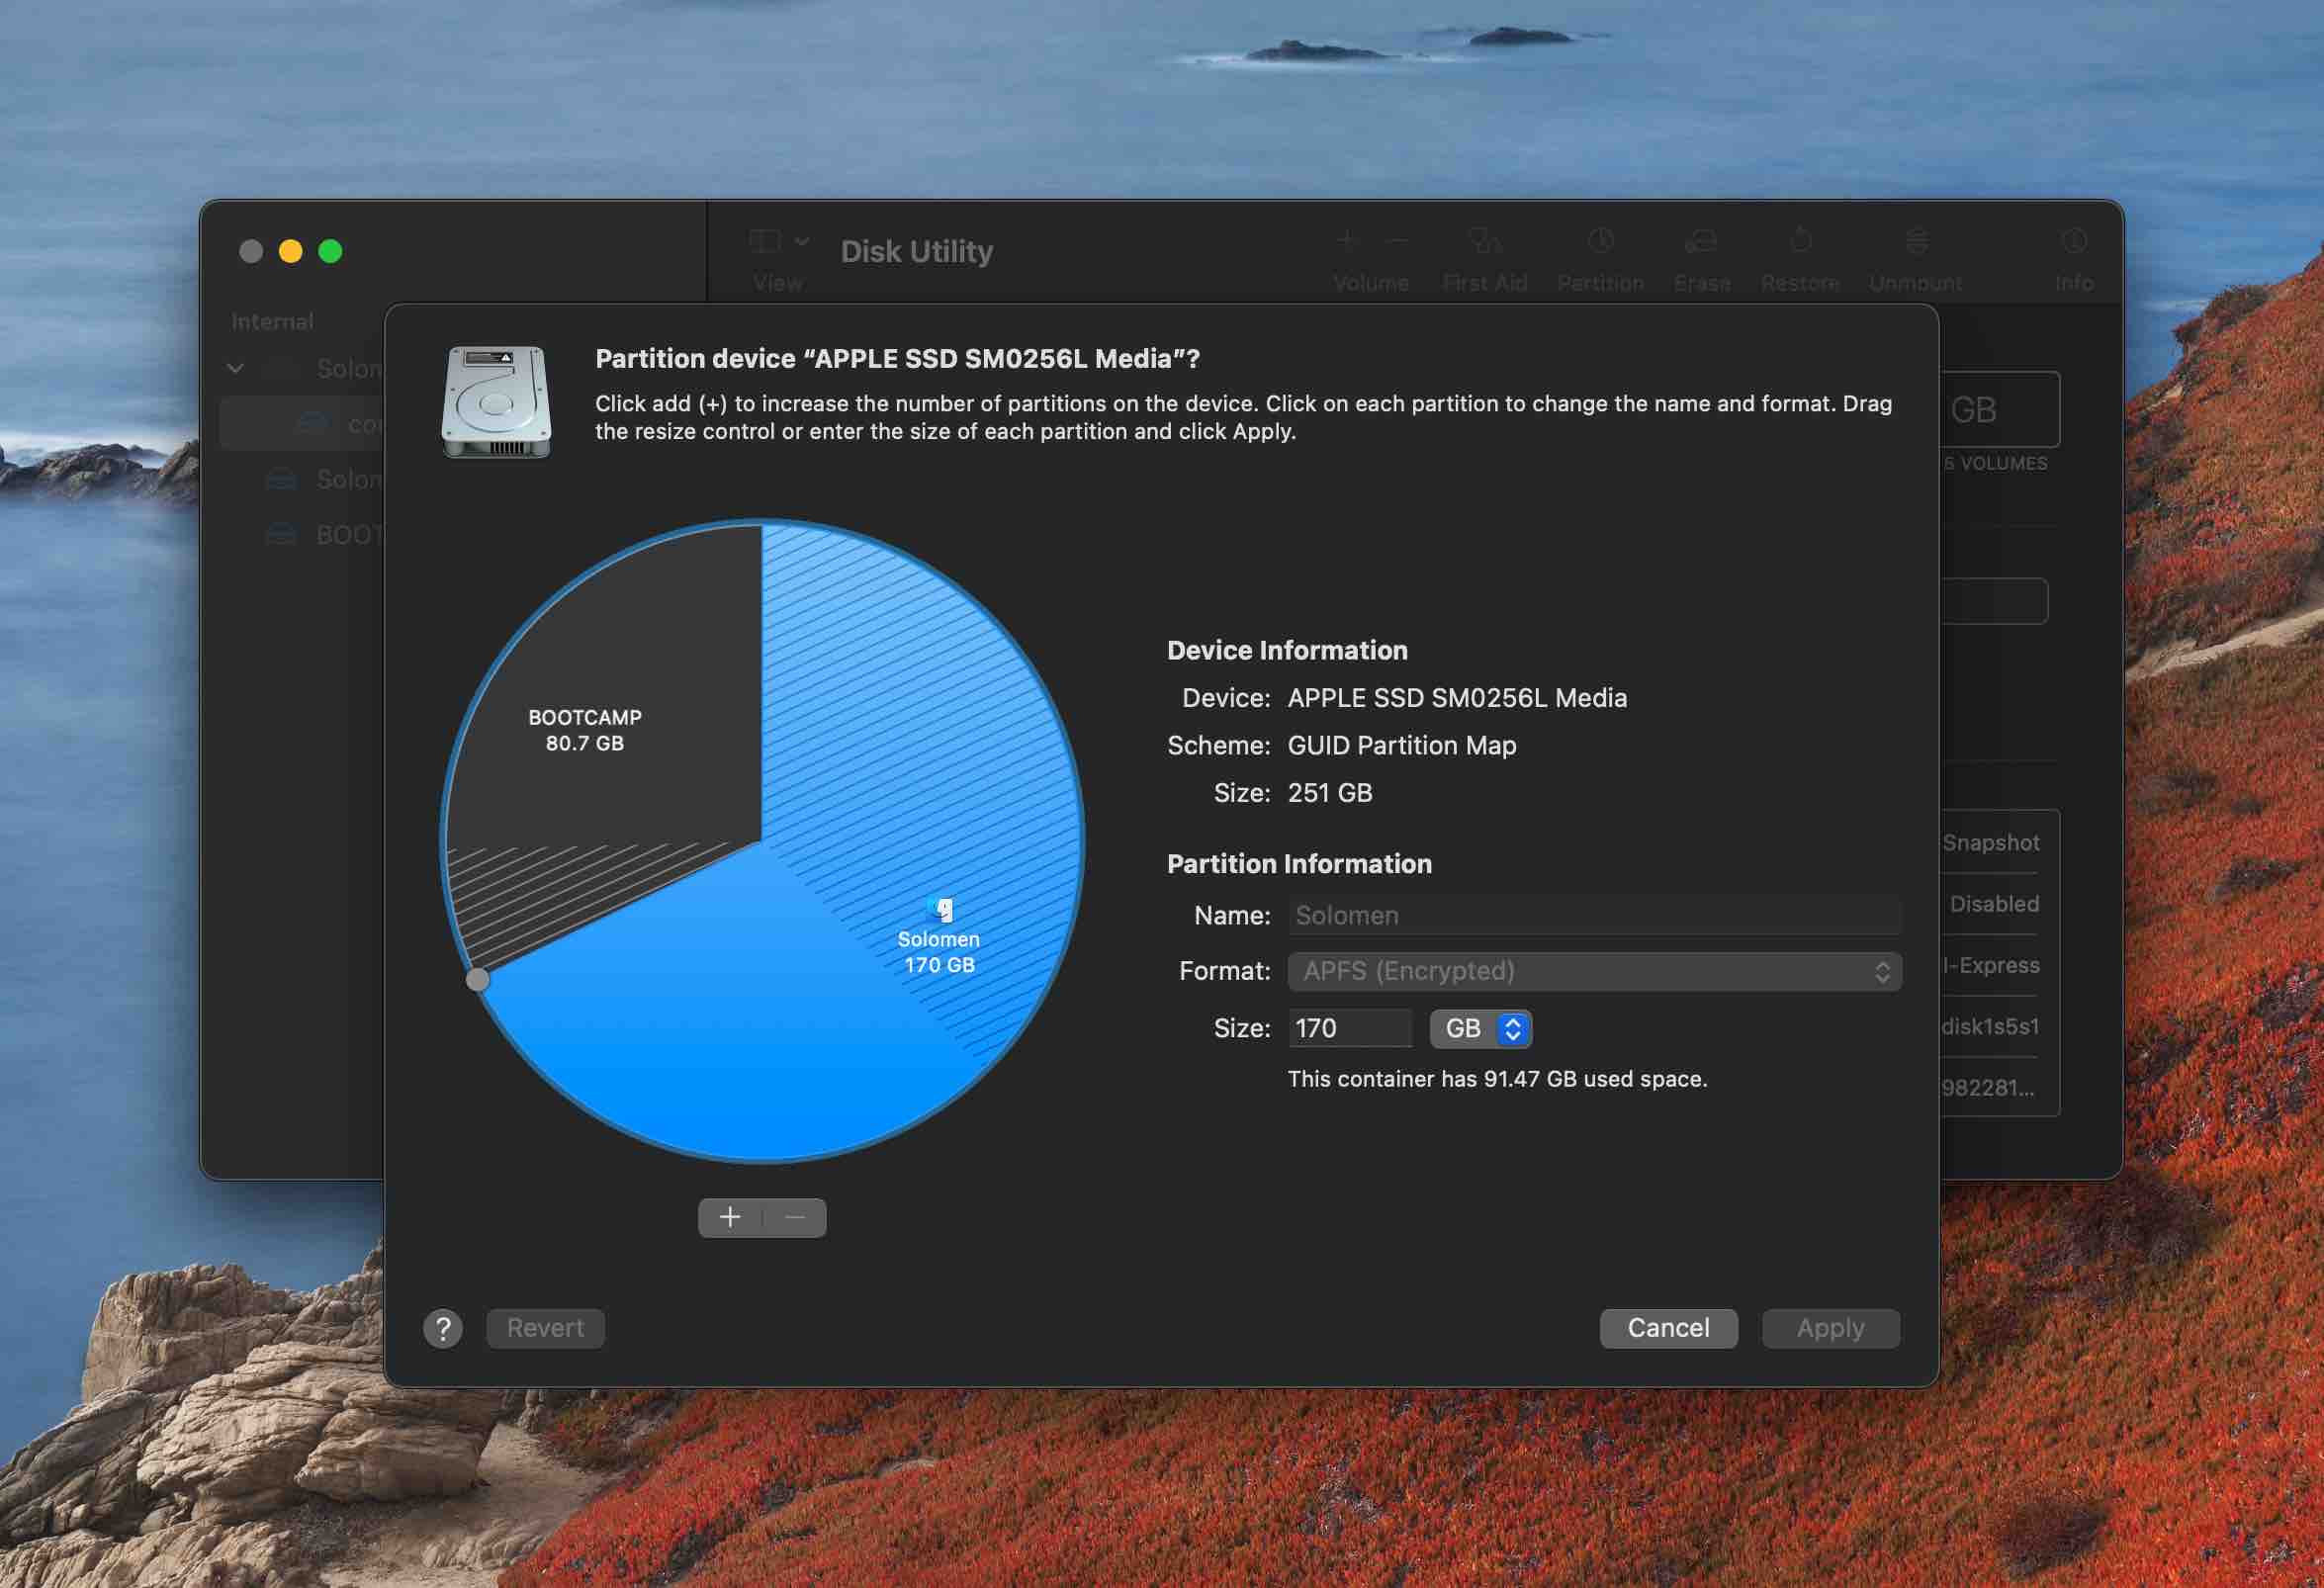
Delete the partition on your Mac’s hard drive
Important: You need to do a backup of your Mac before proceeding any further. This is because partitioning your Mac’s hard drive will delete all the data on it.
You can use an external hard drive for Mac or Time Machine for backing up your Mac. Once you have a backup, you can proceed with the guide below to partition your Mac’s hard drive.
If you have more than one partition on your Mac’s hard drive, you need to delete them before you can install Windows 10.
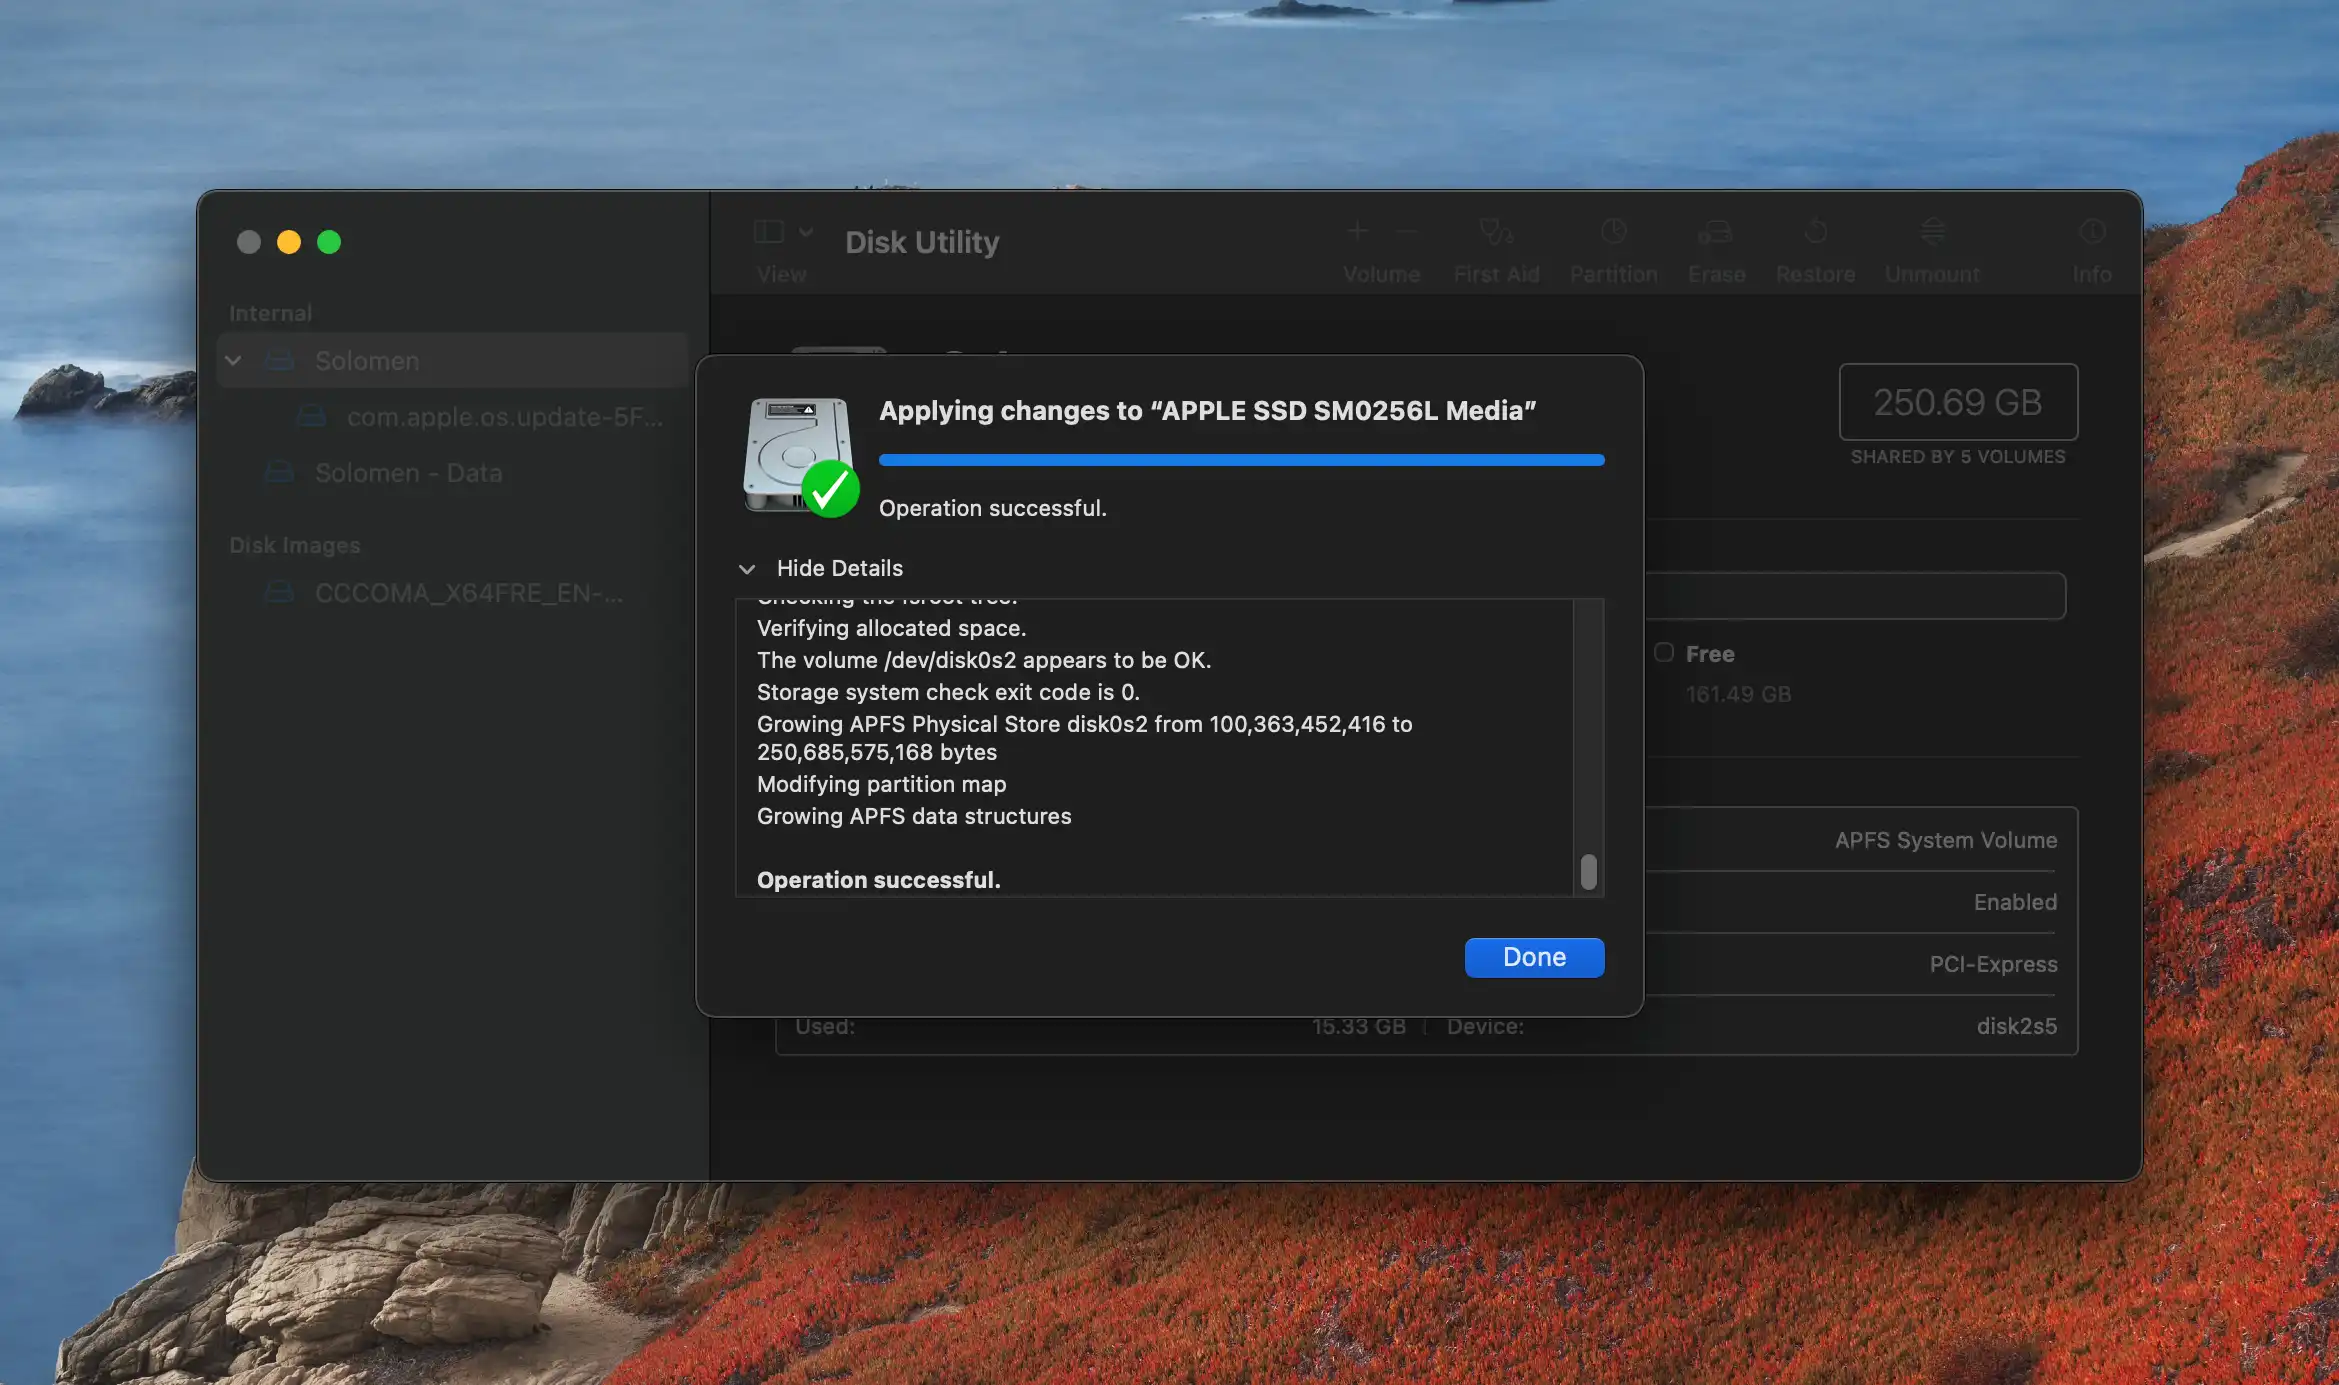
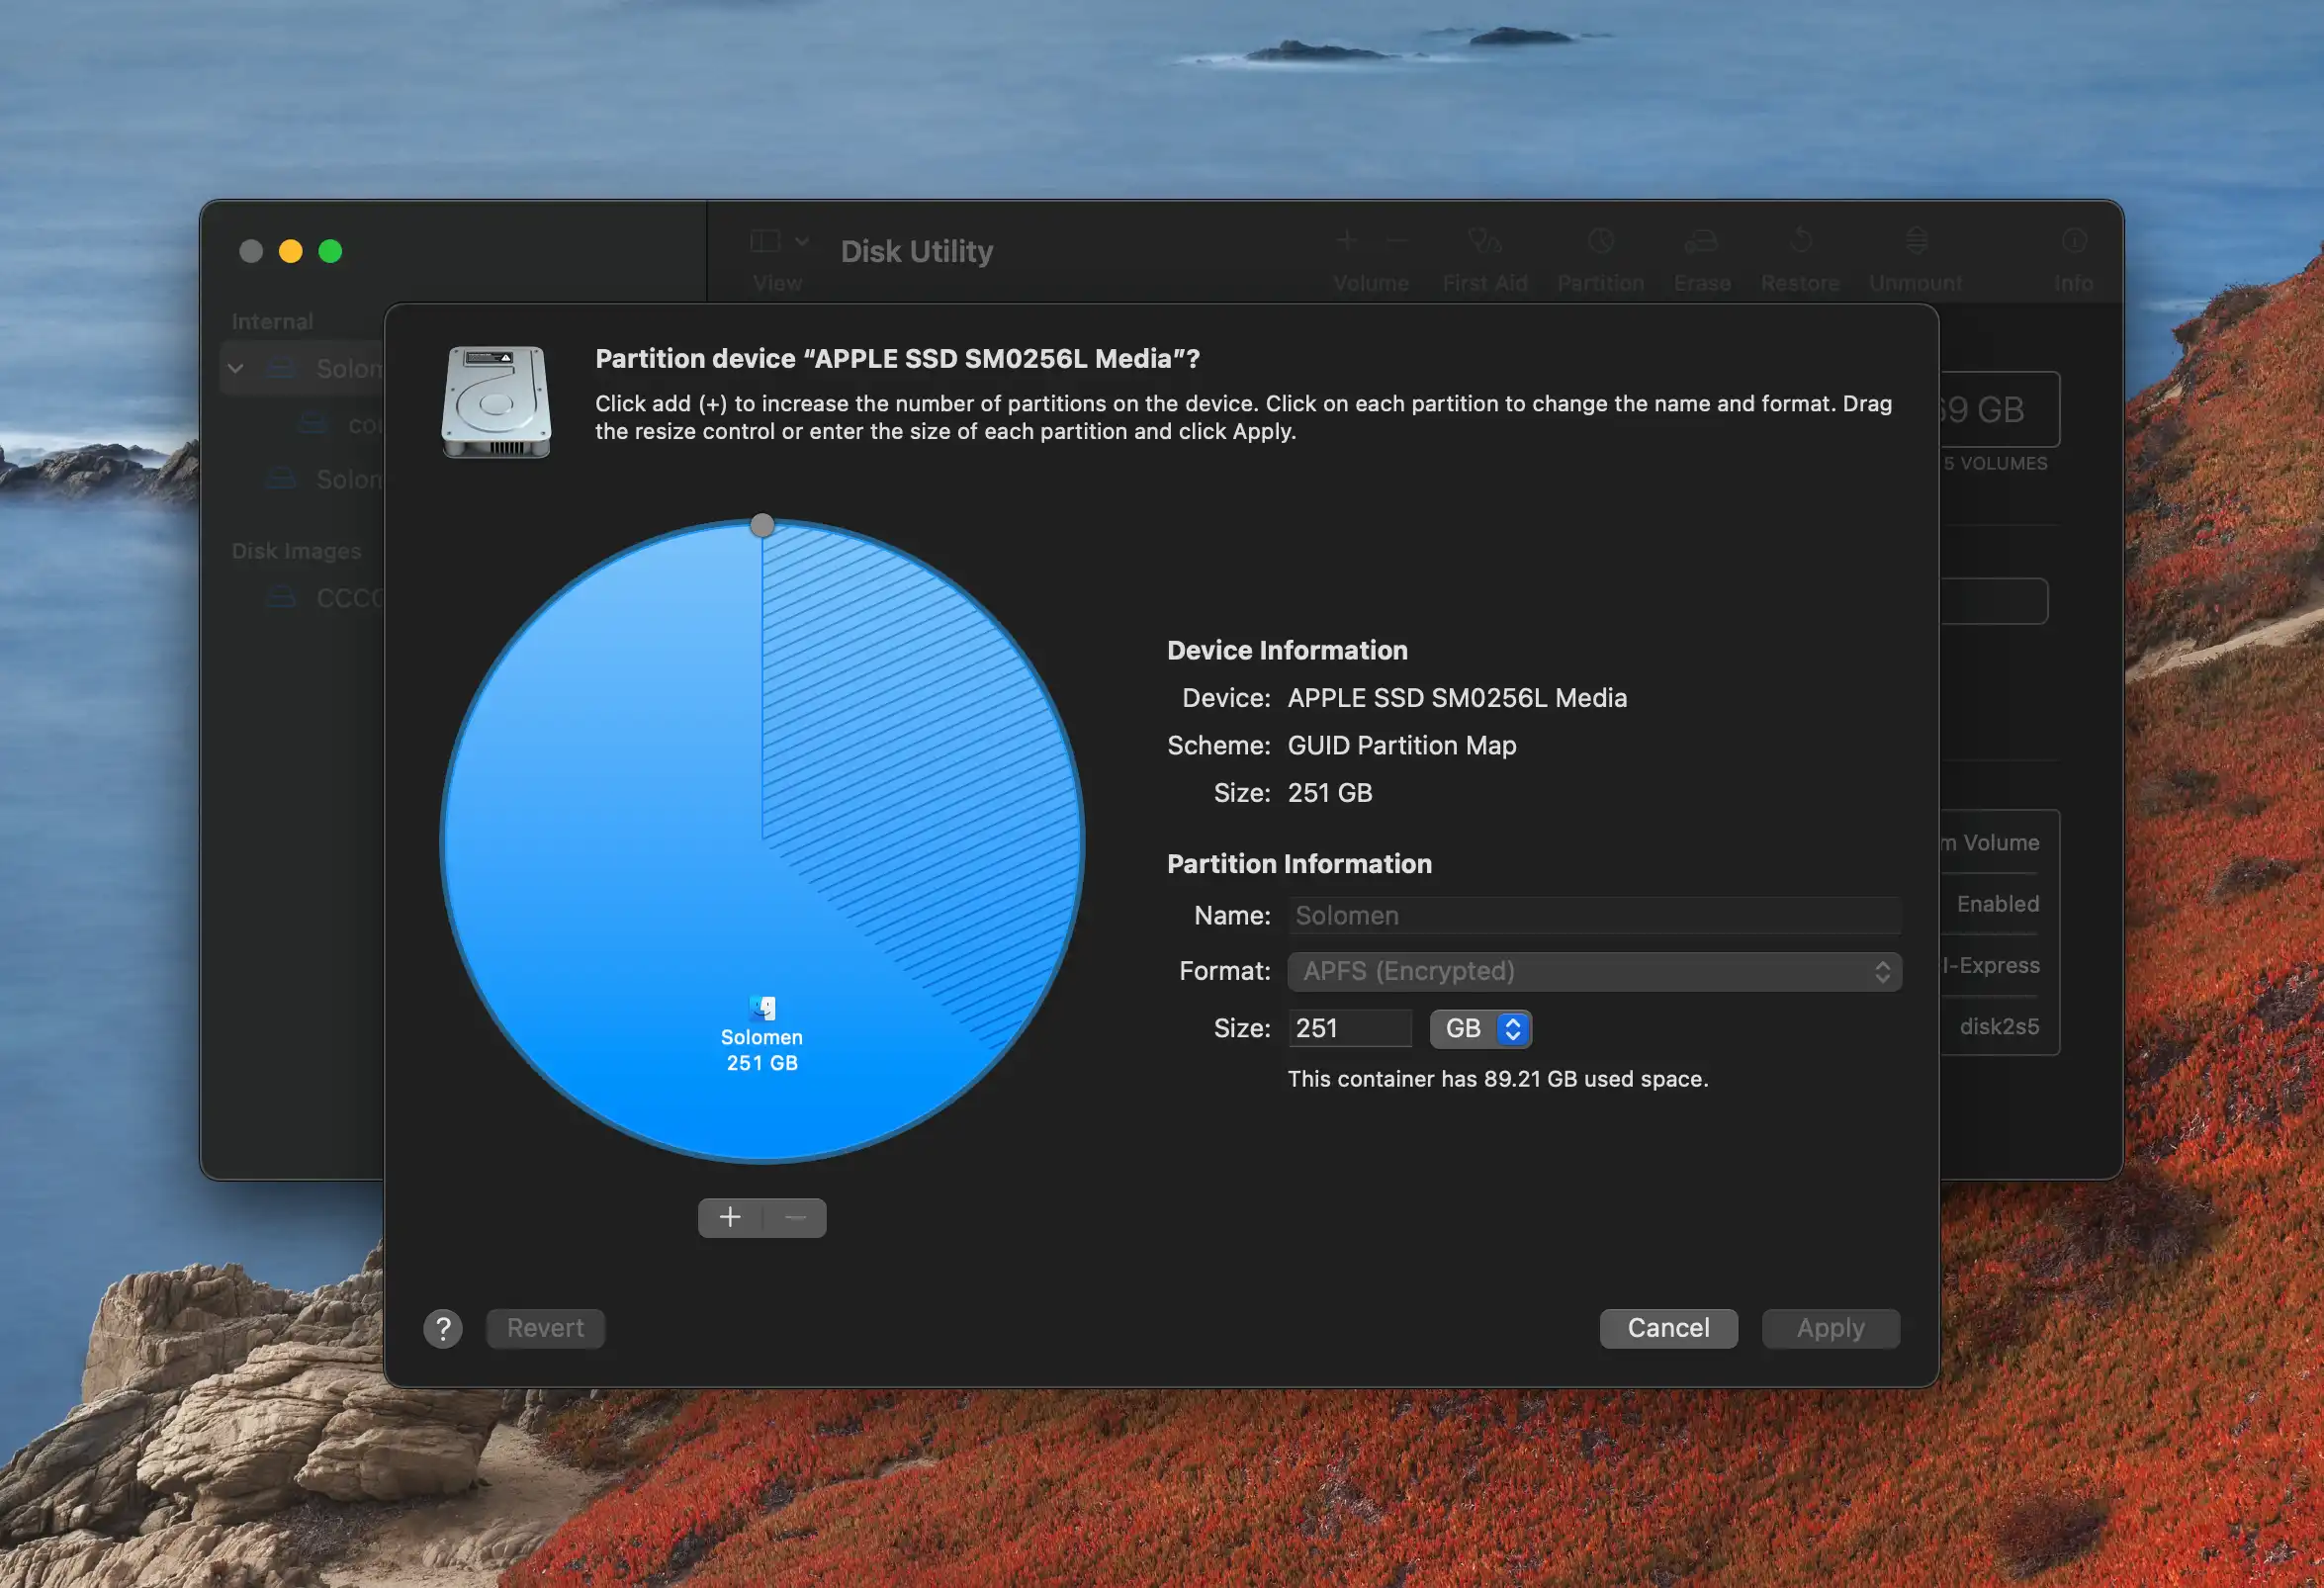
1. On your Mac, open Disk Utility (you can find this in the Utilities folder).
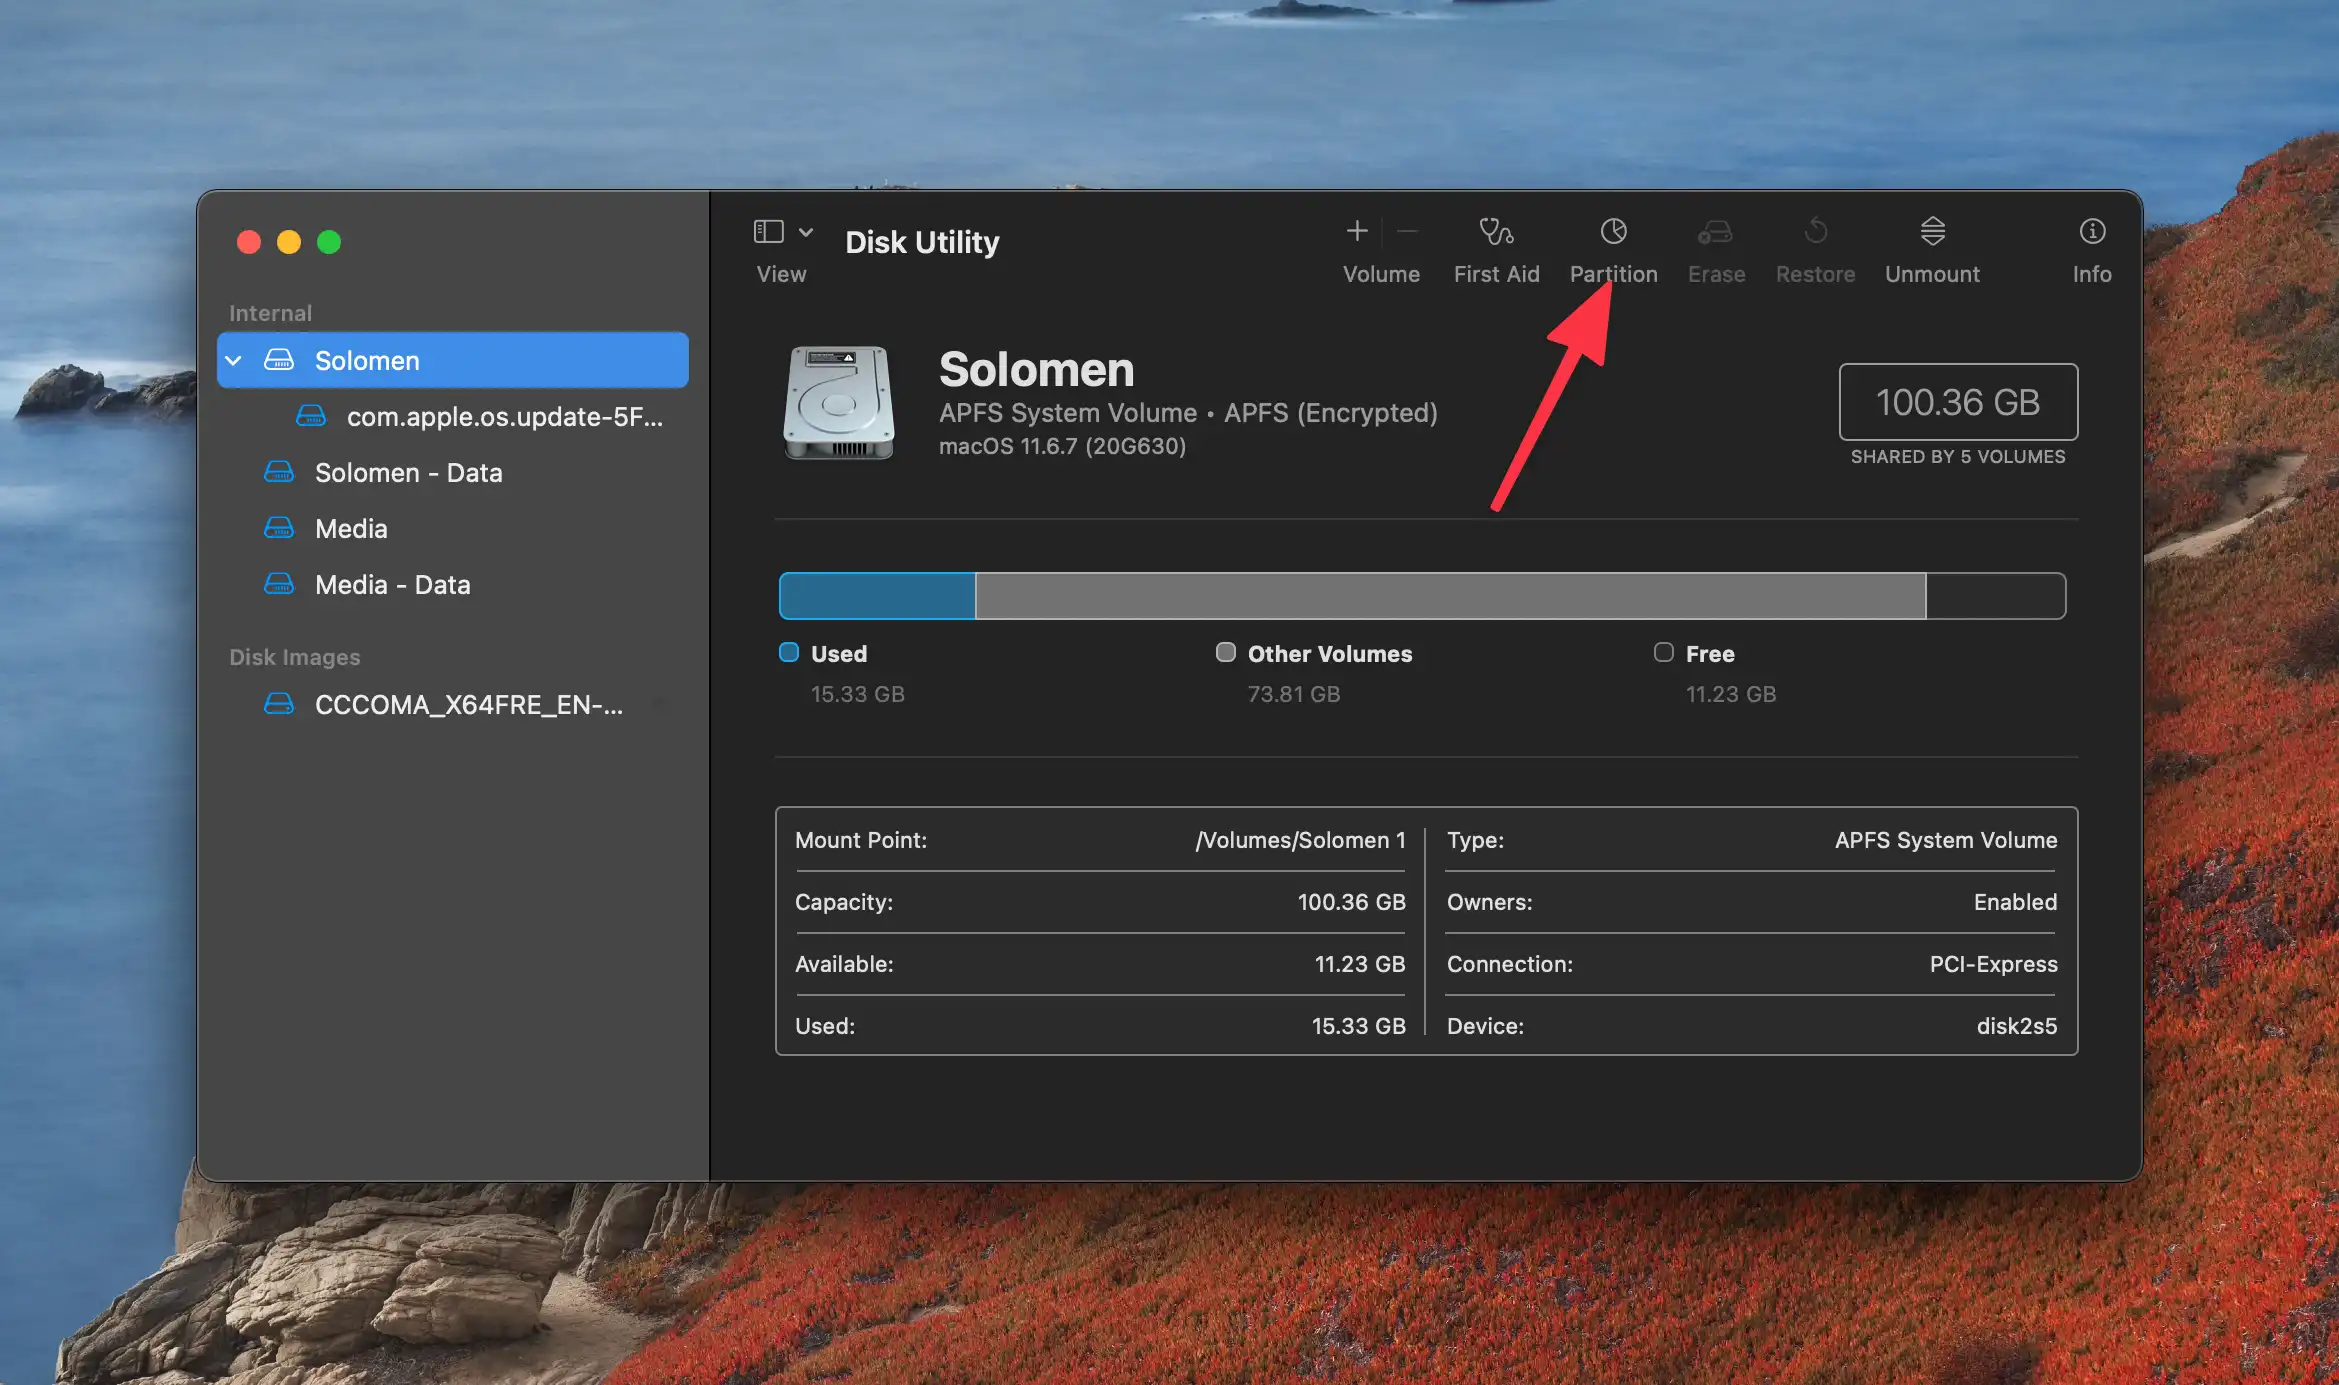
2. Select the partition that you want to delete and click on the Delete (-) button.
Select Apply.

3. Confirm the deletion by clicking on the Partition button again.
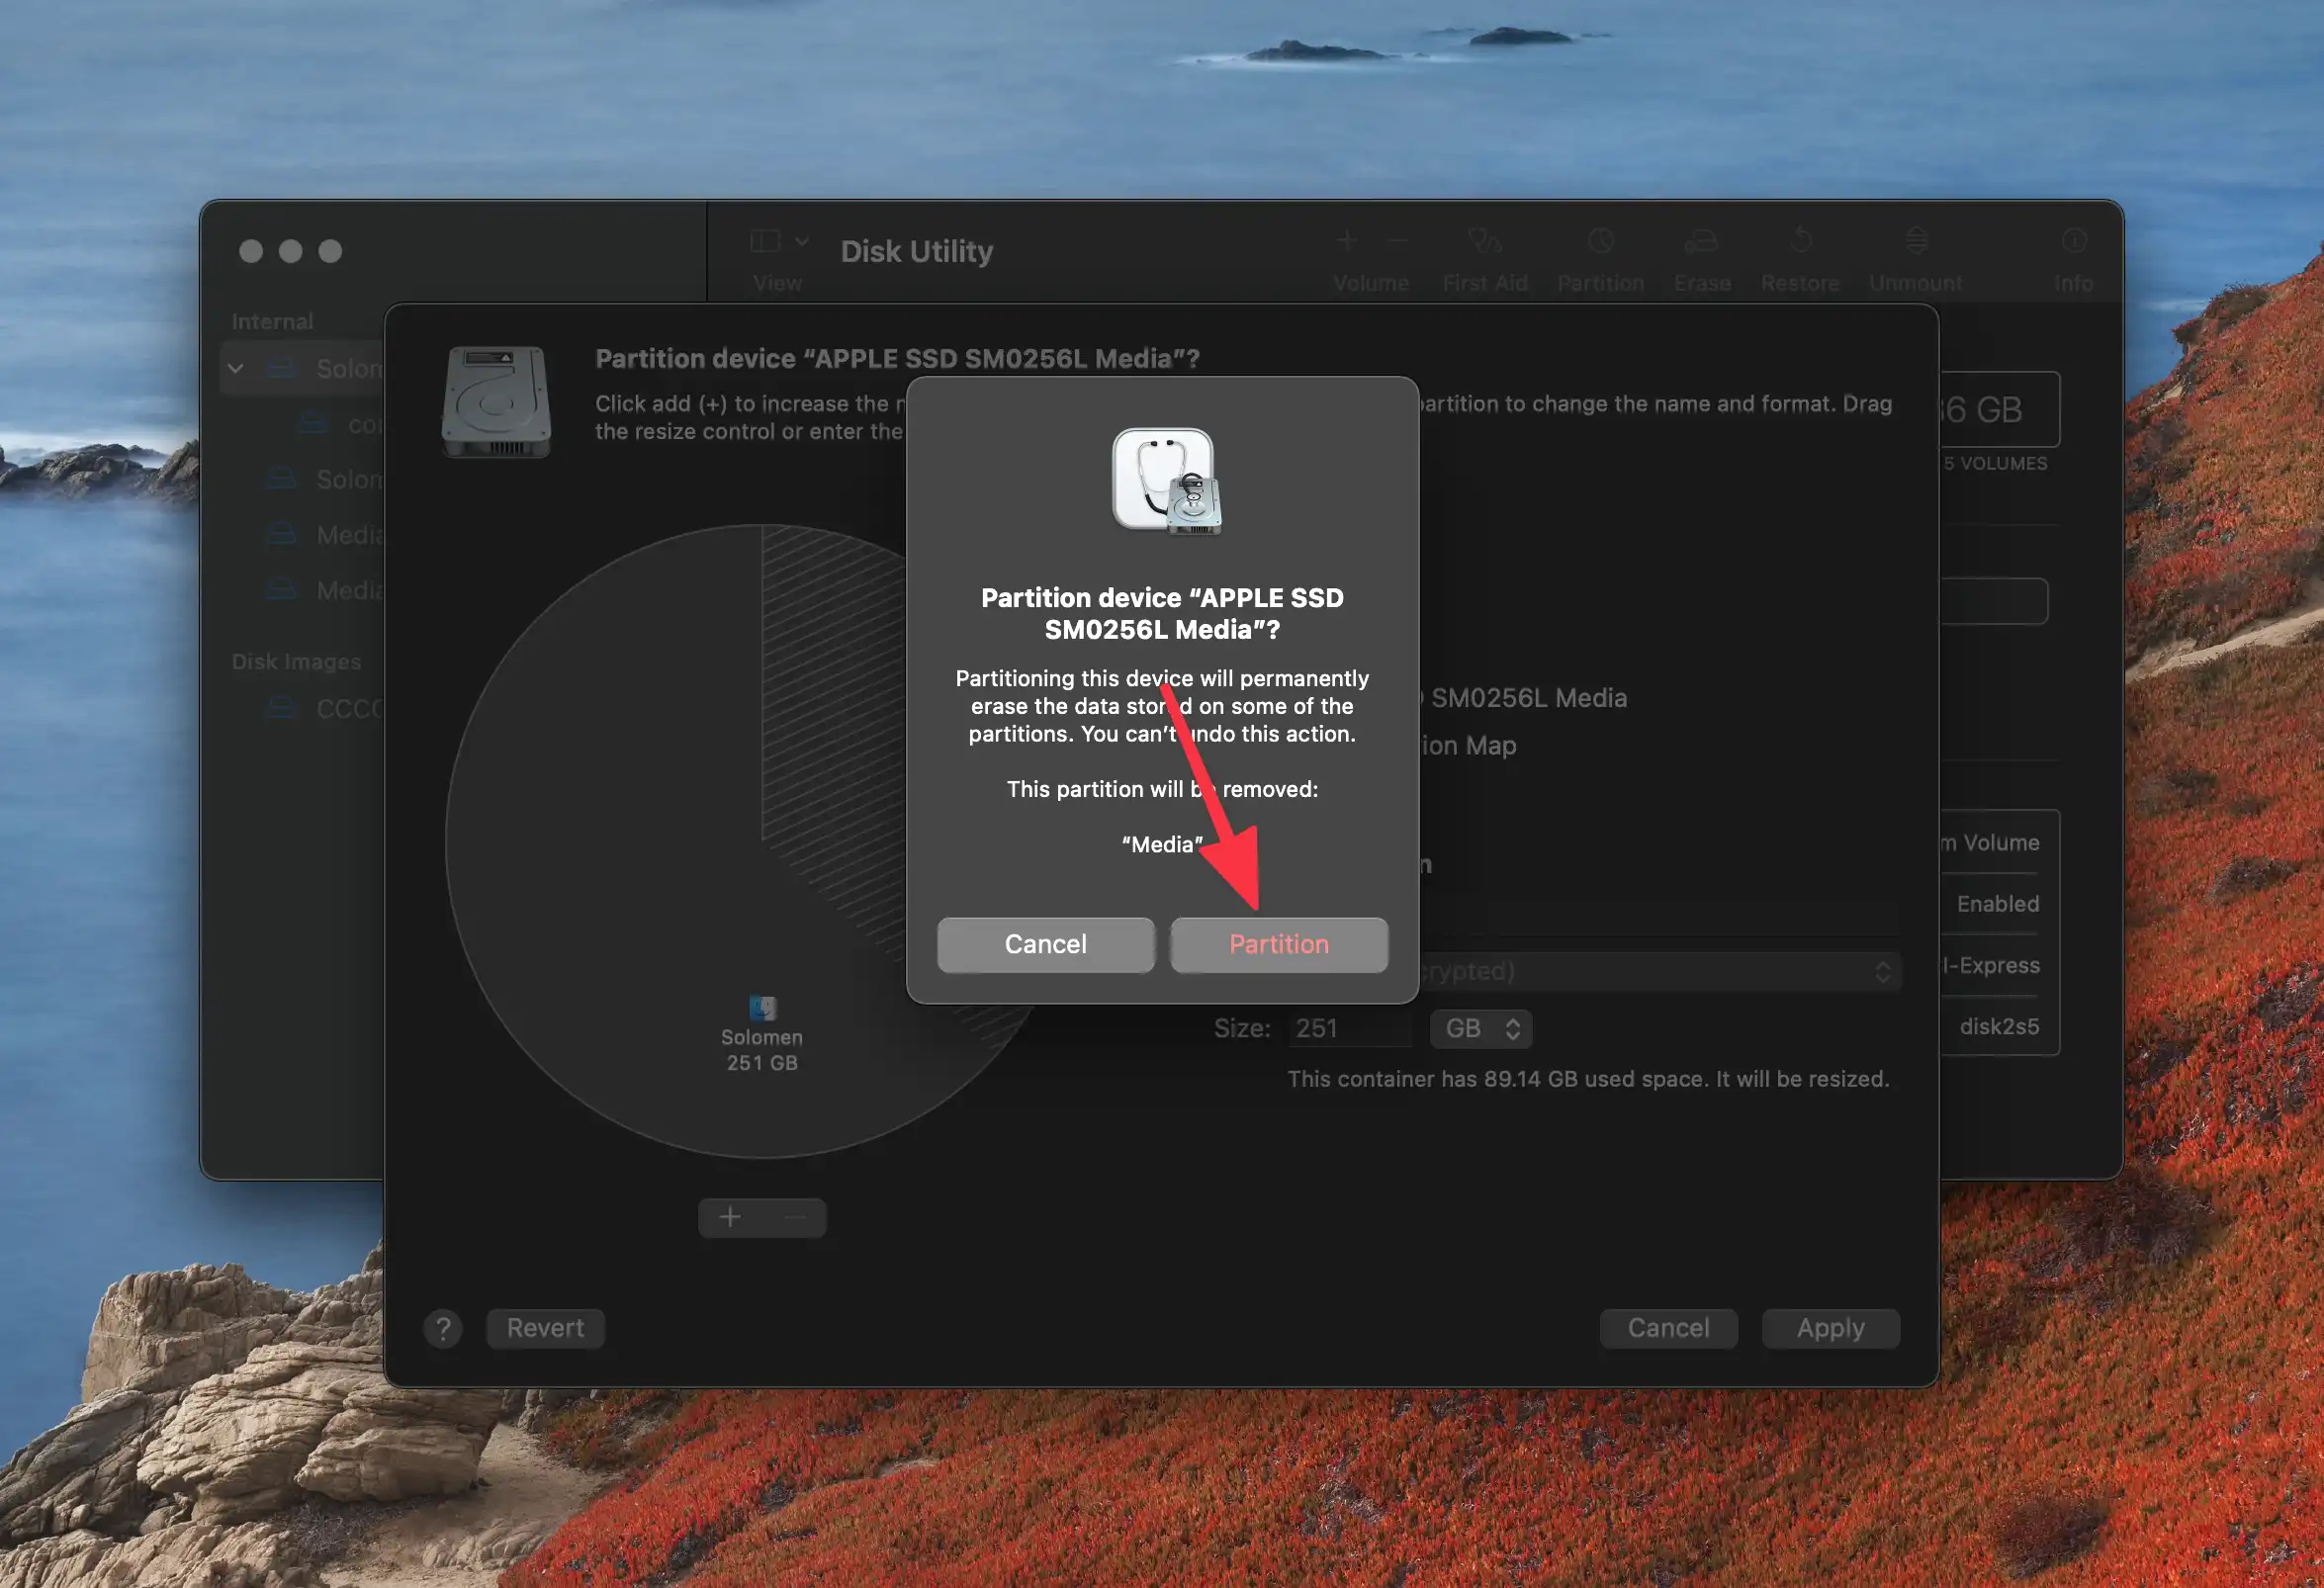
4. Repeat these steps for each partition on your Mac’s hard drive.
When you’re done, you should only have one partition left. This is the partition that you will use to install Windows 10.
Run Boot Camp Assistant on your Mac
Once the Windows 10 .ISO file has been downloaded, you’re ready to install it on your Mac using Boot Camp.
1. First, open Boot Camp Assistant by searching for it in Spotlight or finding it in the Utilities folder.
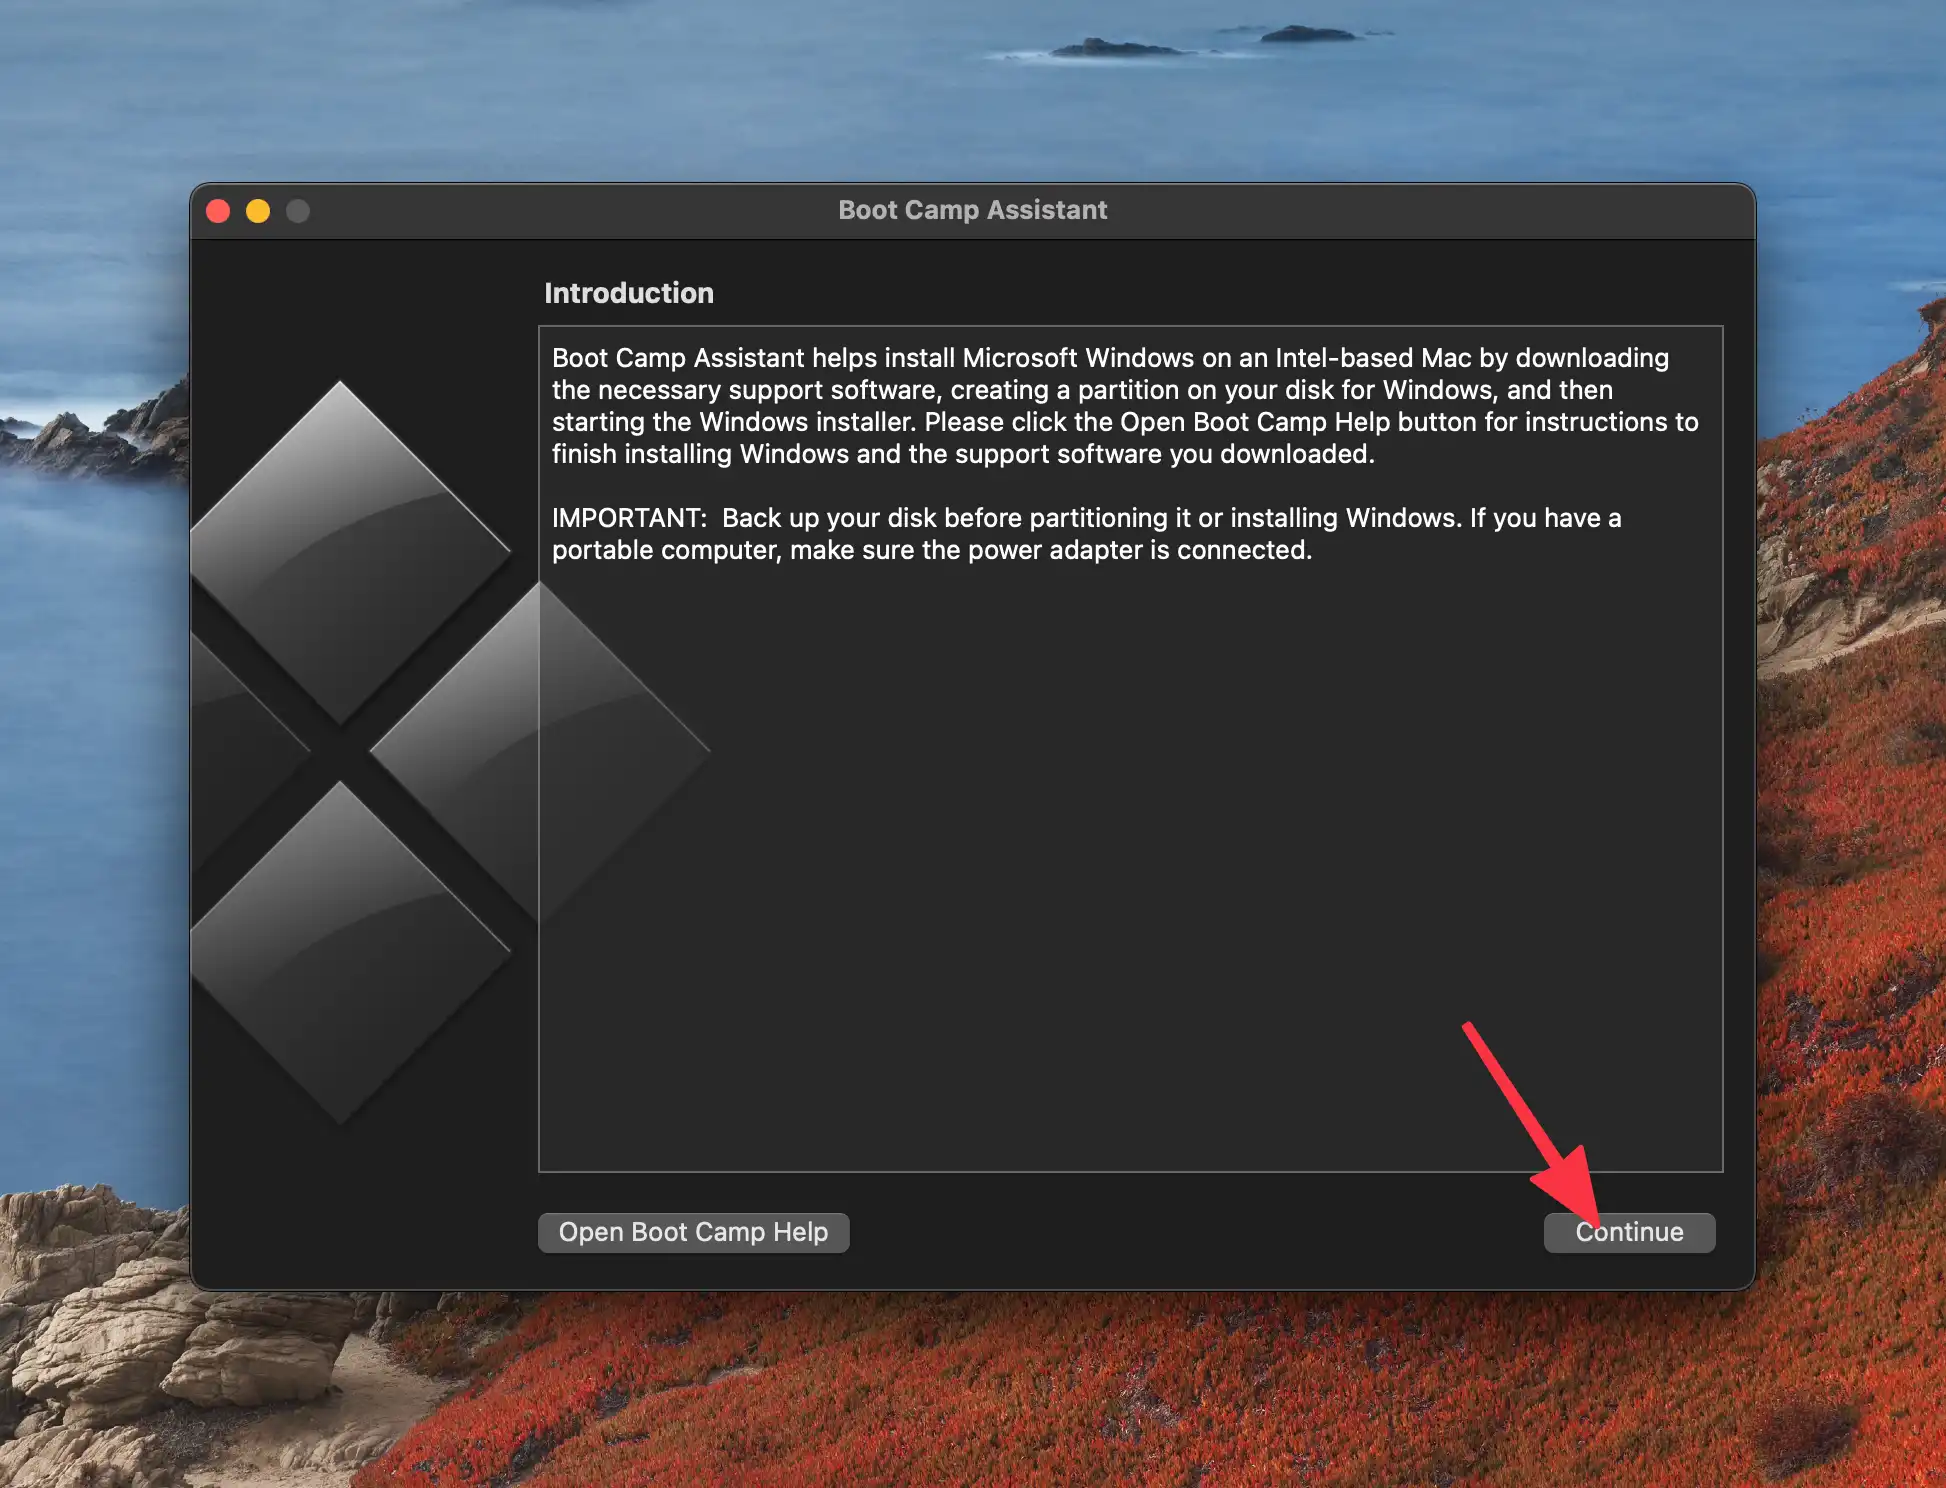
2. Click on Continue. The Boot Camp Assistant on macOS Big Sure will auto detect the Windows 10 ISO file that you downloaded earlier. If it doesn’t, click on the “Select” button and choose the ISO file.
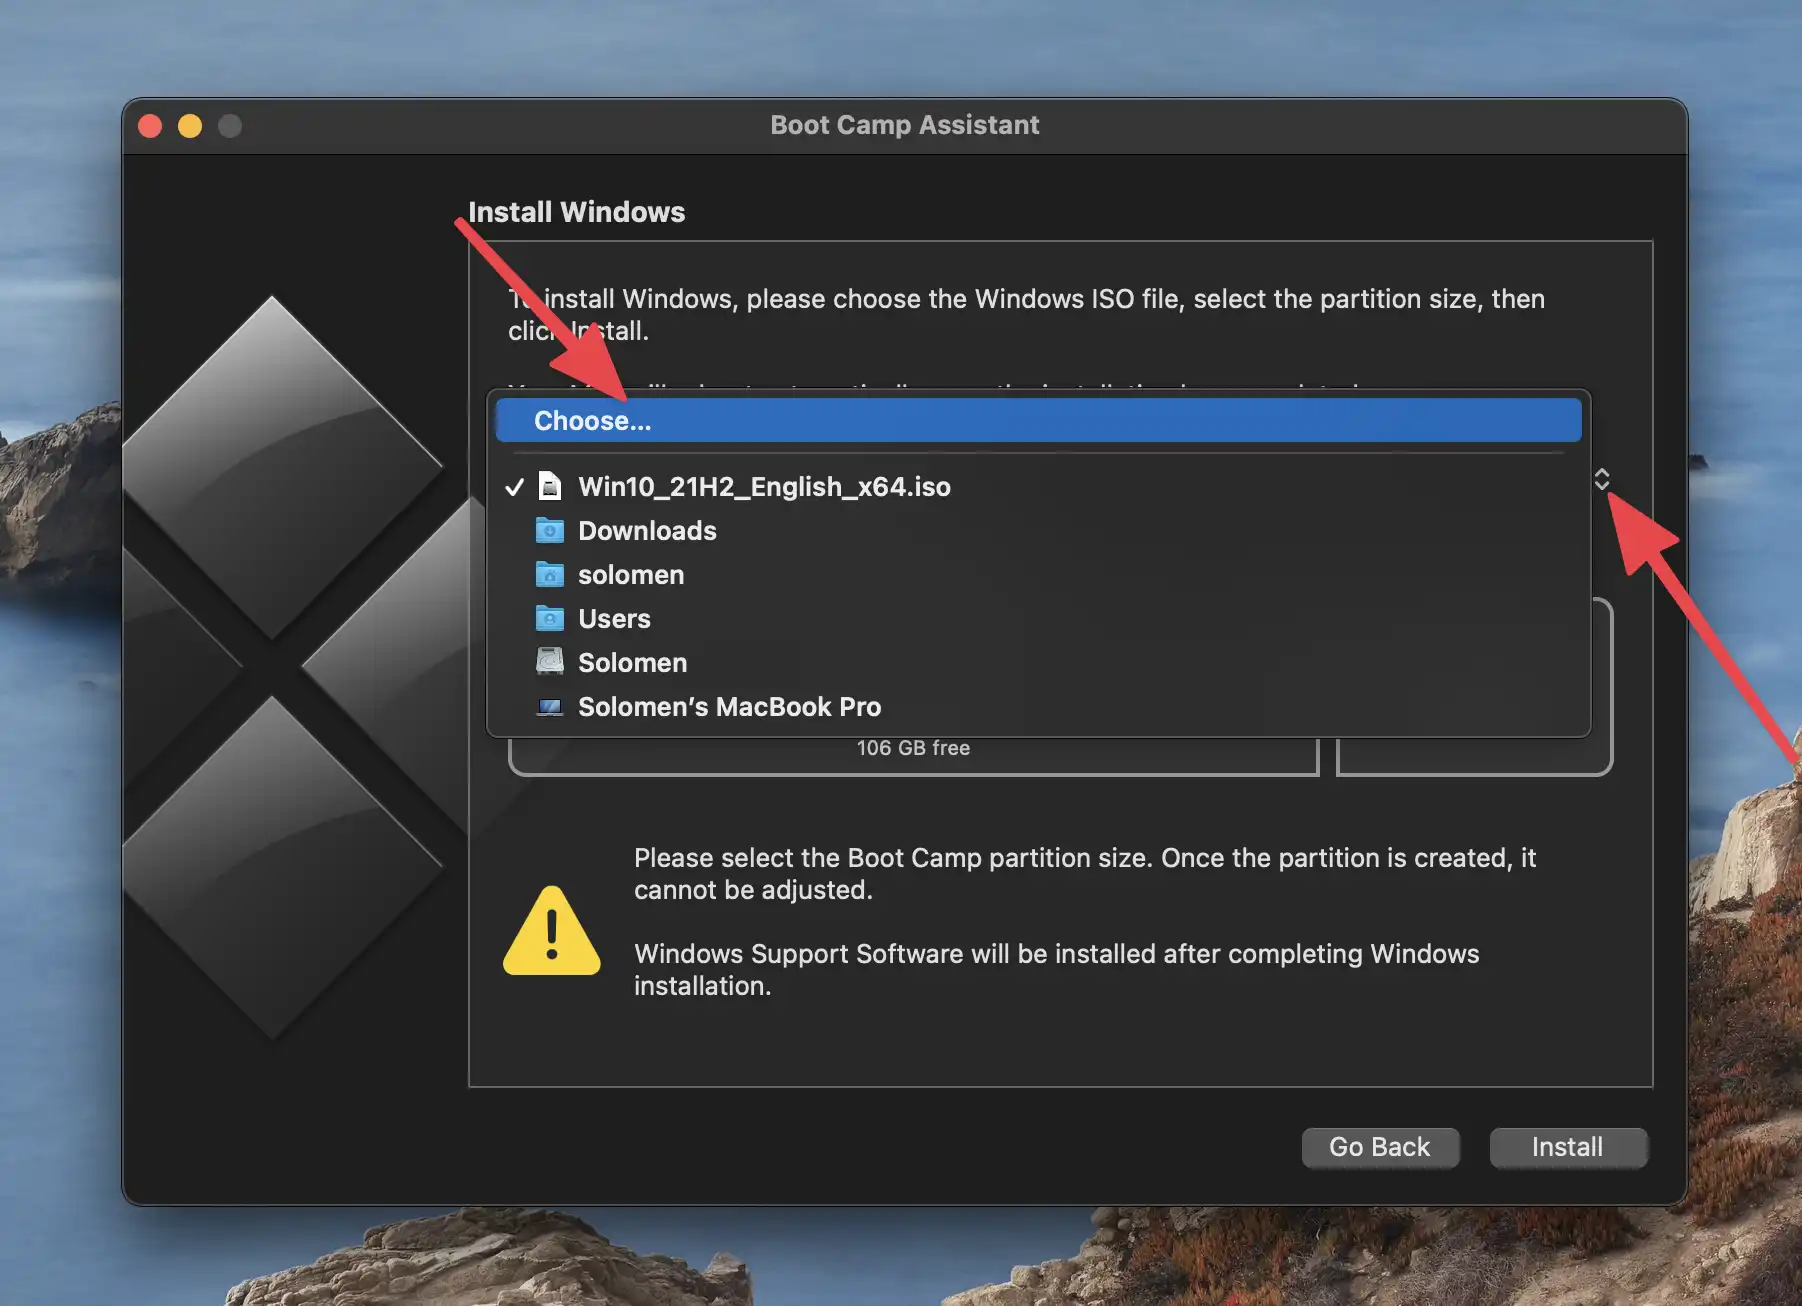
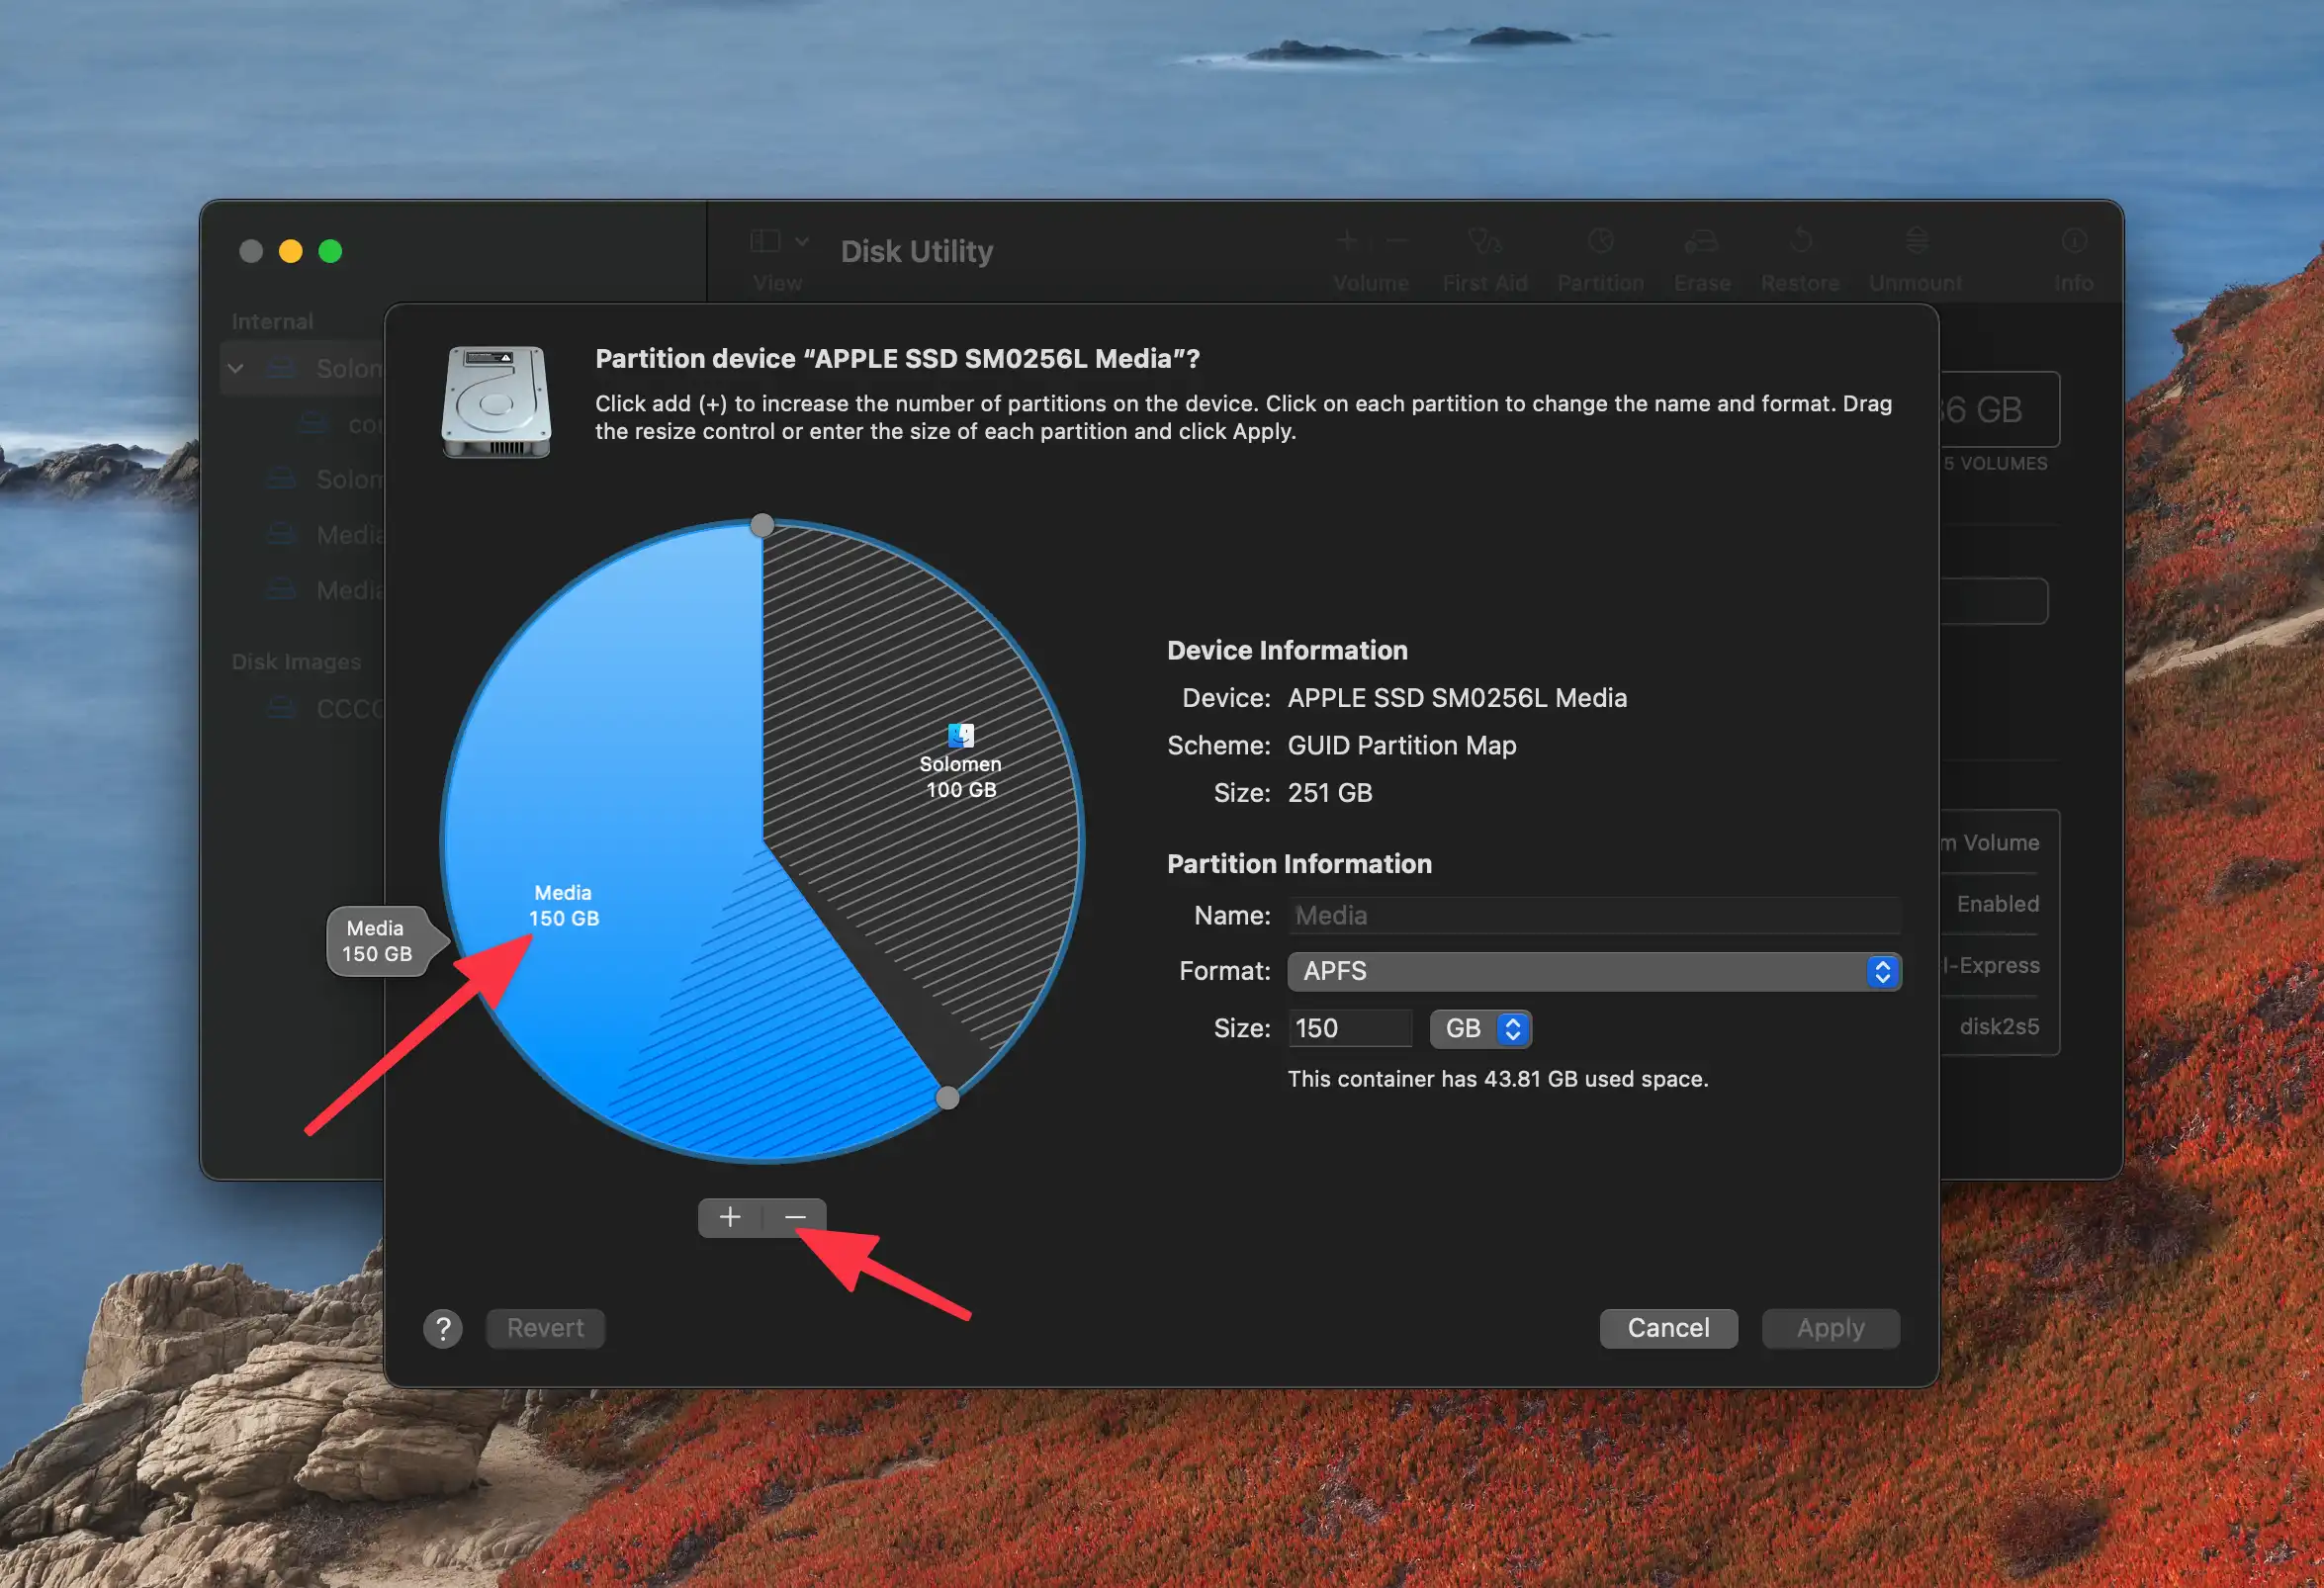
3. Now you need to choose a Boot Camp partition size by dragging the slider left or right.
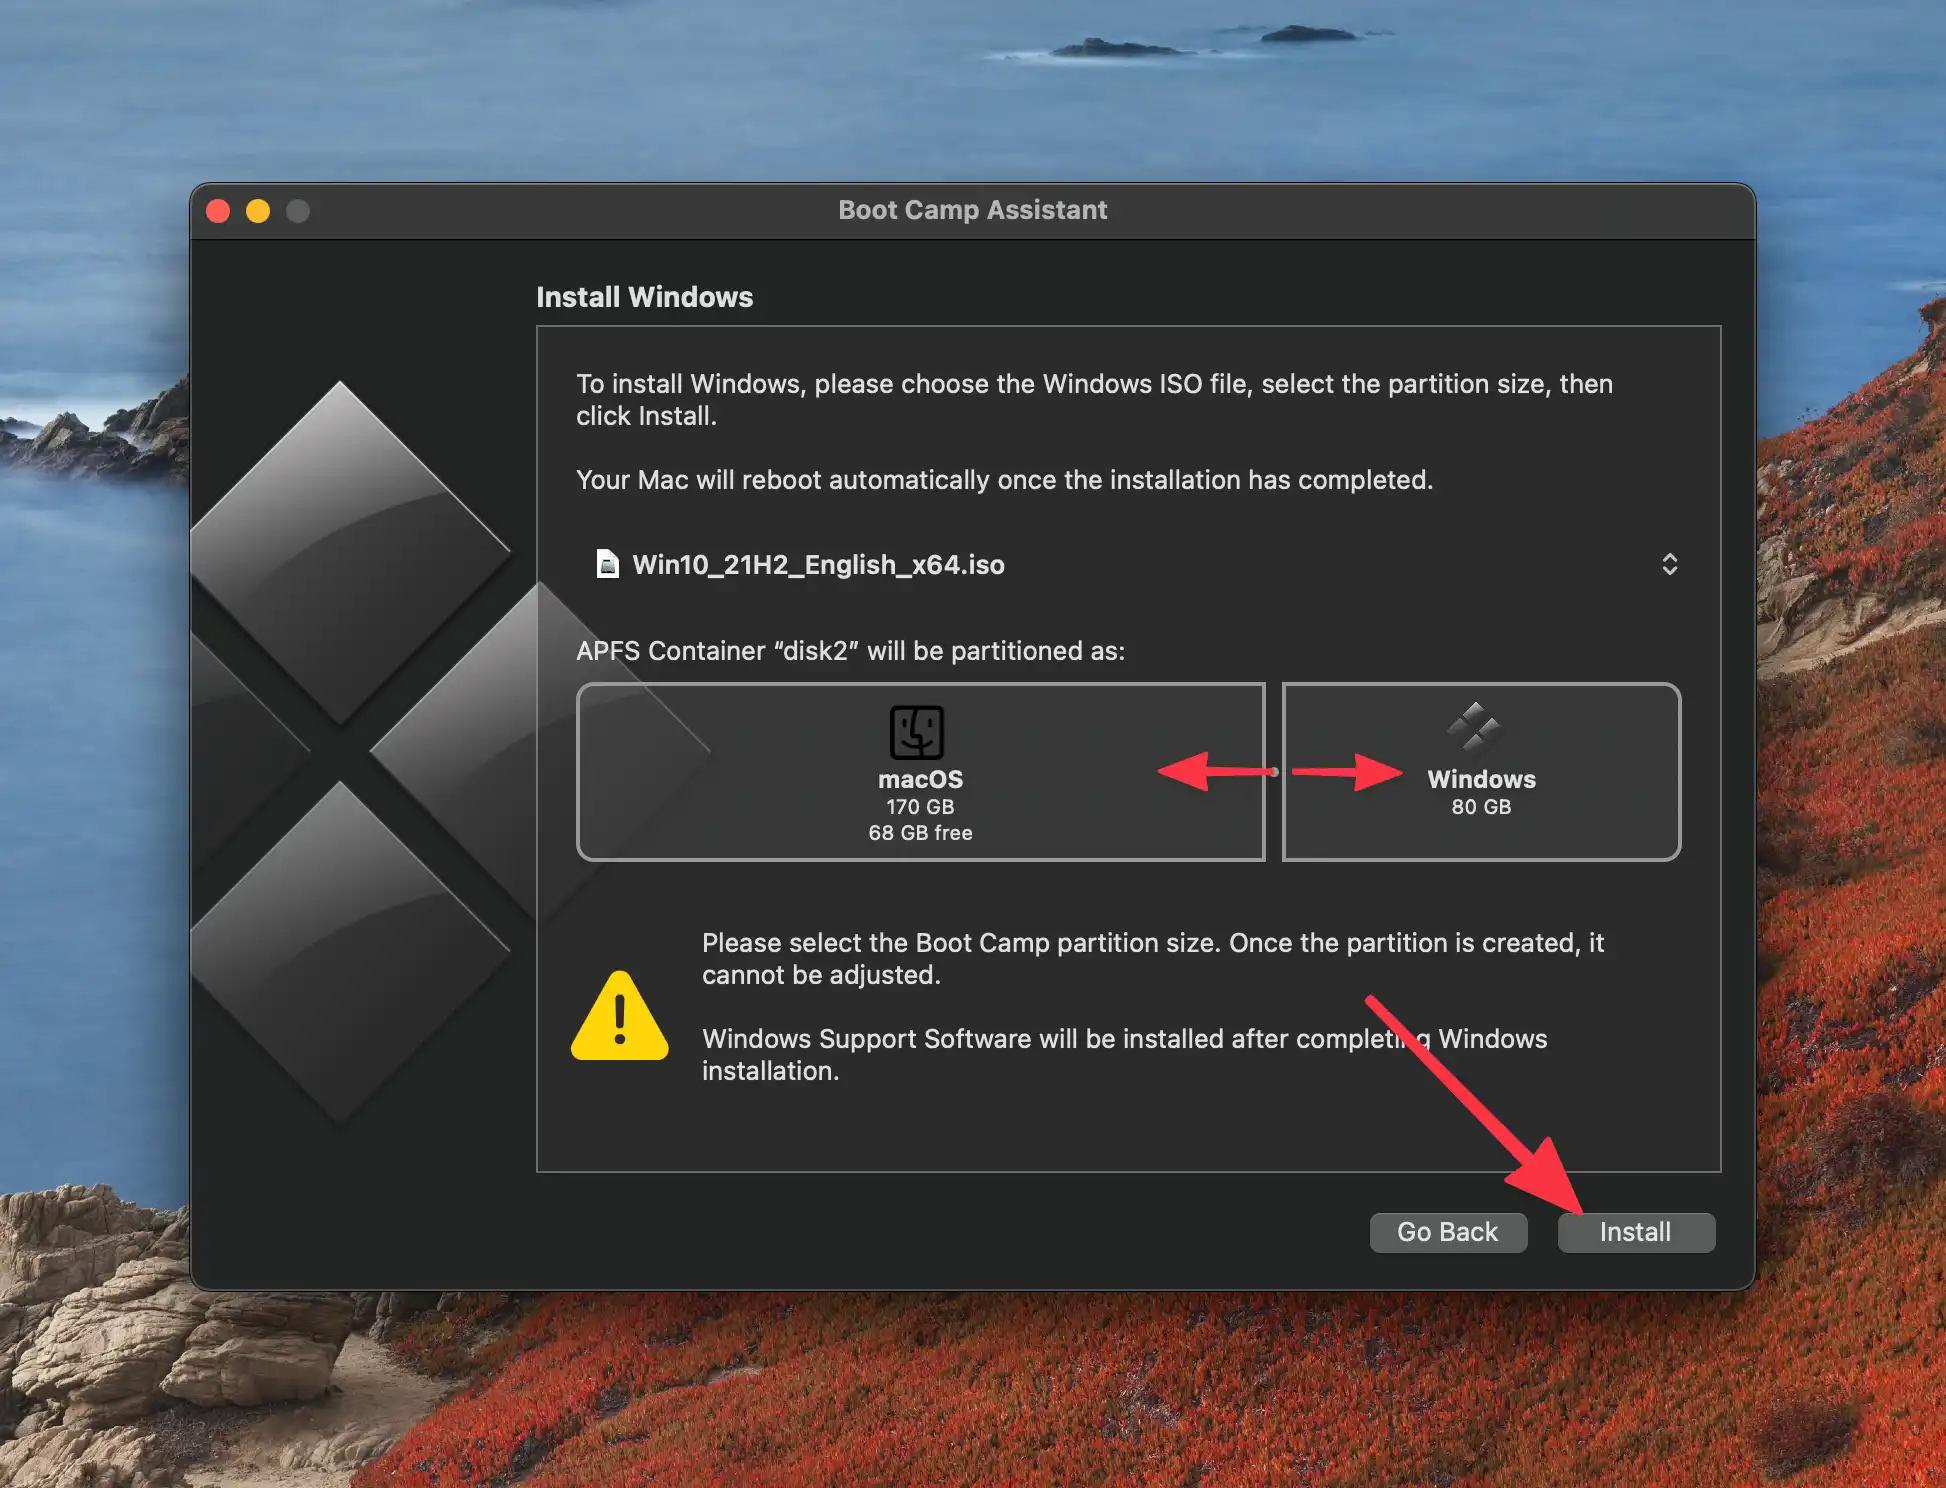
Boot Camp partition size is the amount of space on your Mac’s hard drive that you want to allocate for Windows 10. As a general rule of thumb, you should allocate around 60GB of space for Windows 10. But if you know you’re going to use specific apps that require a lot of storage space, you can increase the partition size accordingly.
In this case, we’re going to allocate 80GB of space for Windows 10.
4. When you’re ready, click on the Install button to start installing Windows 10 on your Mac.
Your Mac will download Windows support software… this might take a few minutes. This may be the drivers that are required for Windows 10 to work on your Mac.

Everything you need to do is wating for the process to finish…
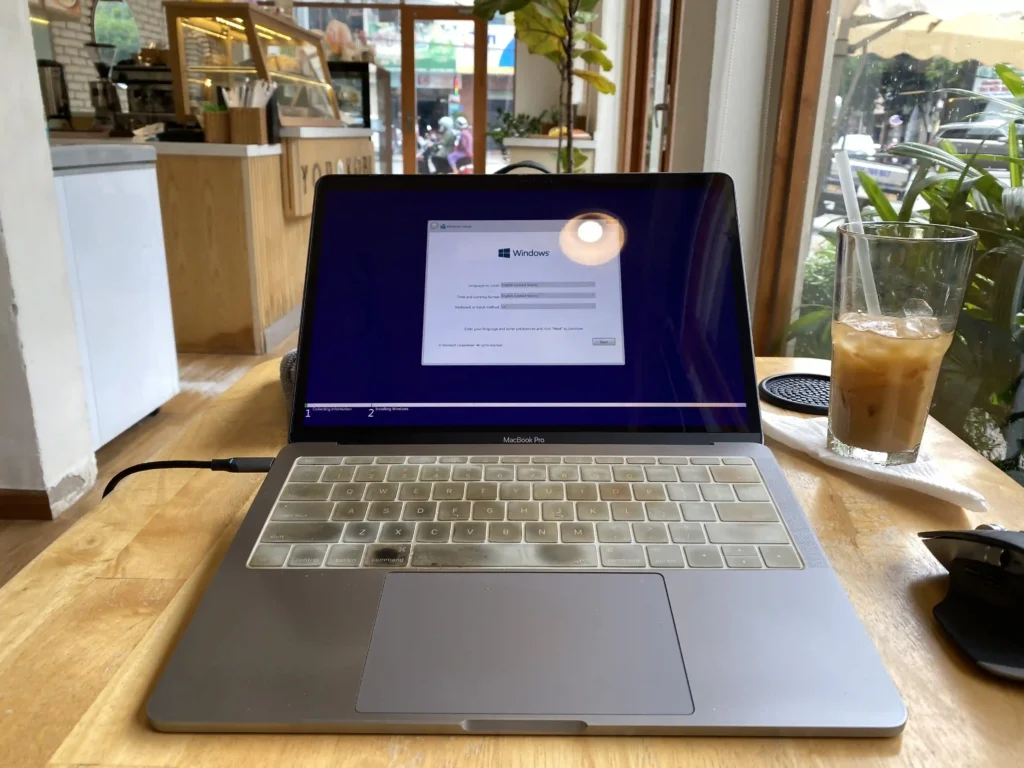
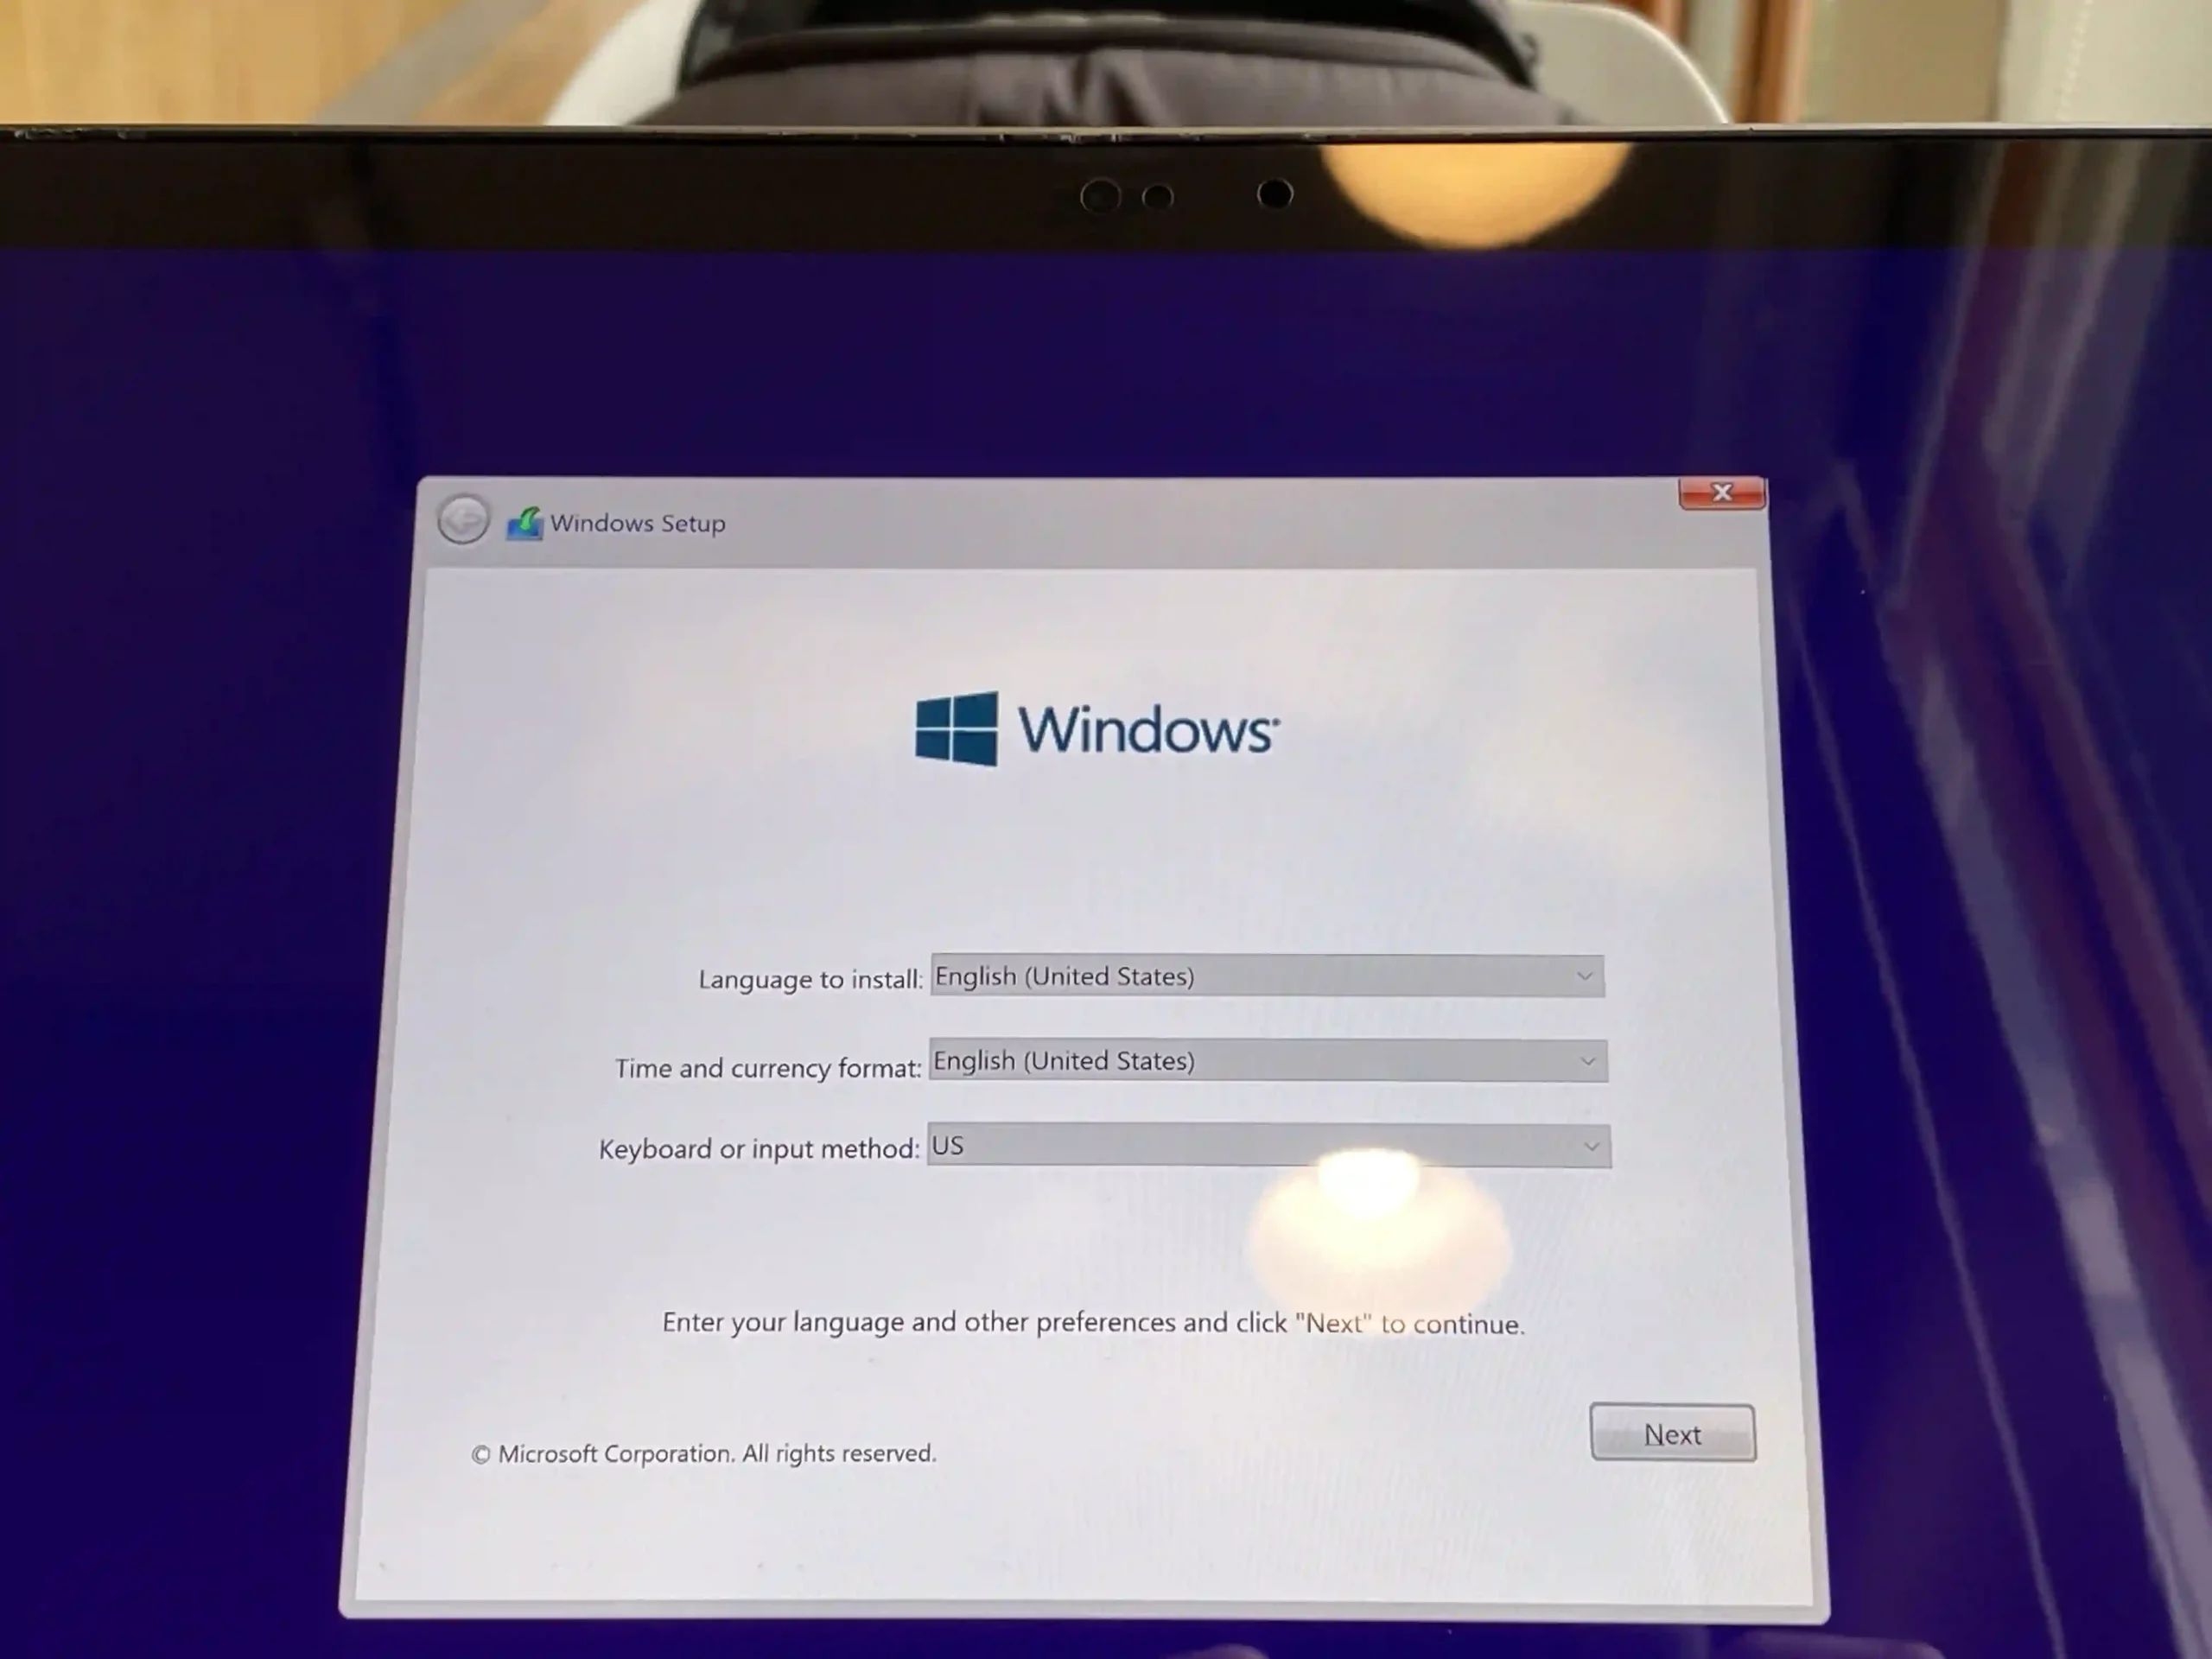
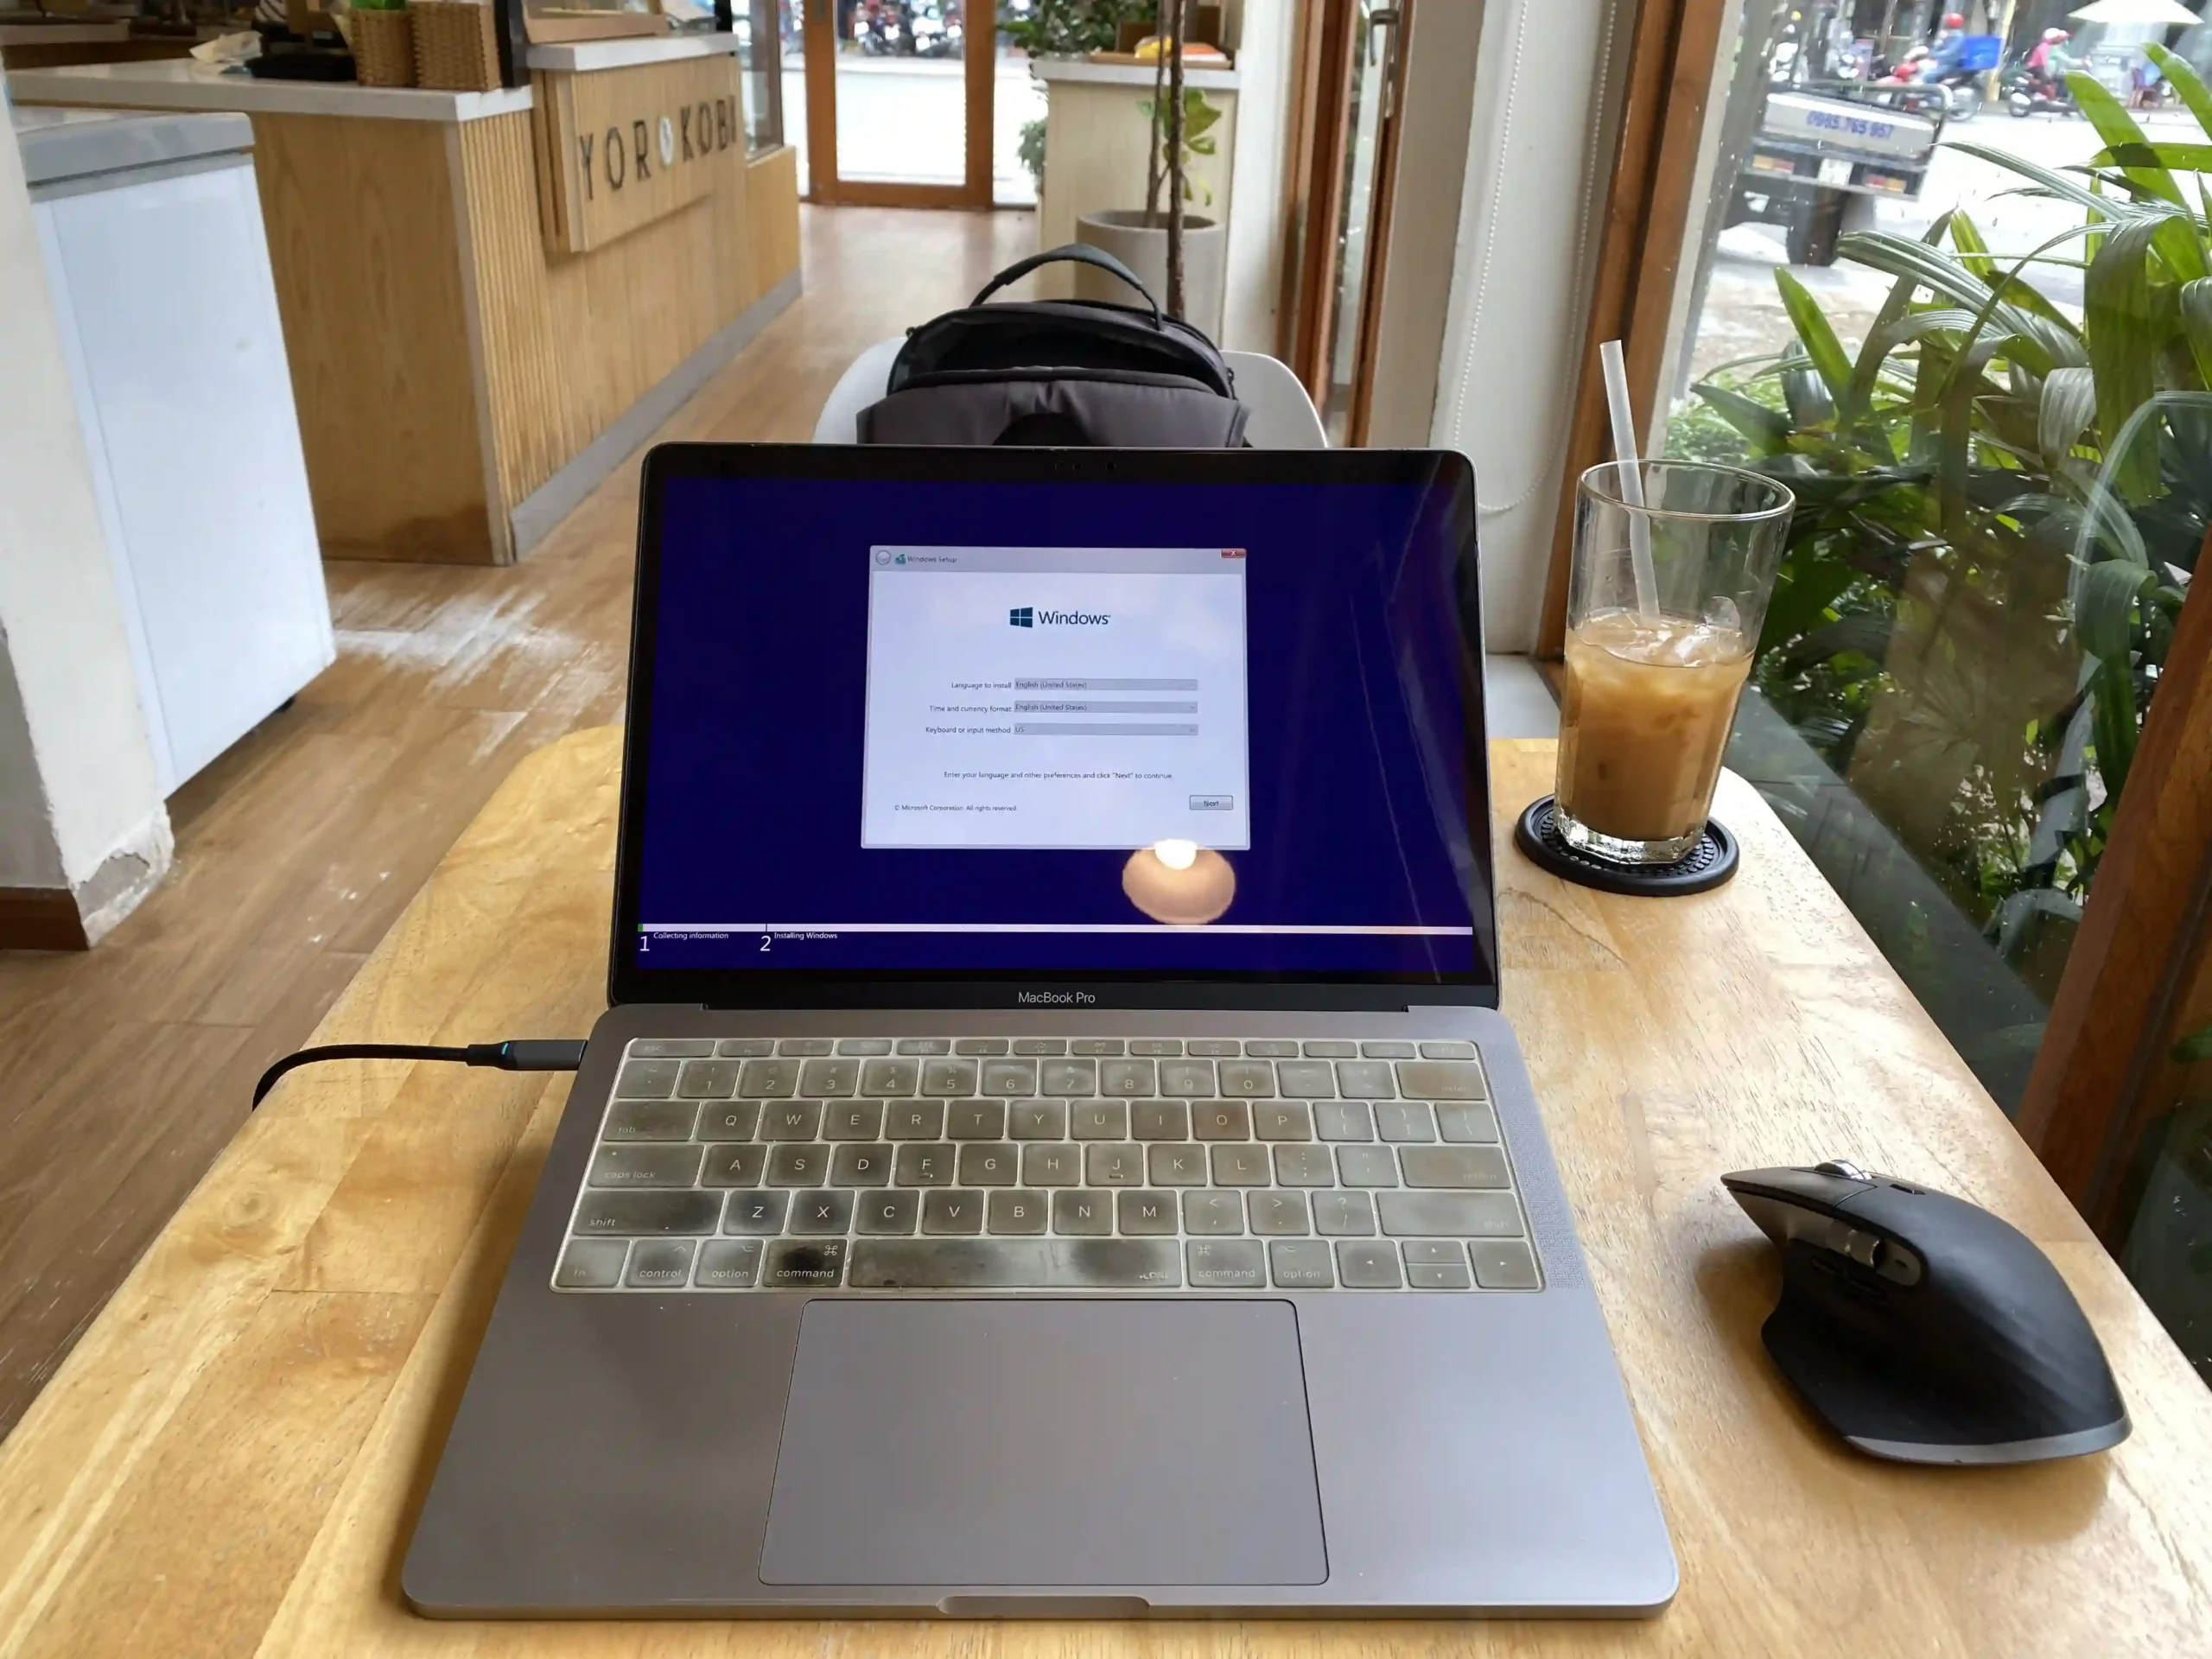
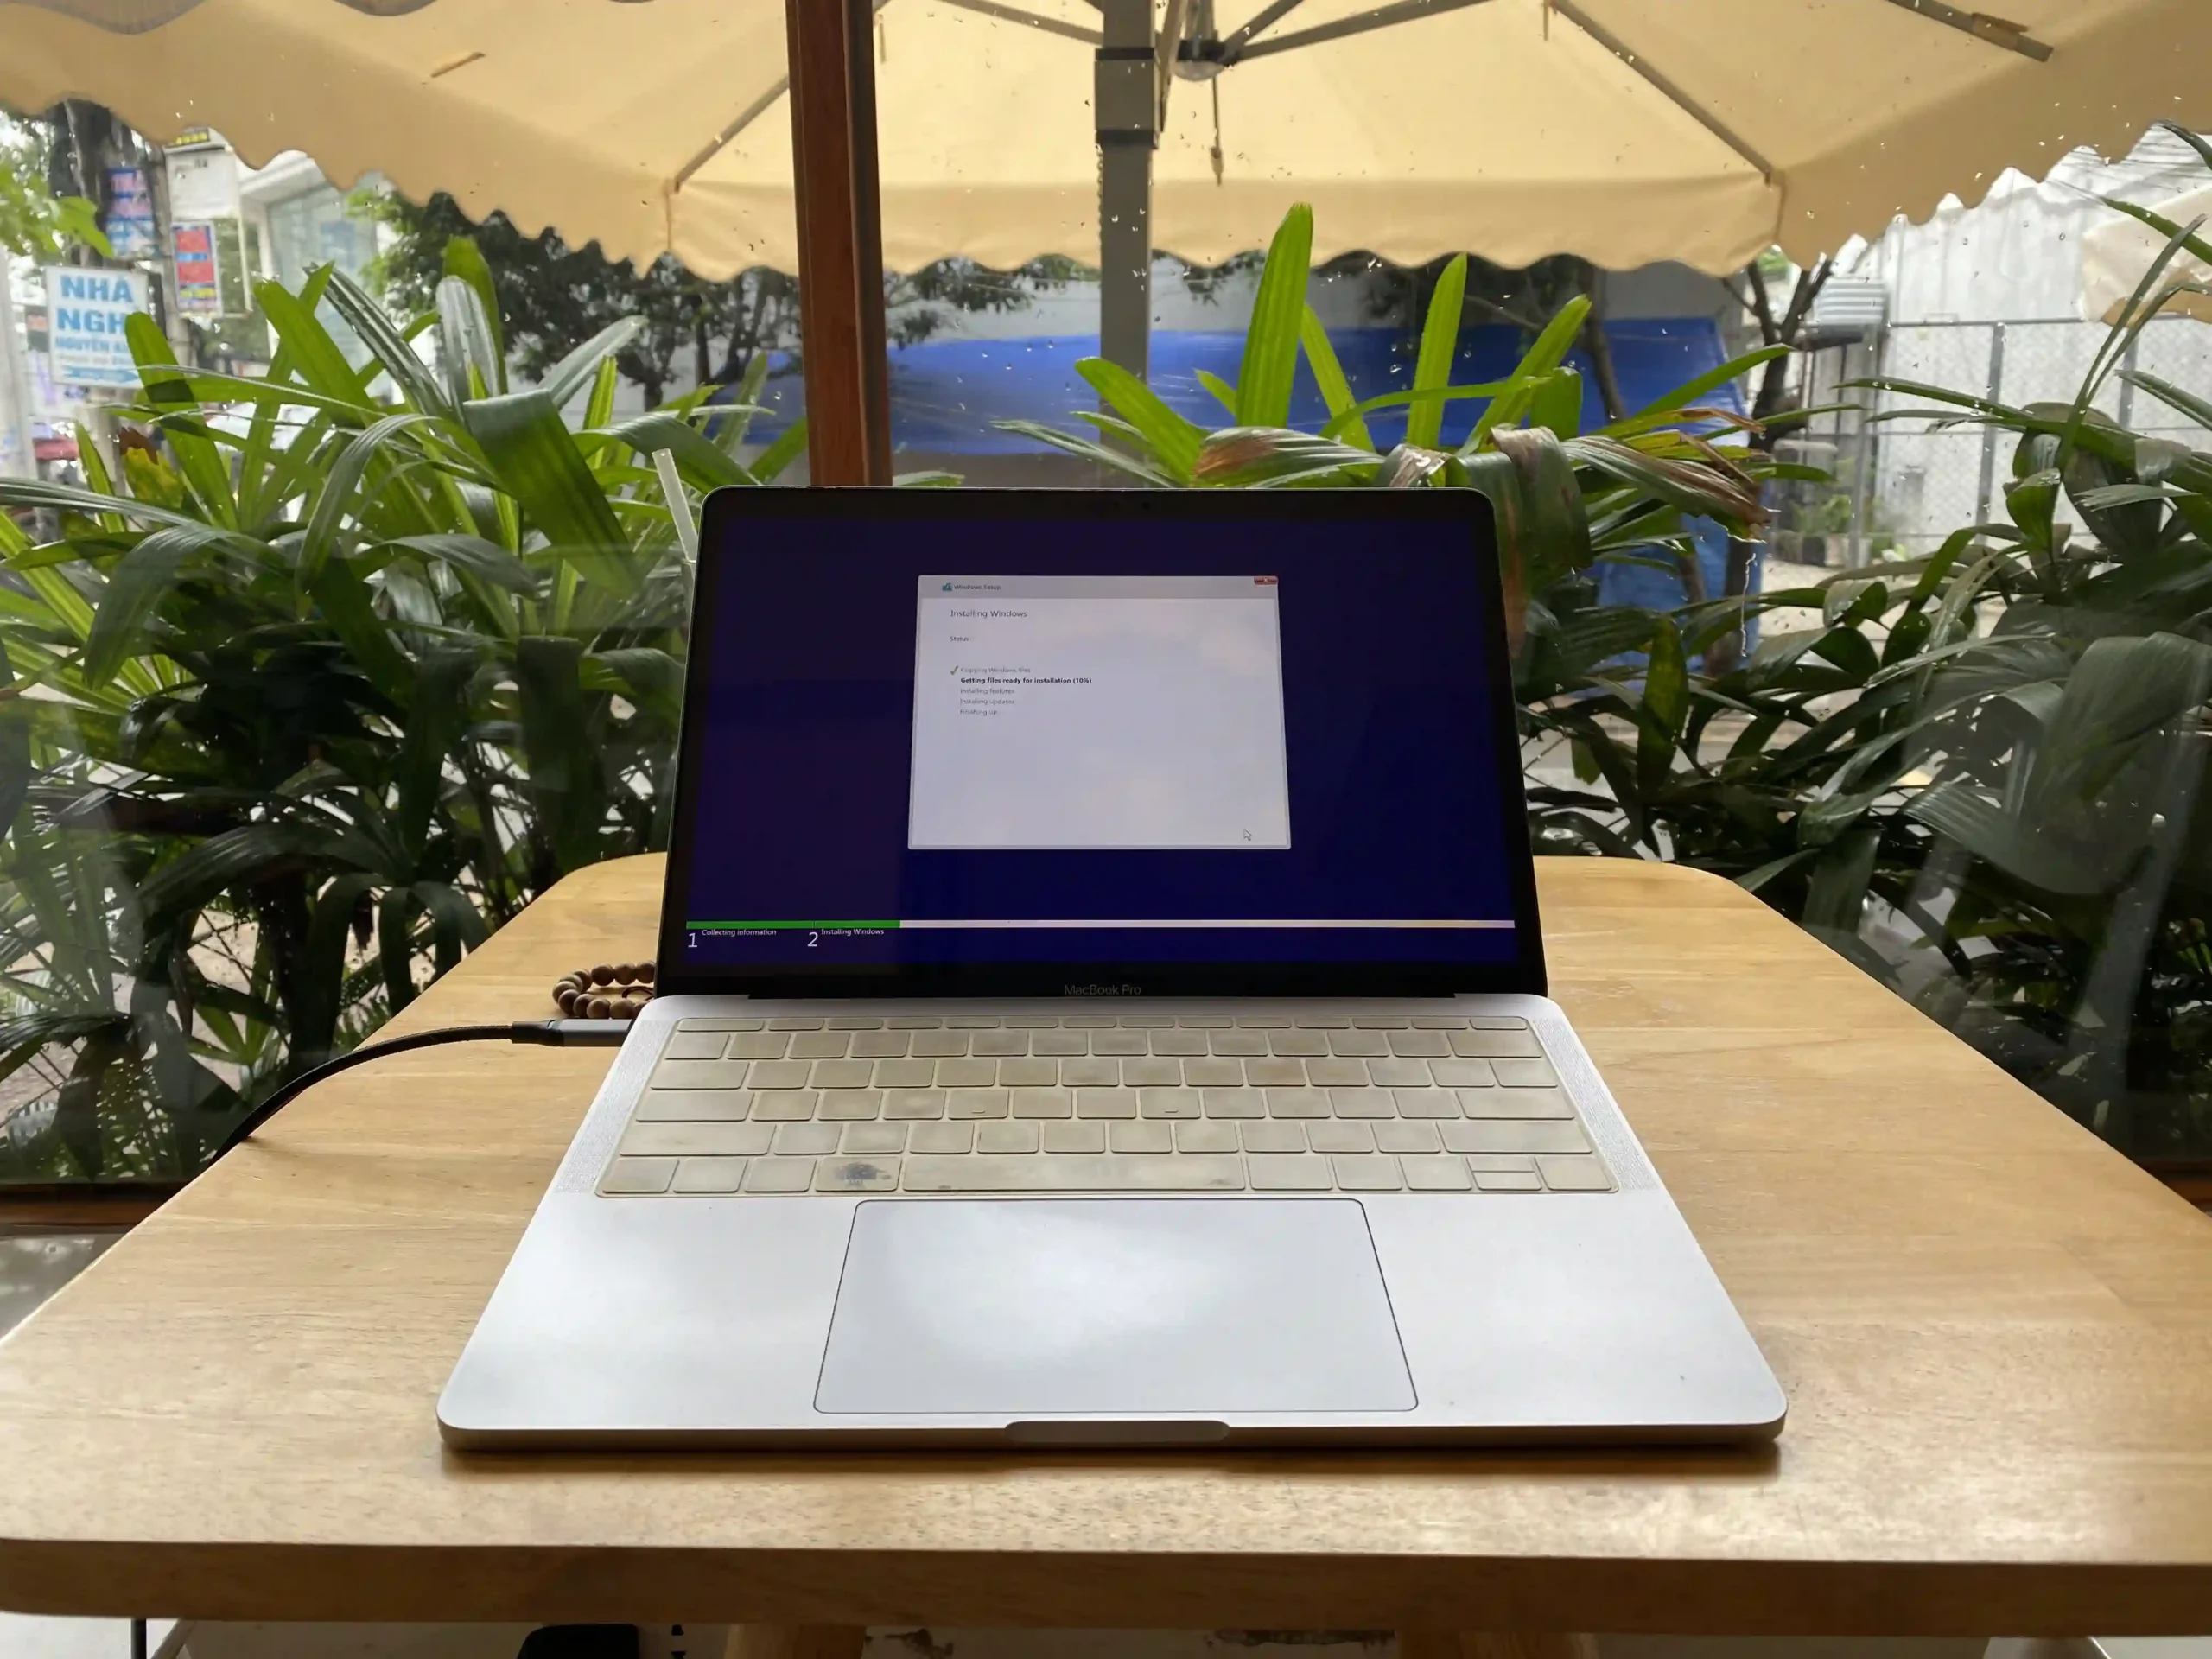
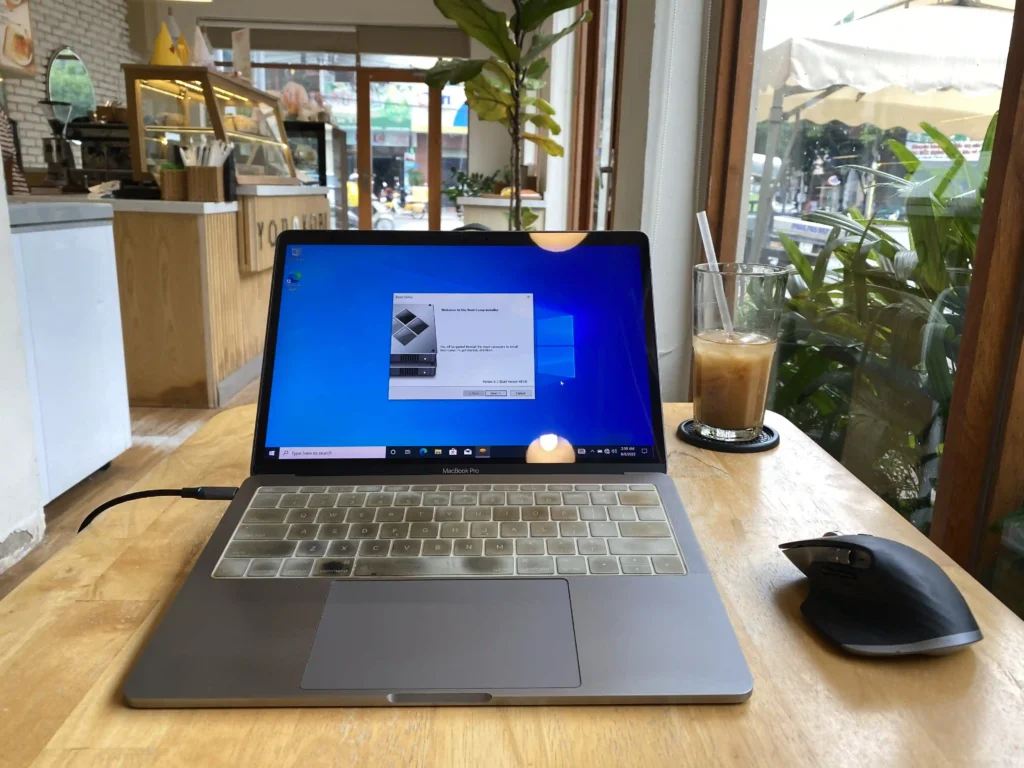
Macbook Will Restart Into Windows Installation UI
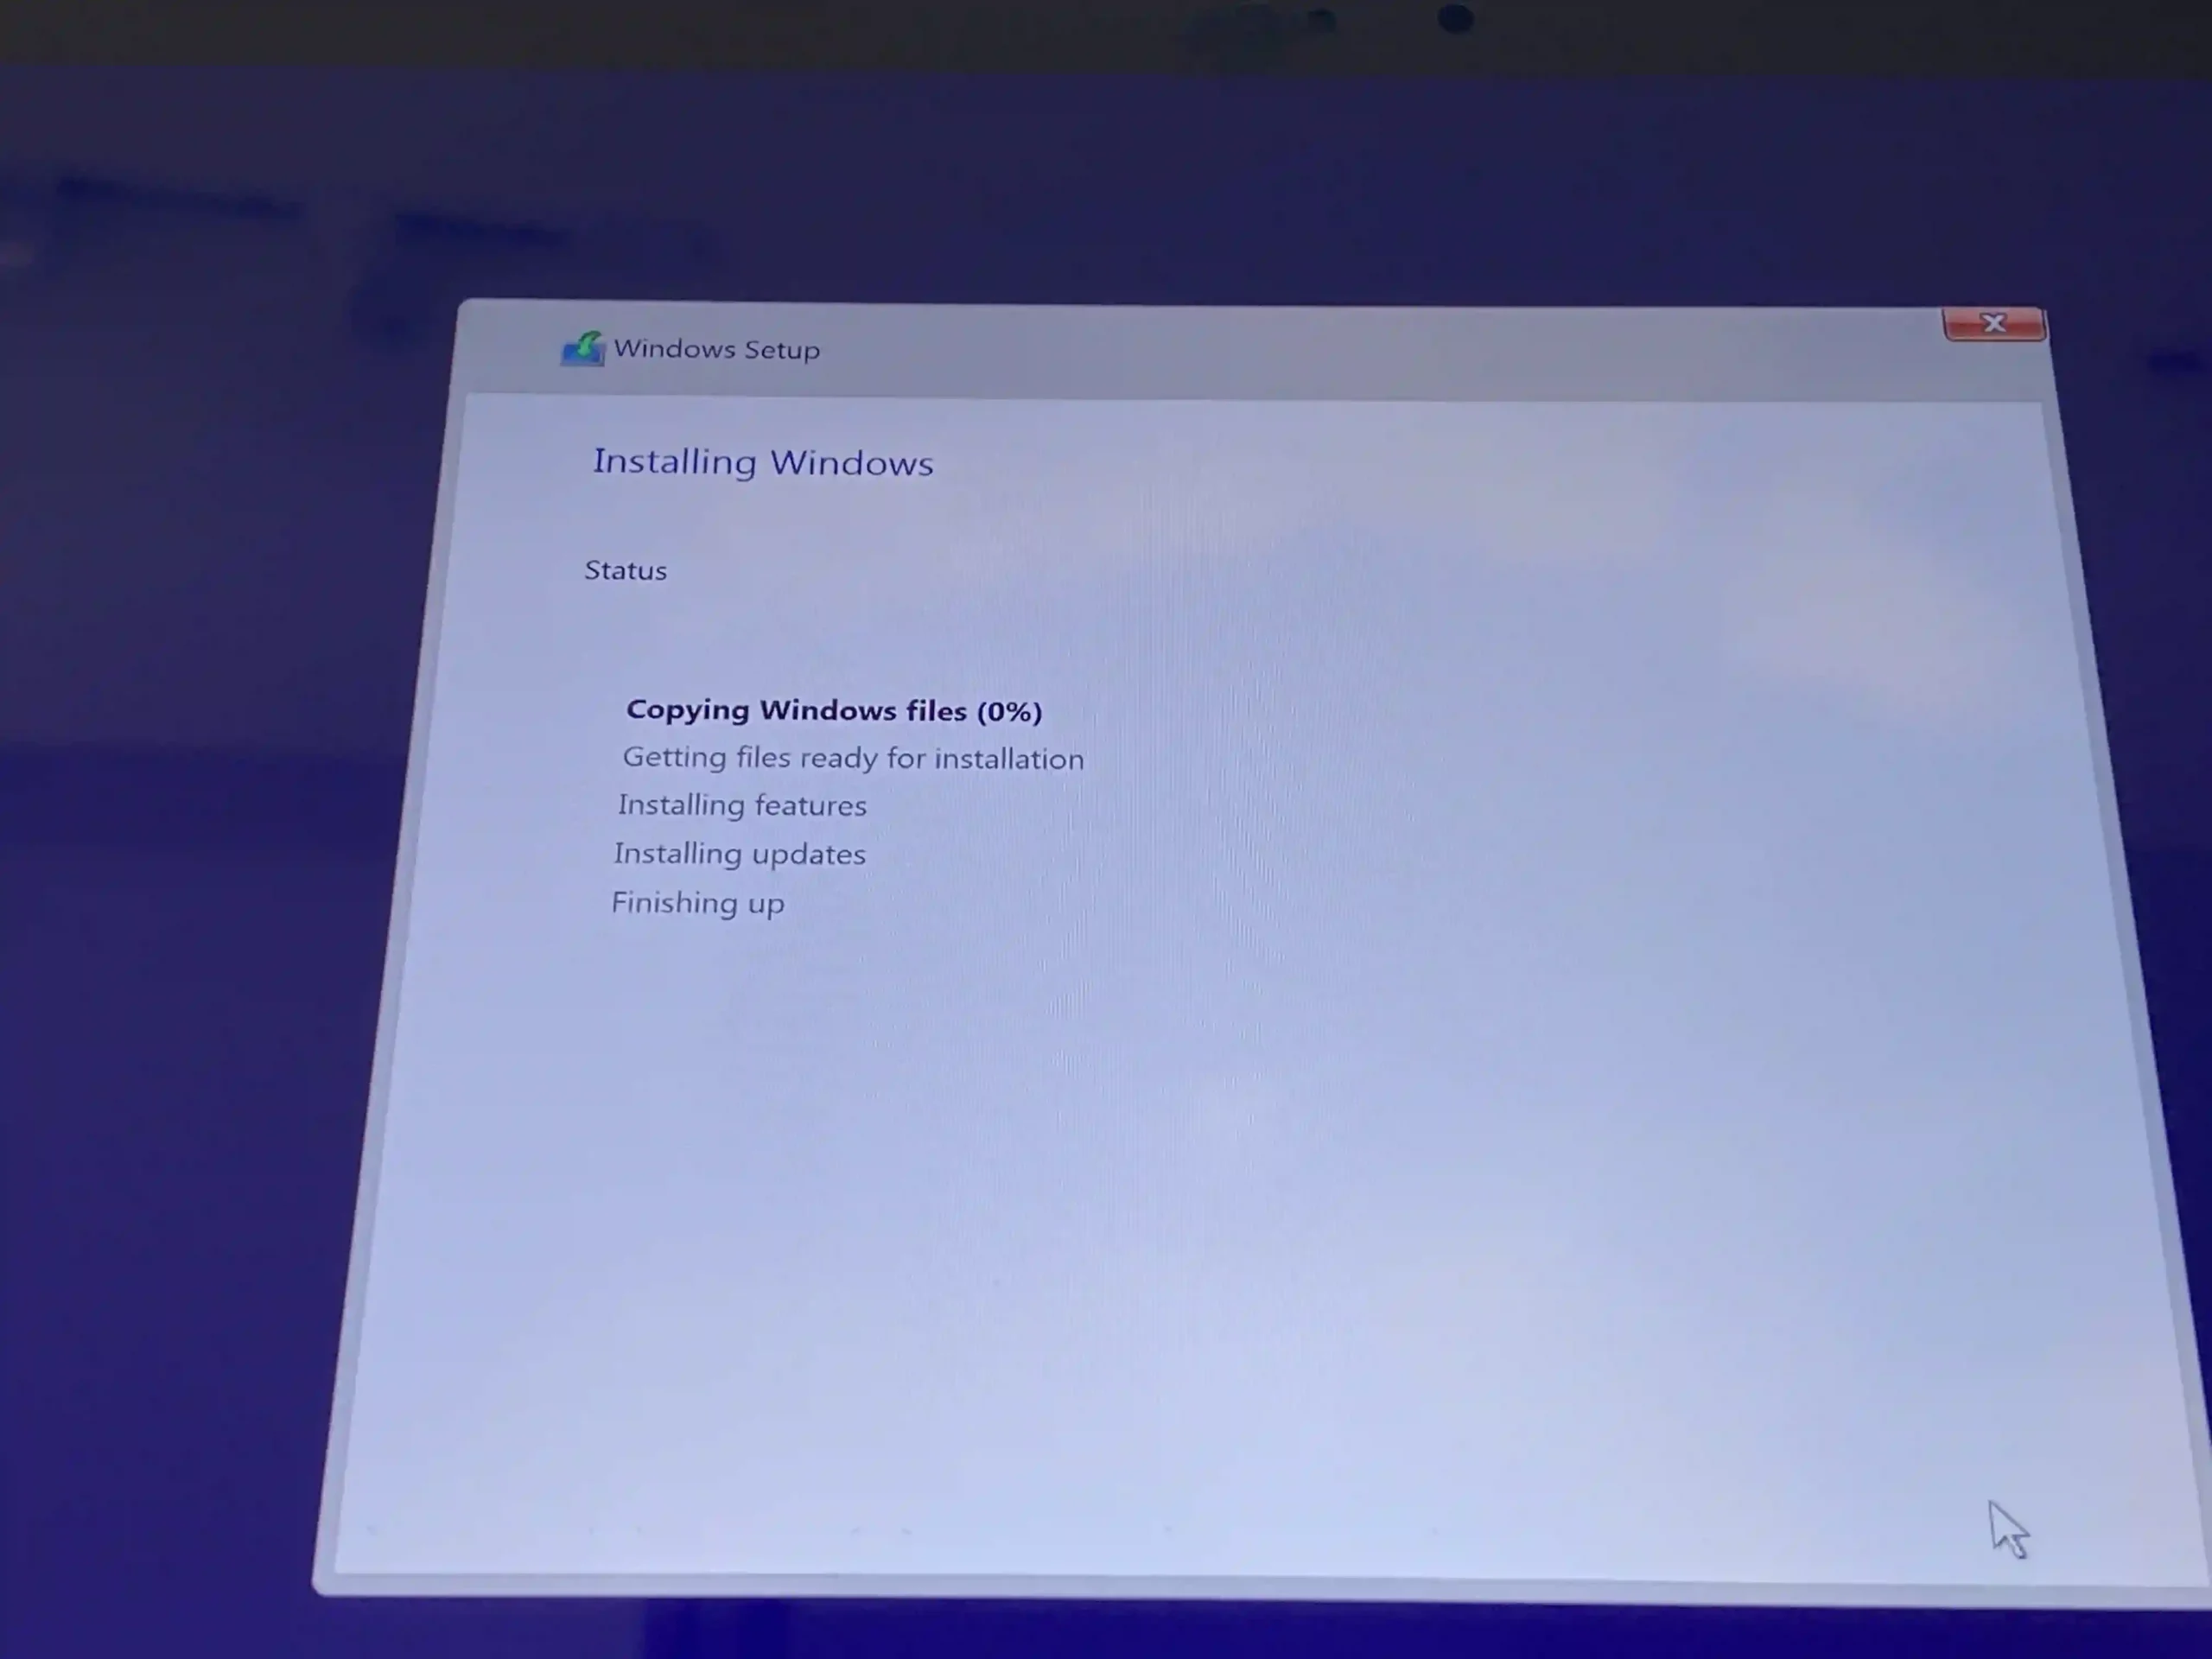
From here, you can follow the on-screen instructions to complete the Windows 10 installation process.
Just click Next, Next and Next…
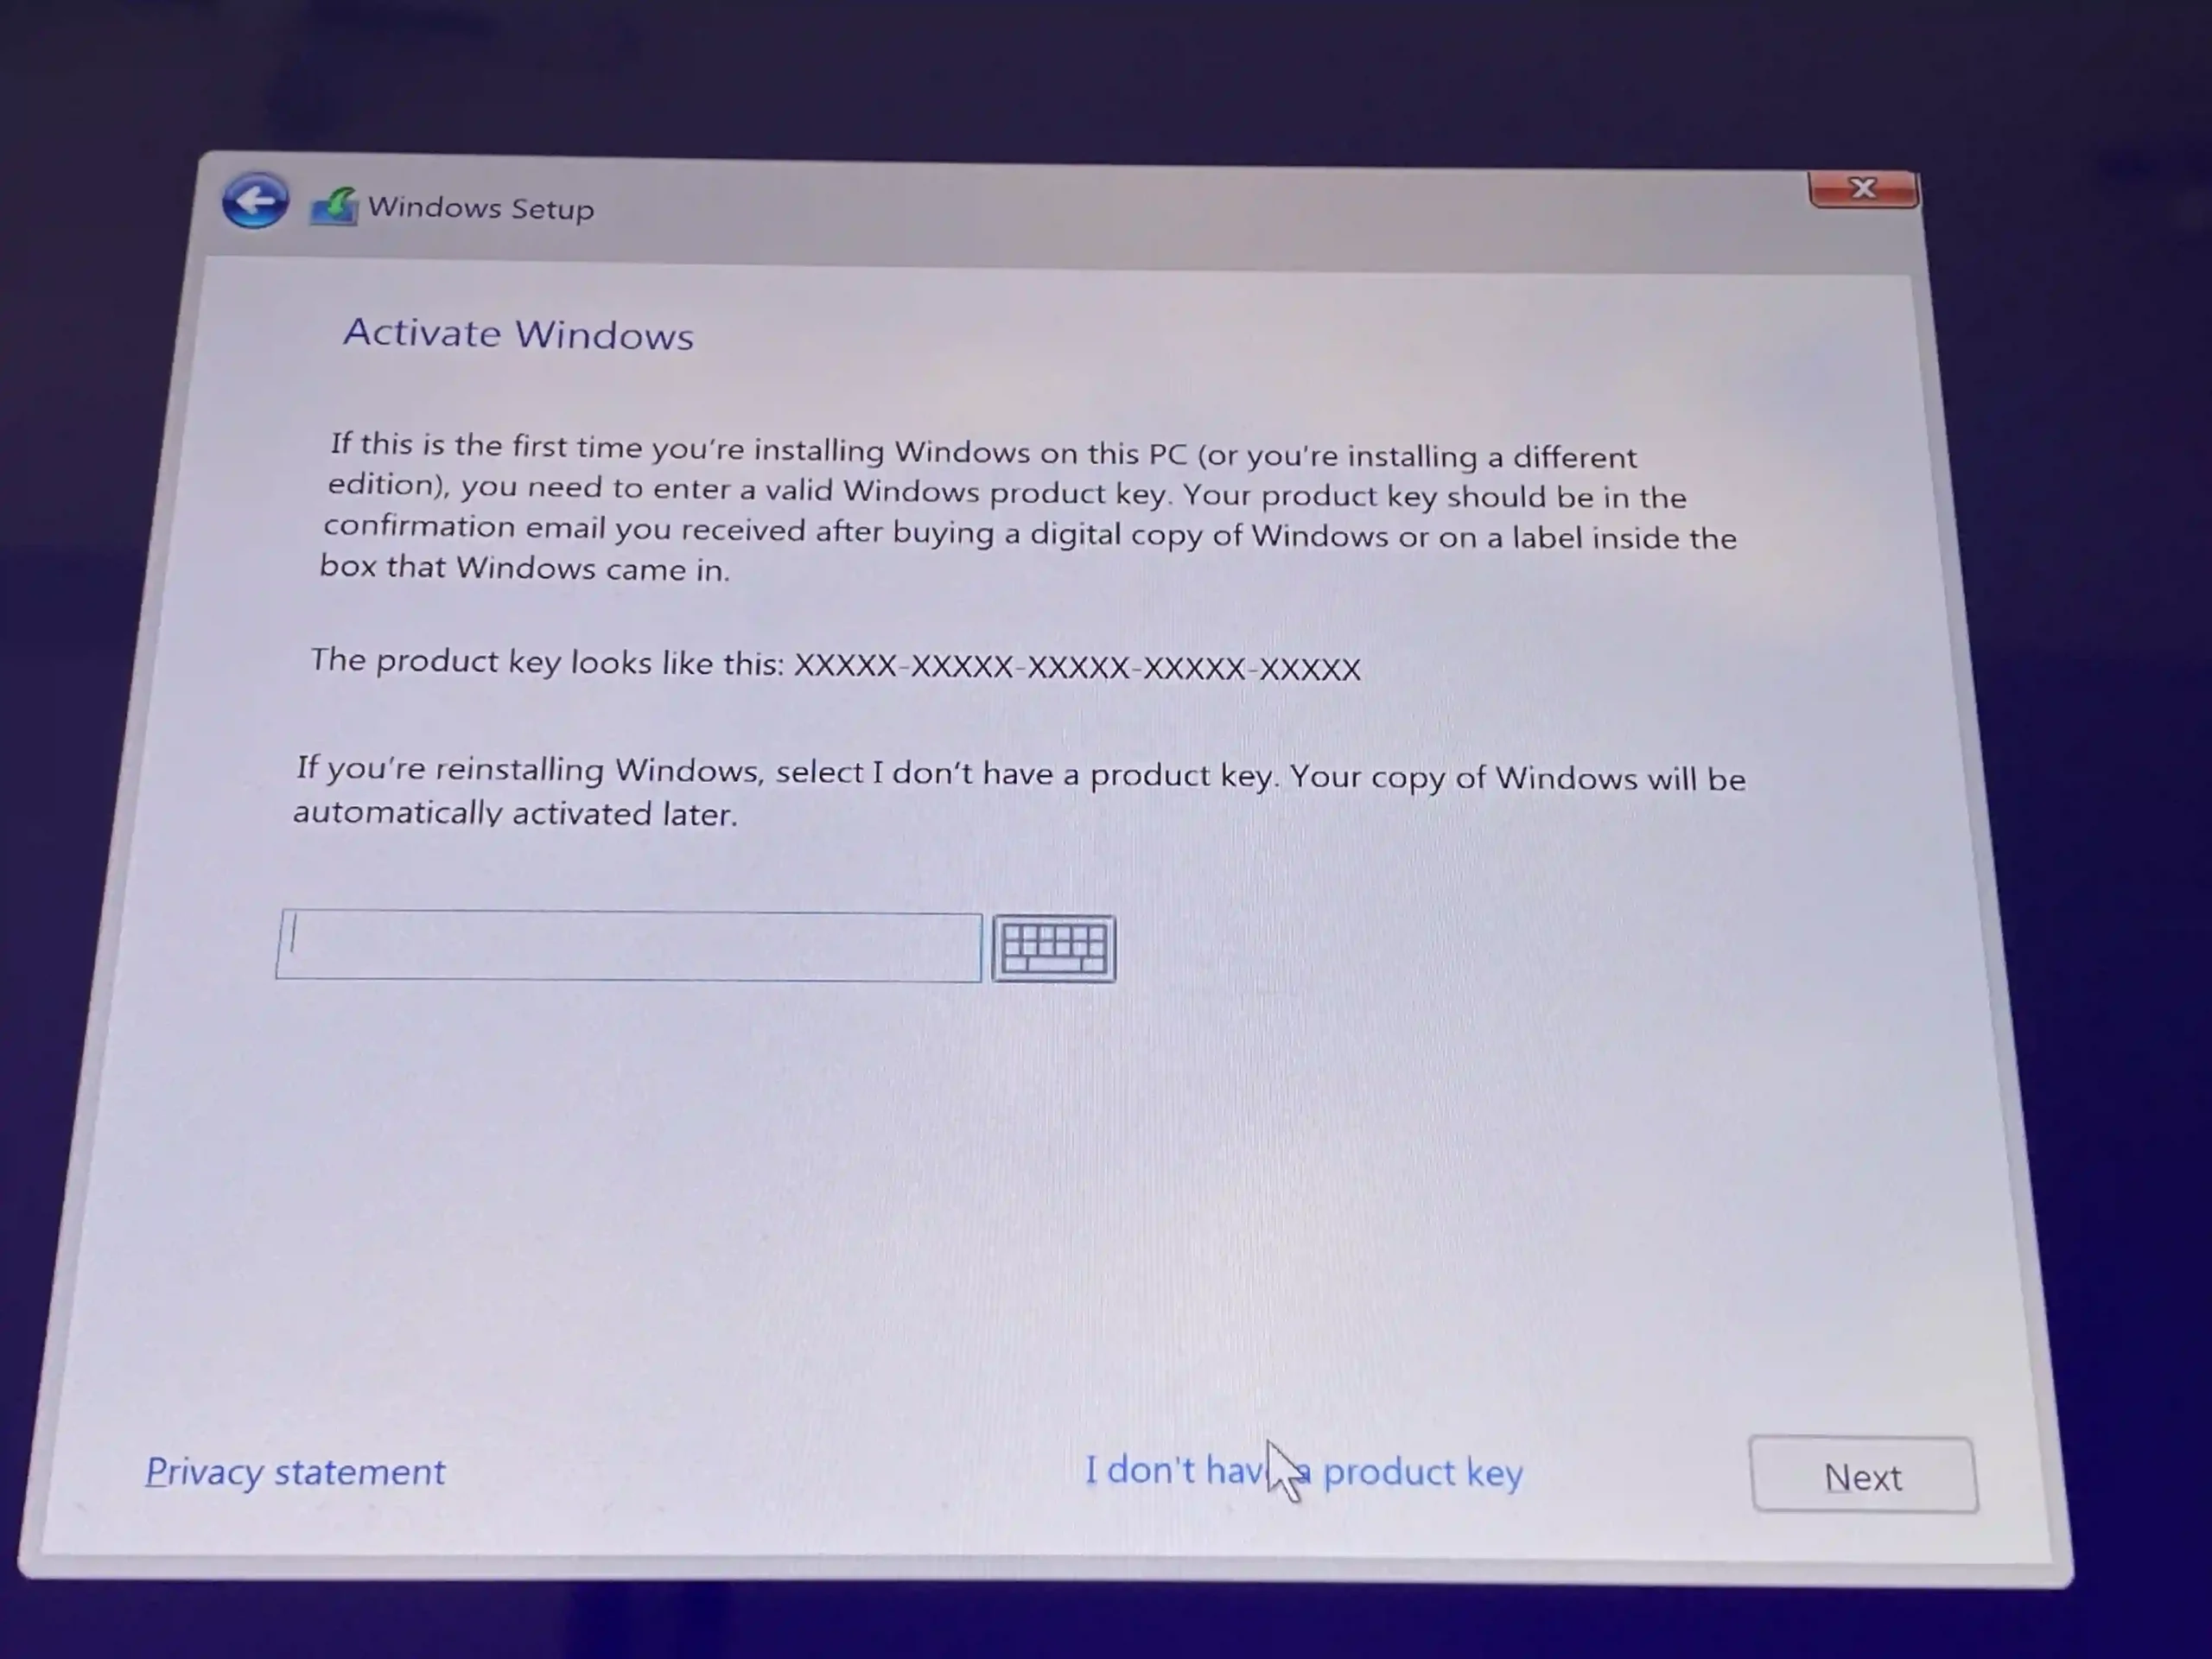
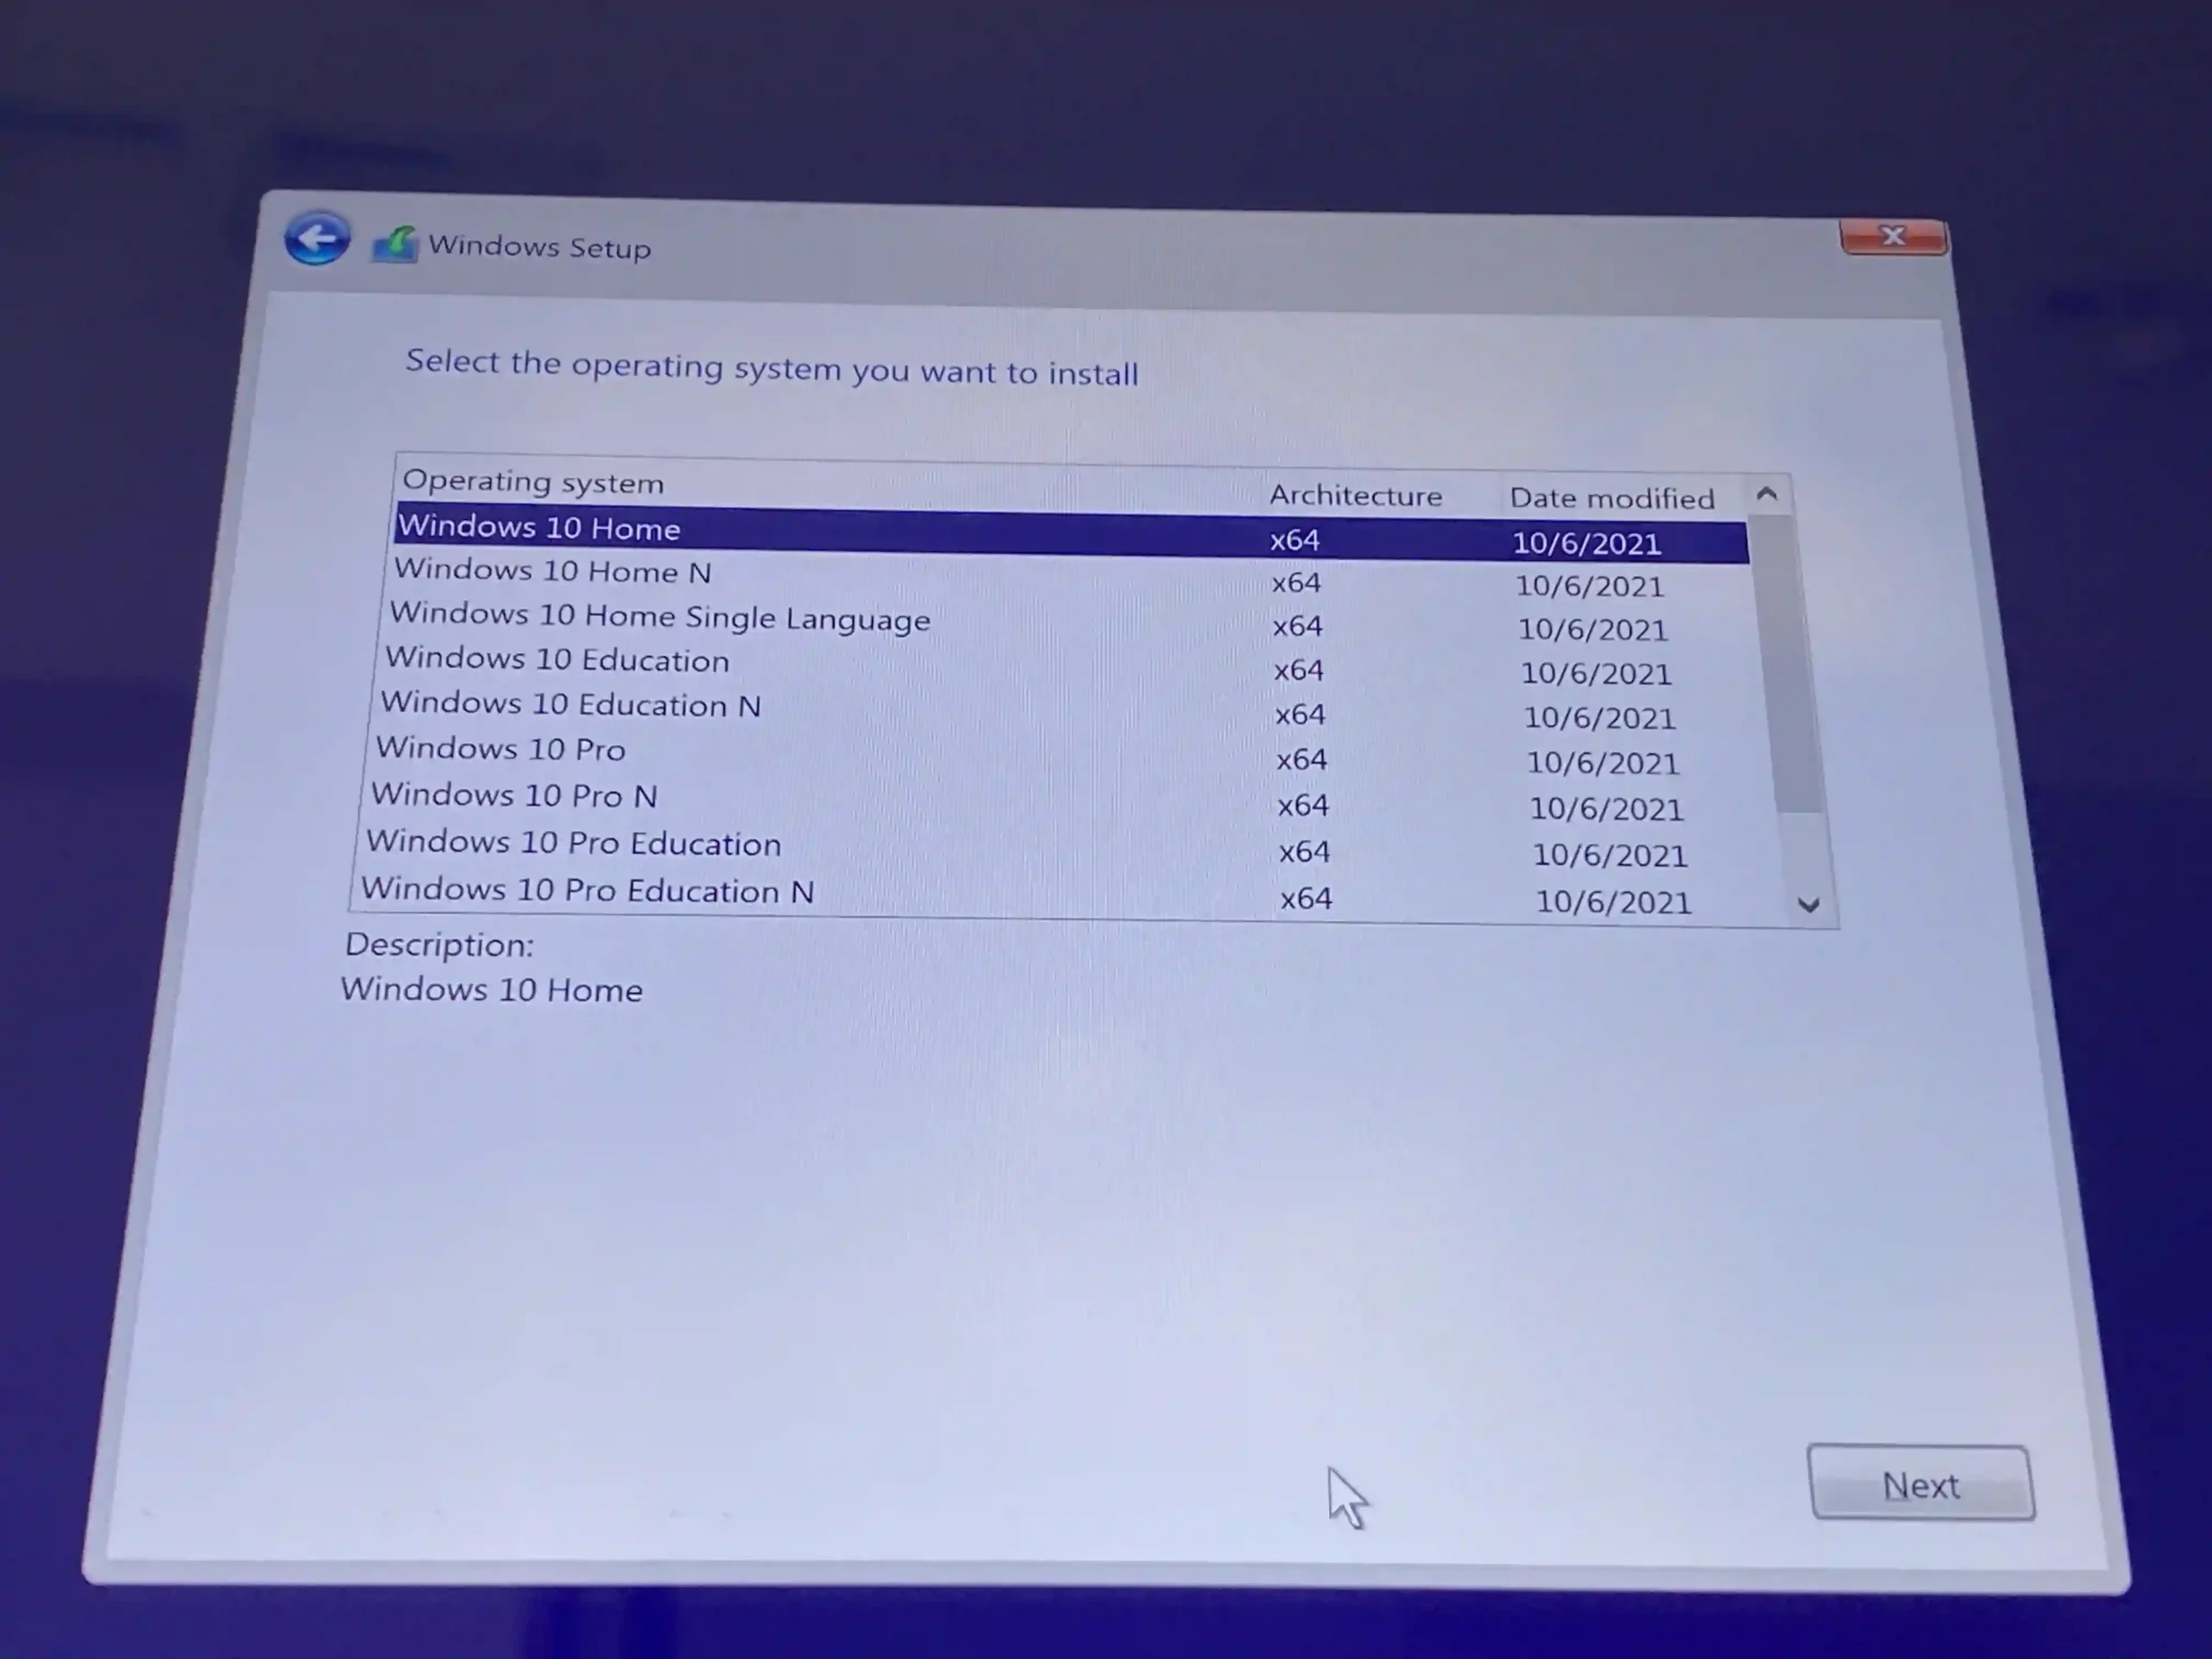
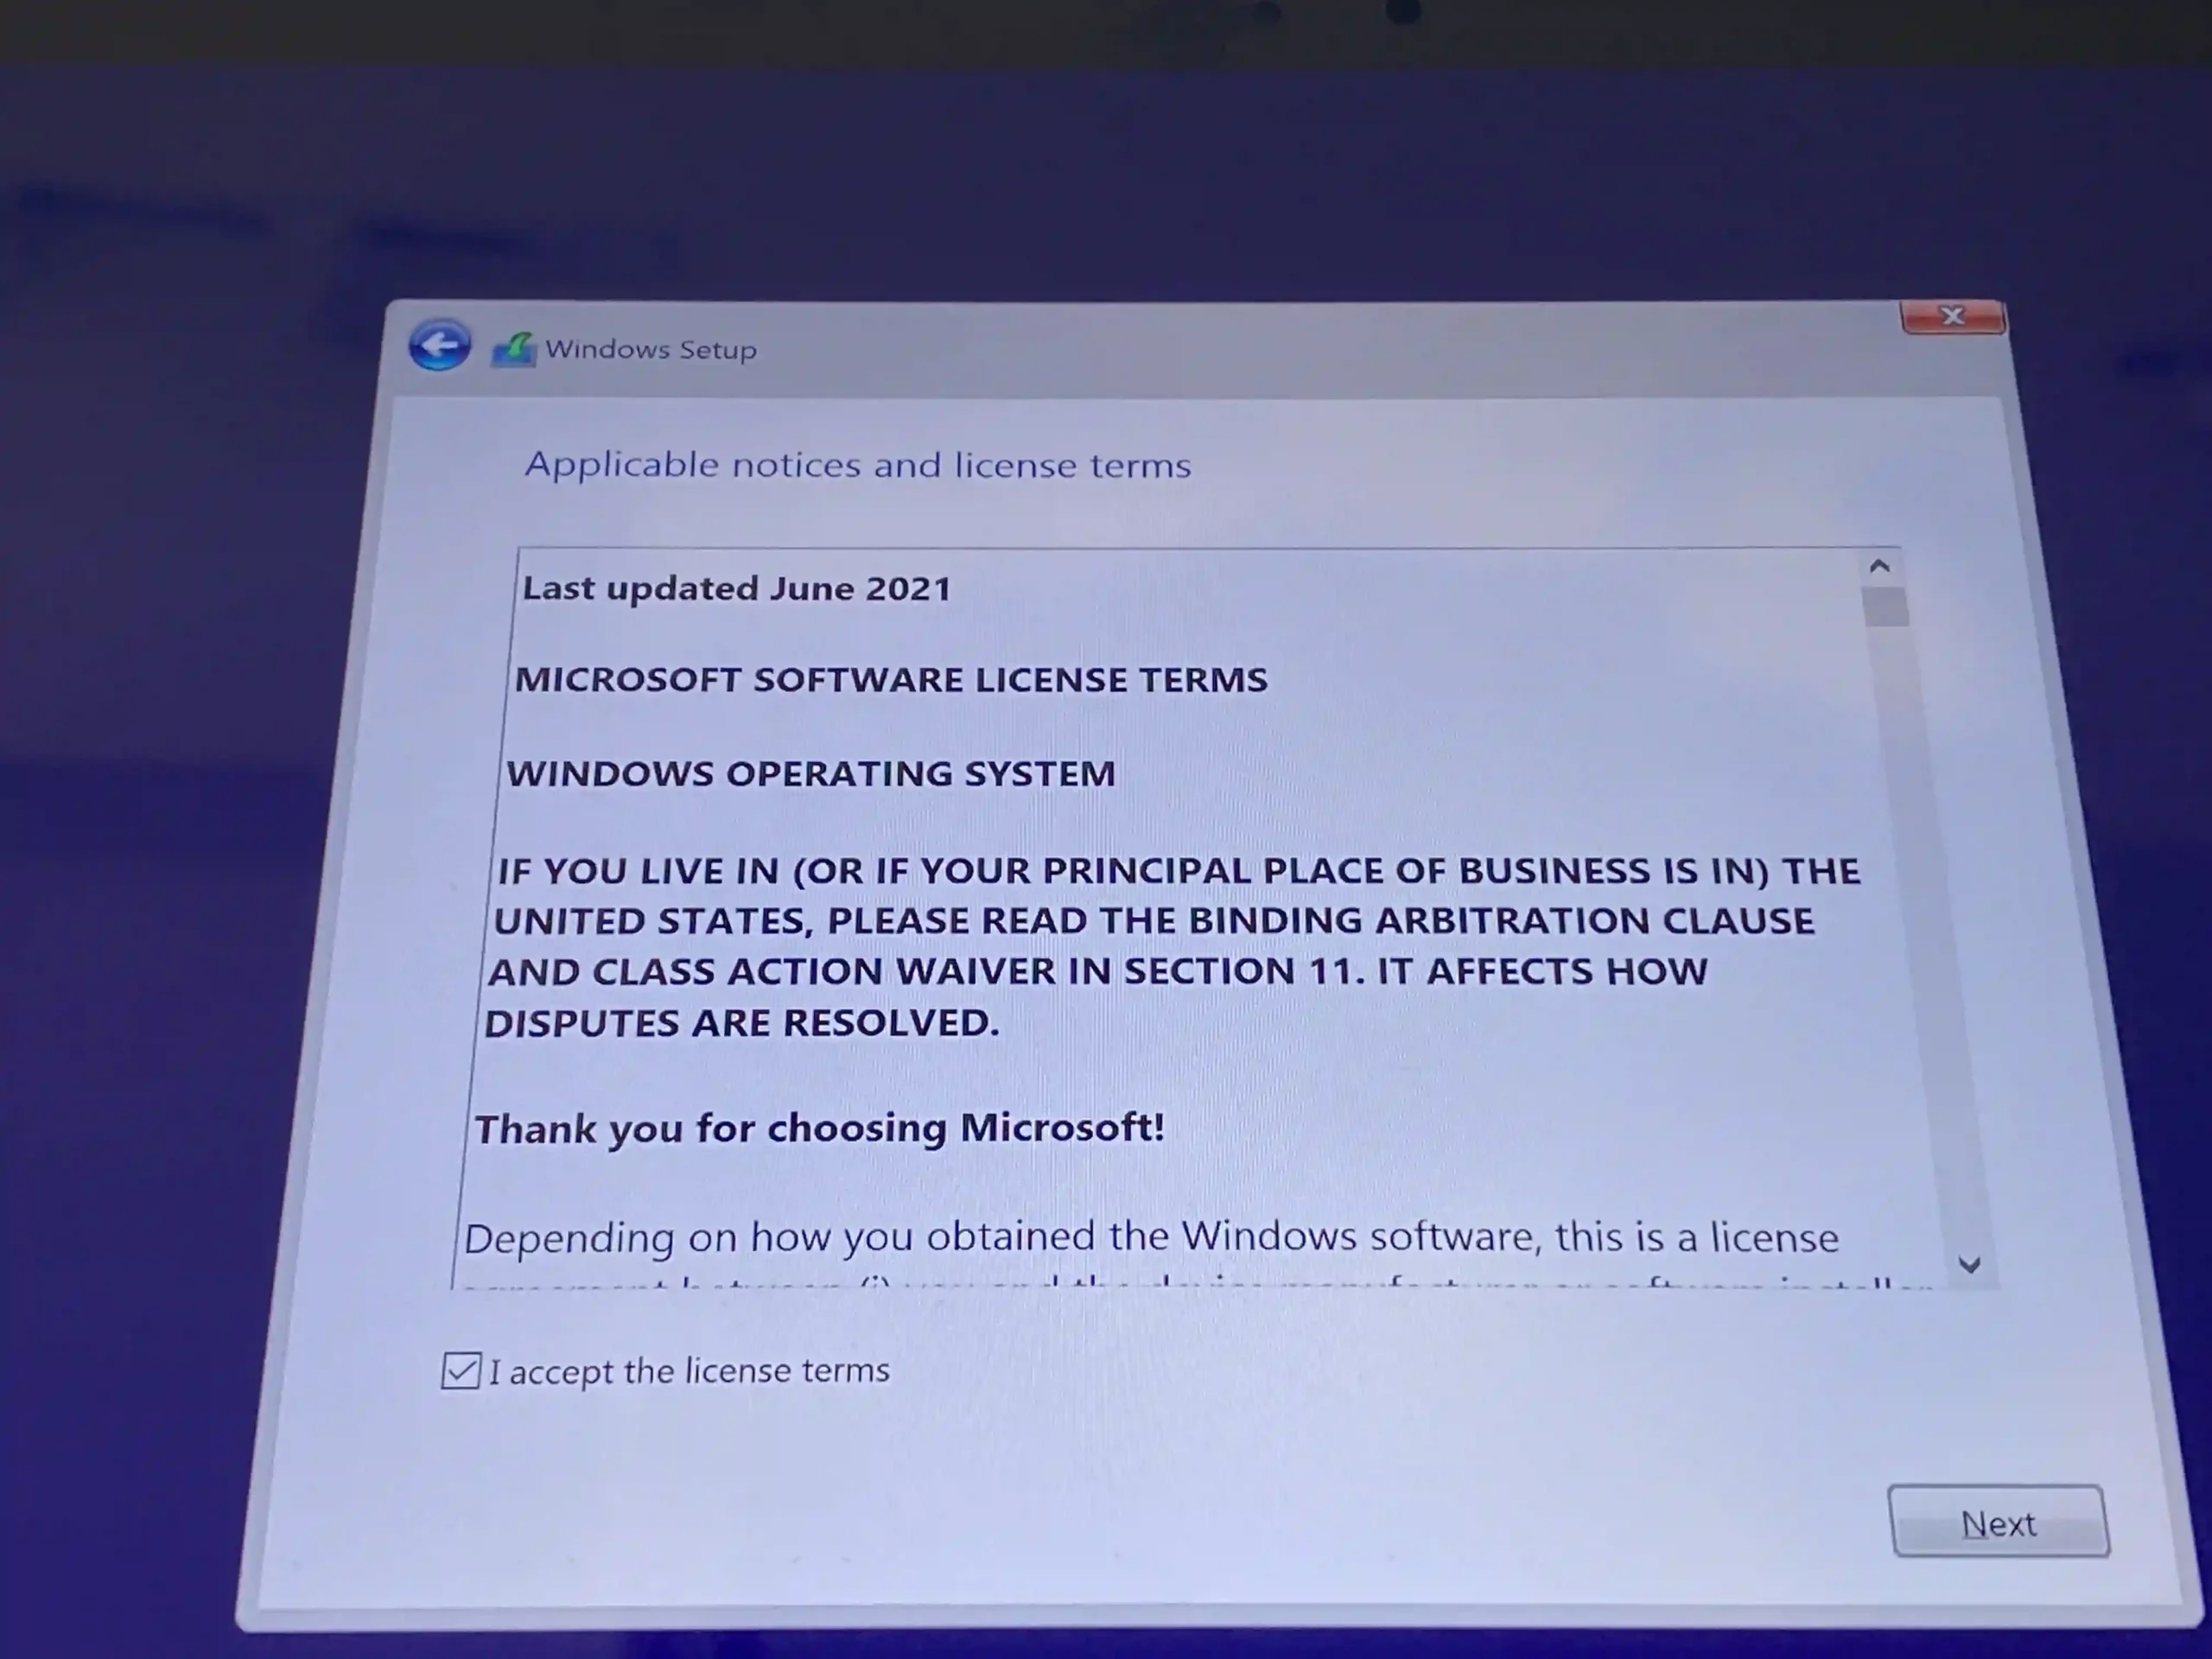
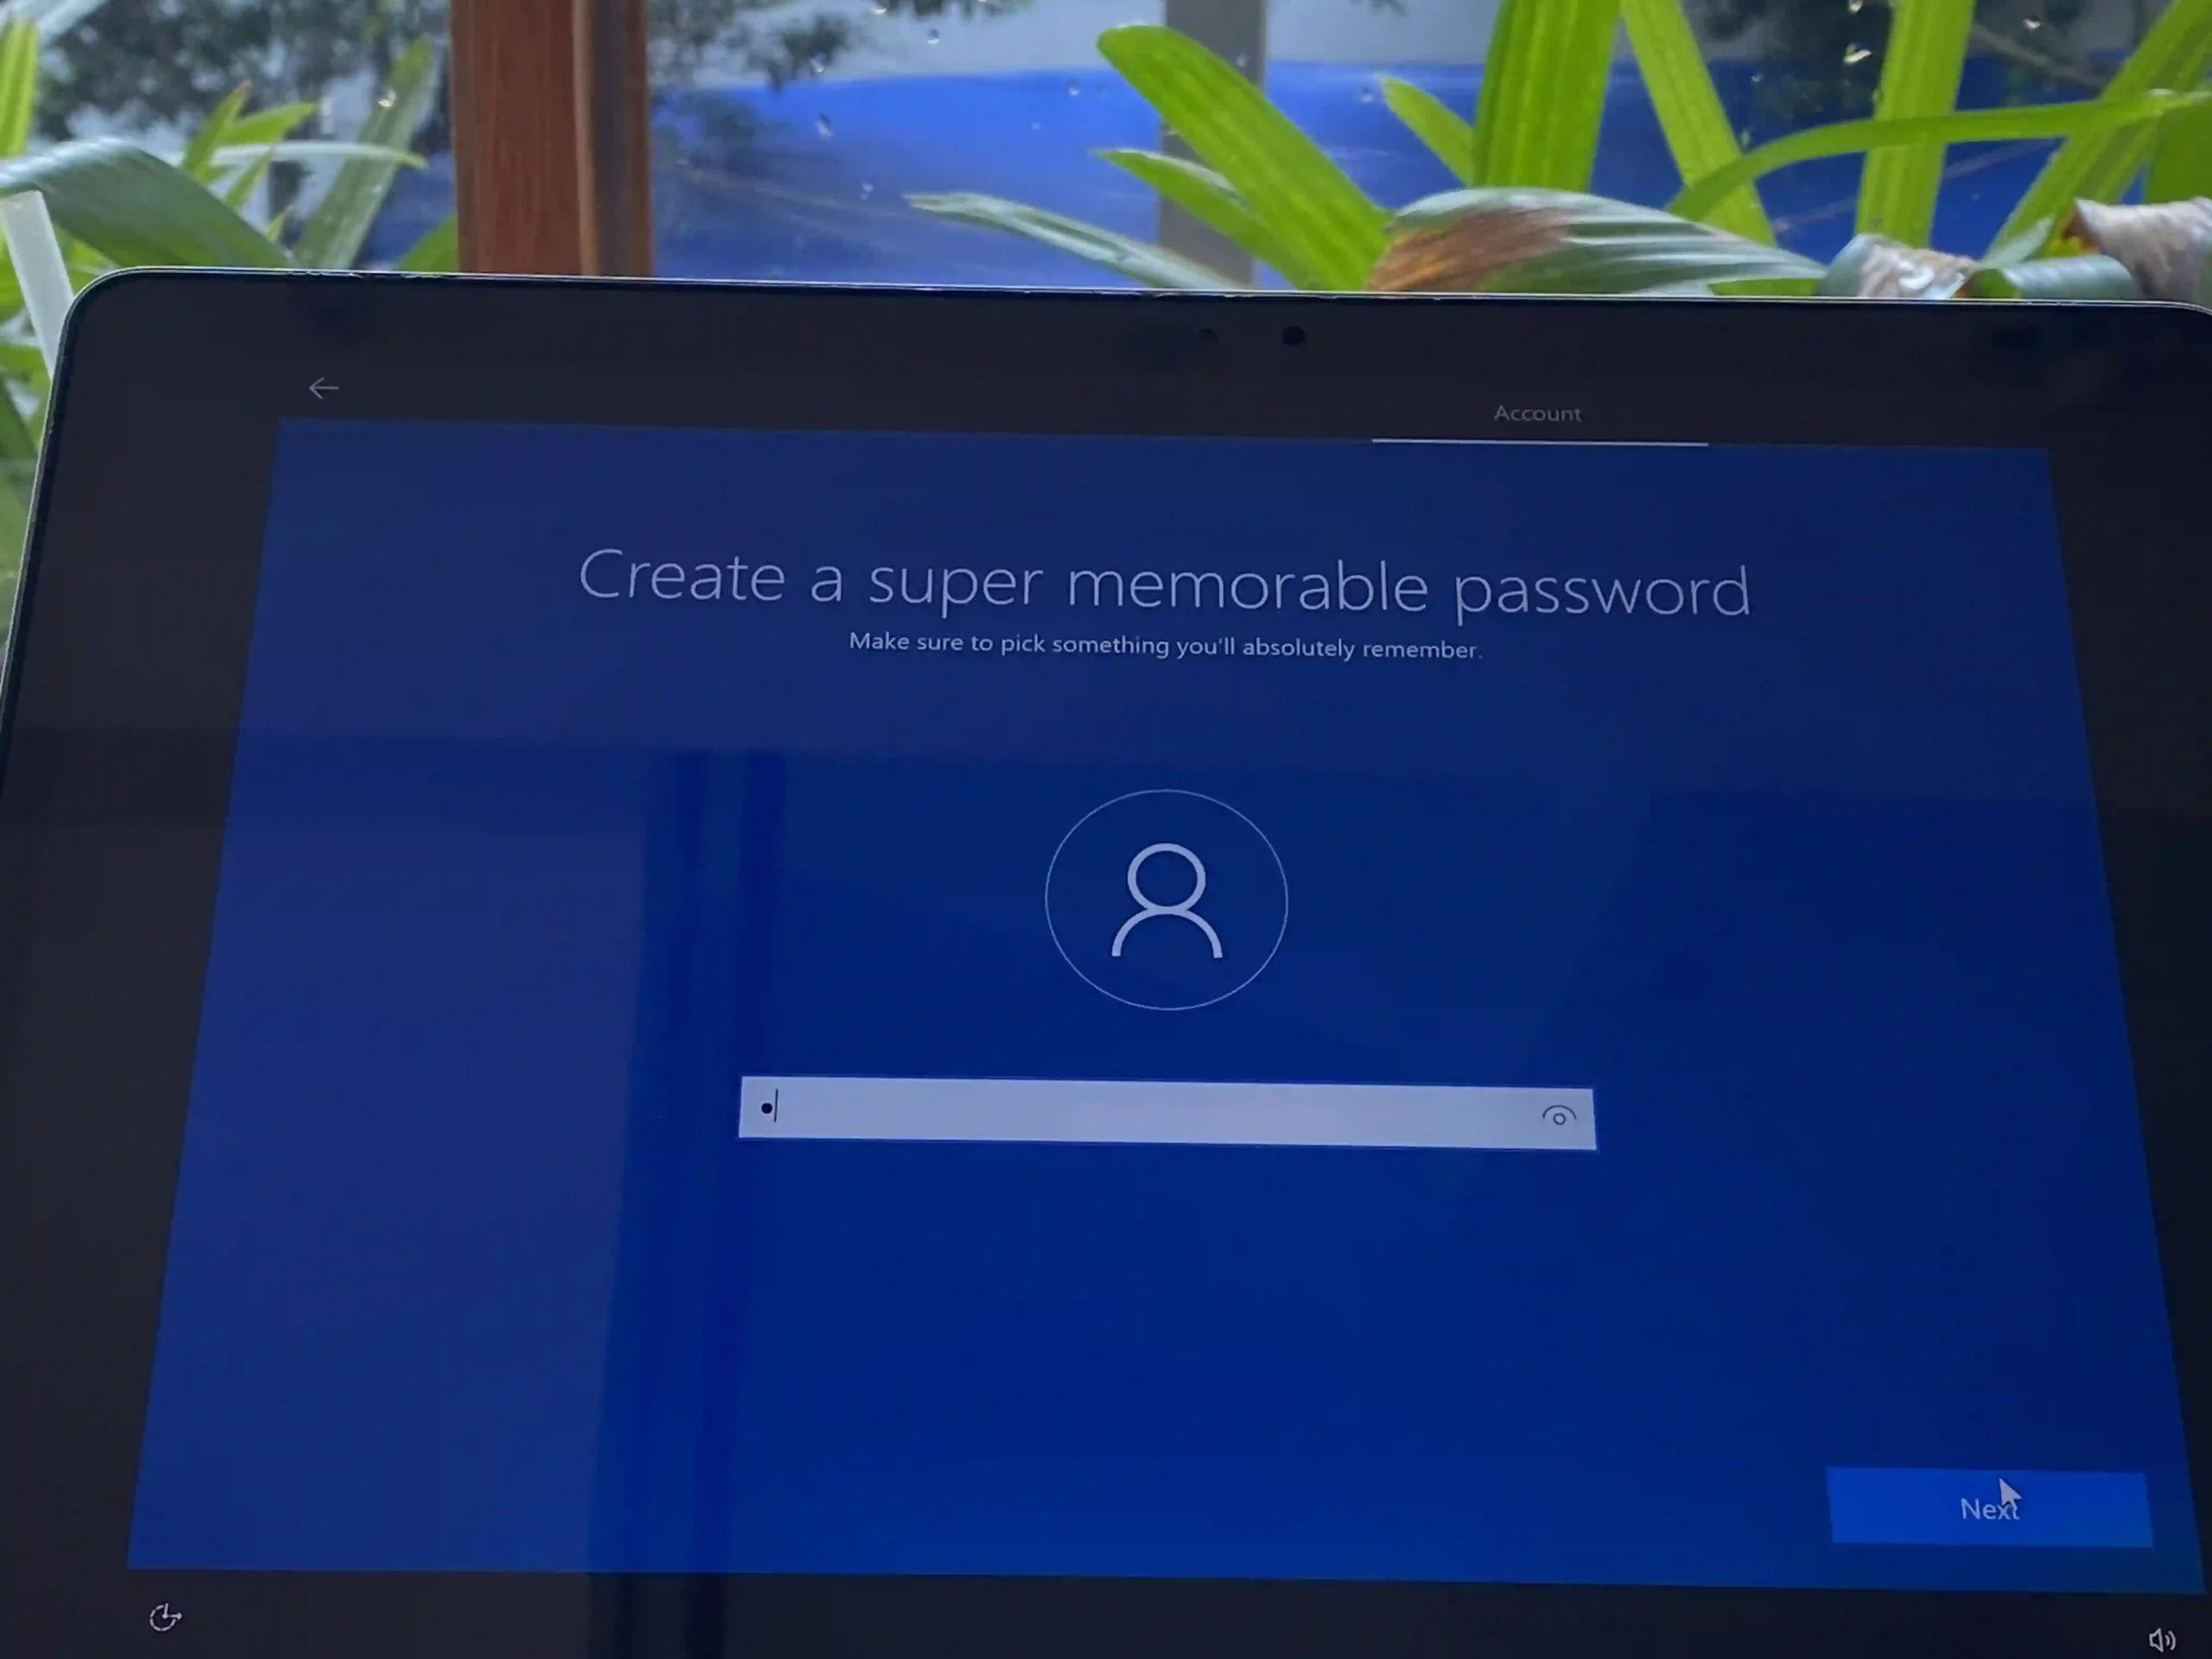
If you don’t have a lincense to activate Windows 10, you can select the “I don’t have a product key” option and then click on Next to continue.
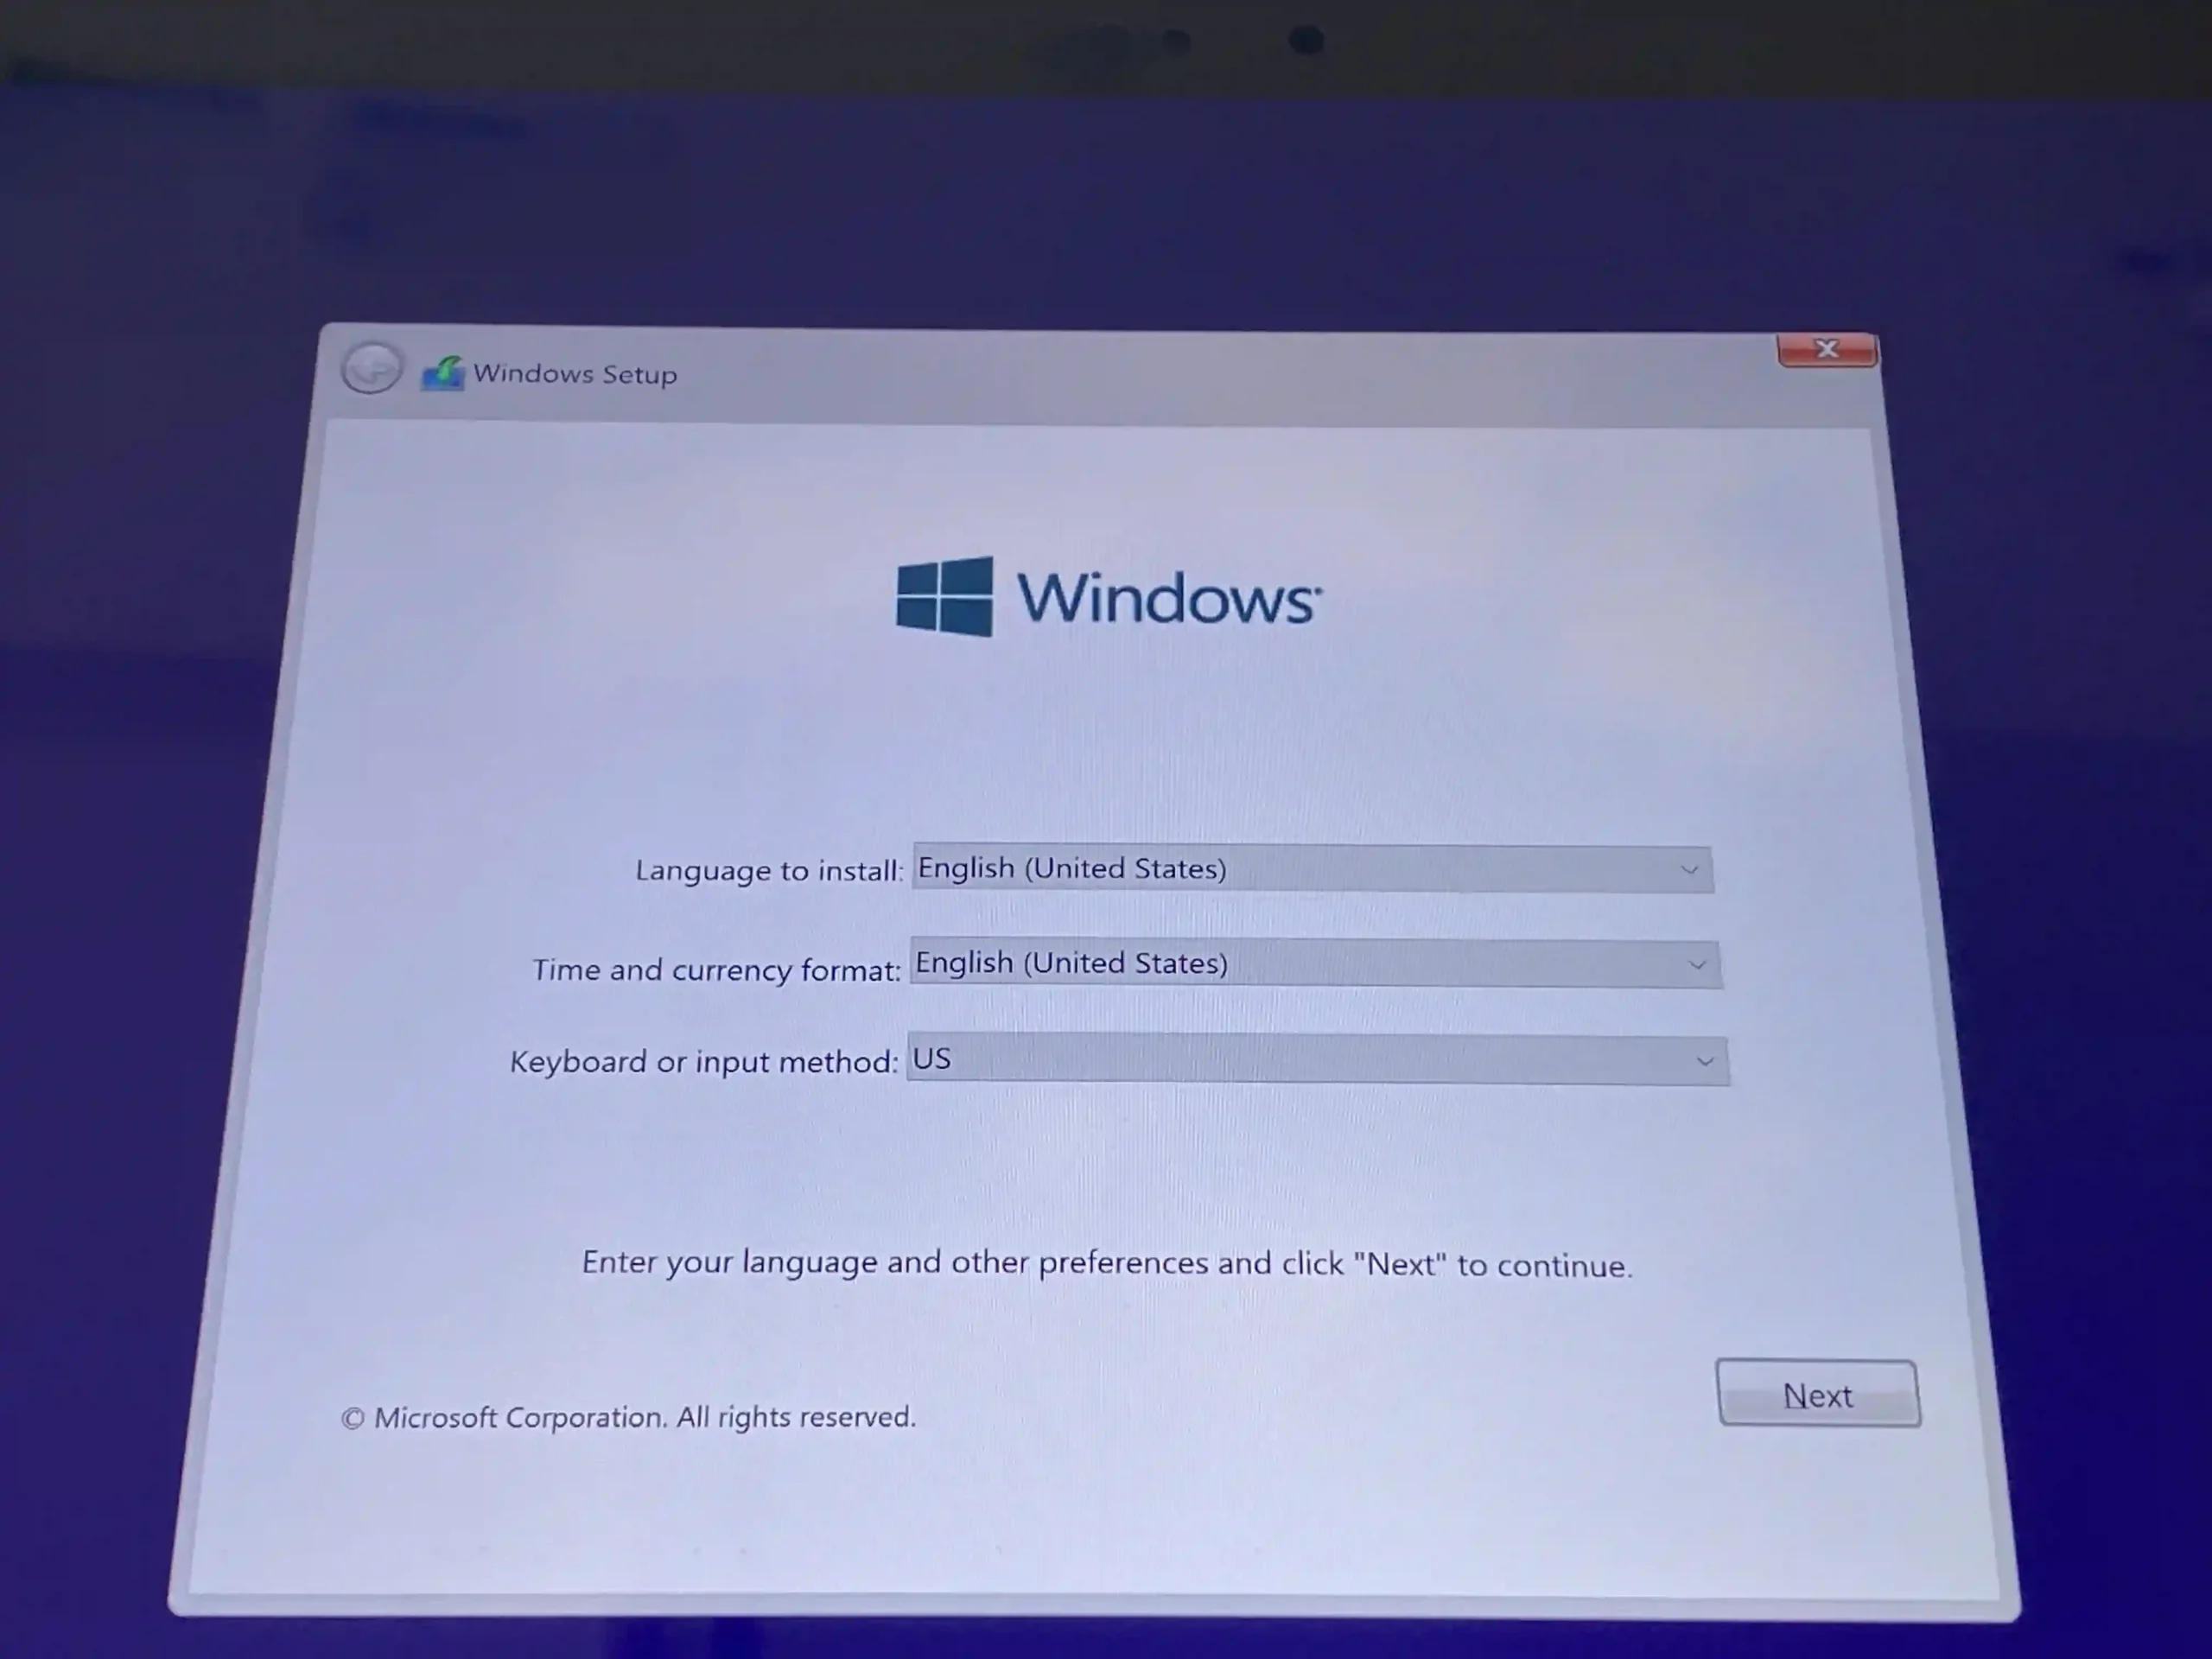
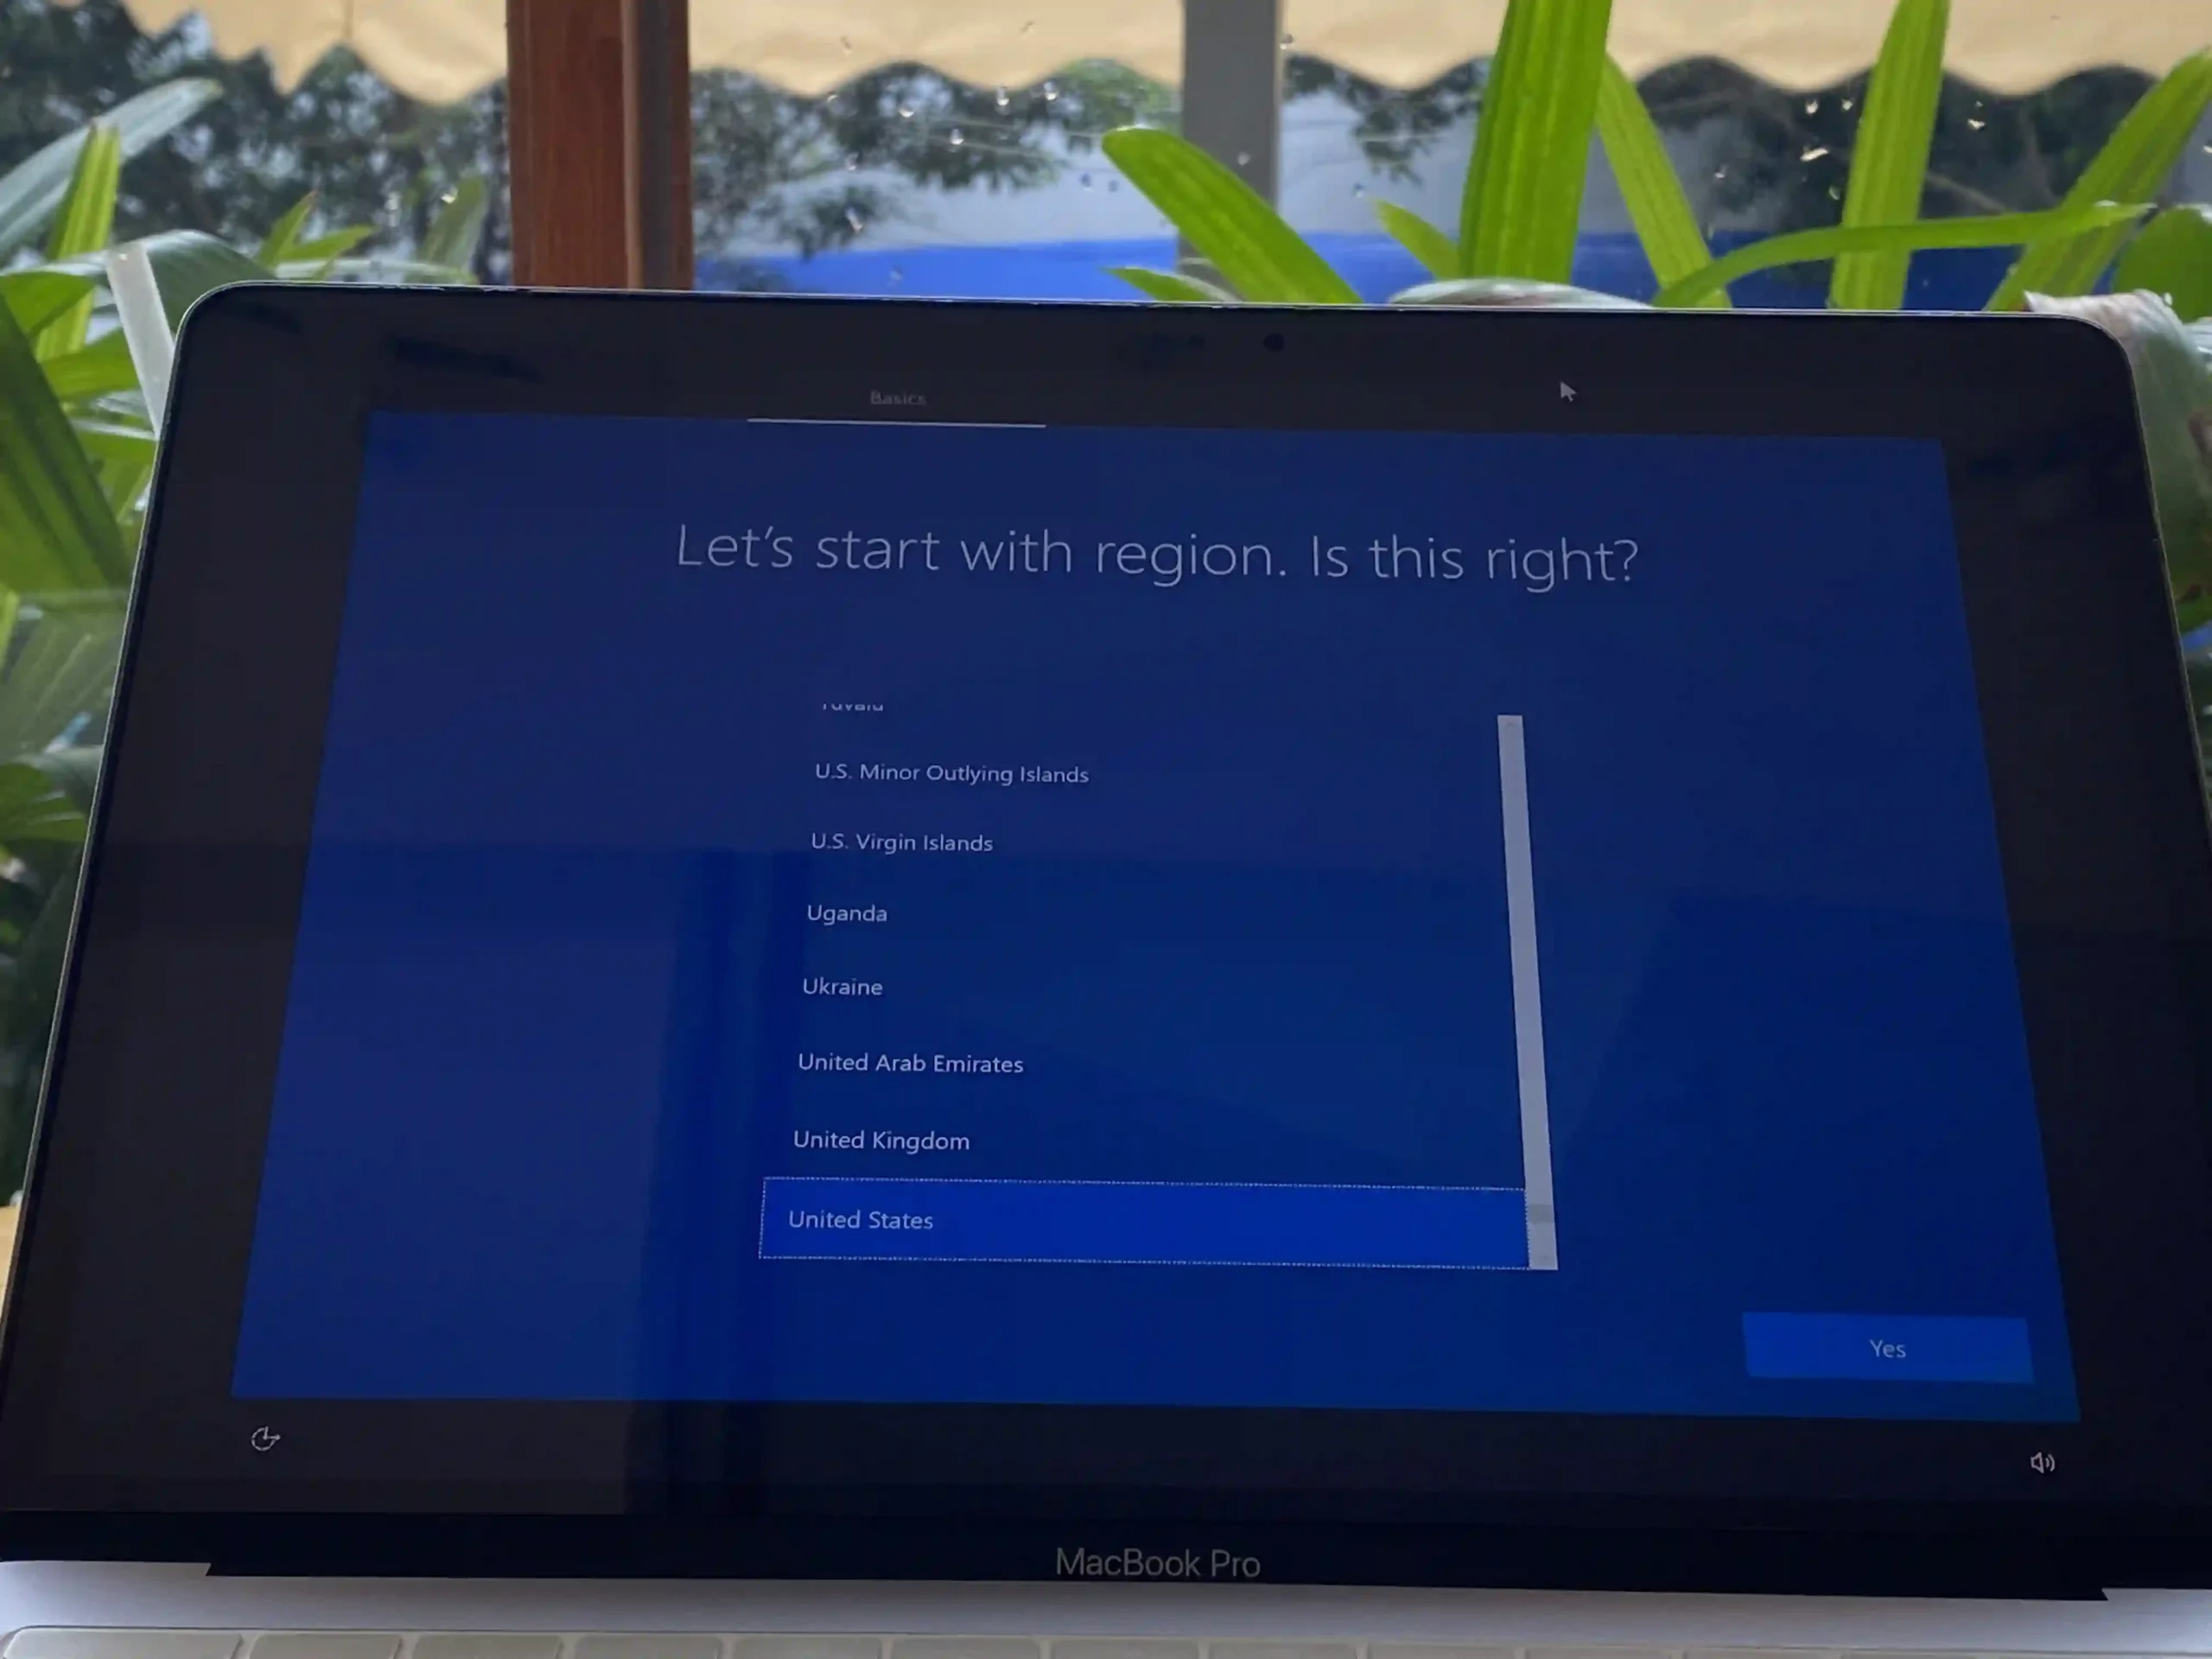
5. On the first screen, select your country, time zone, keyboard layout, and then click on Next.
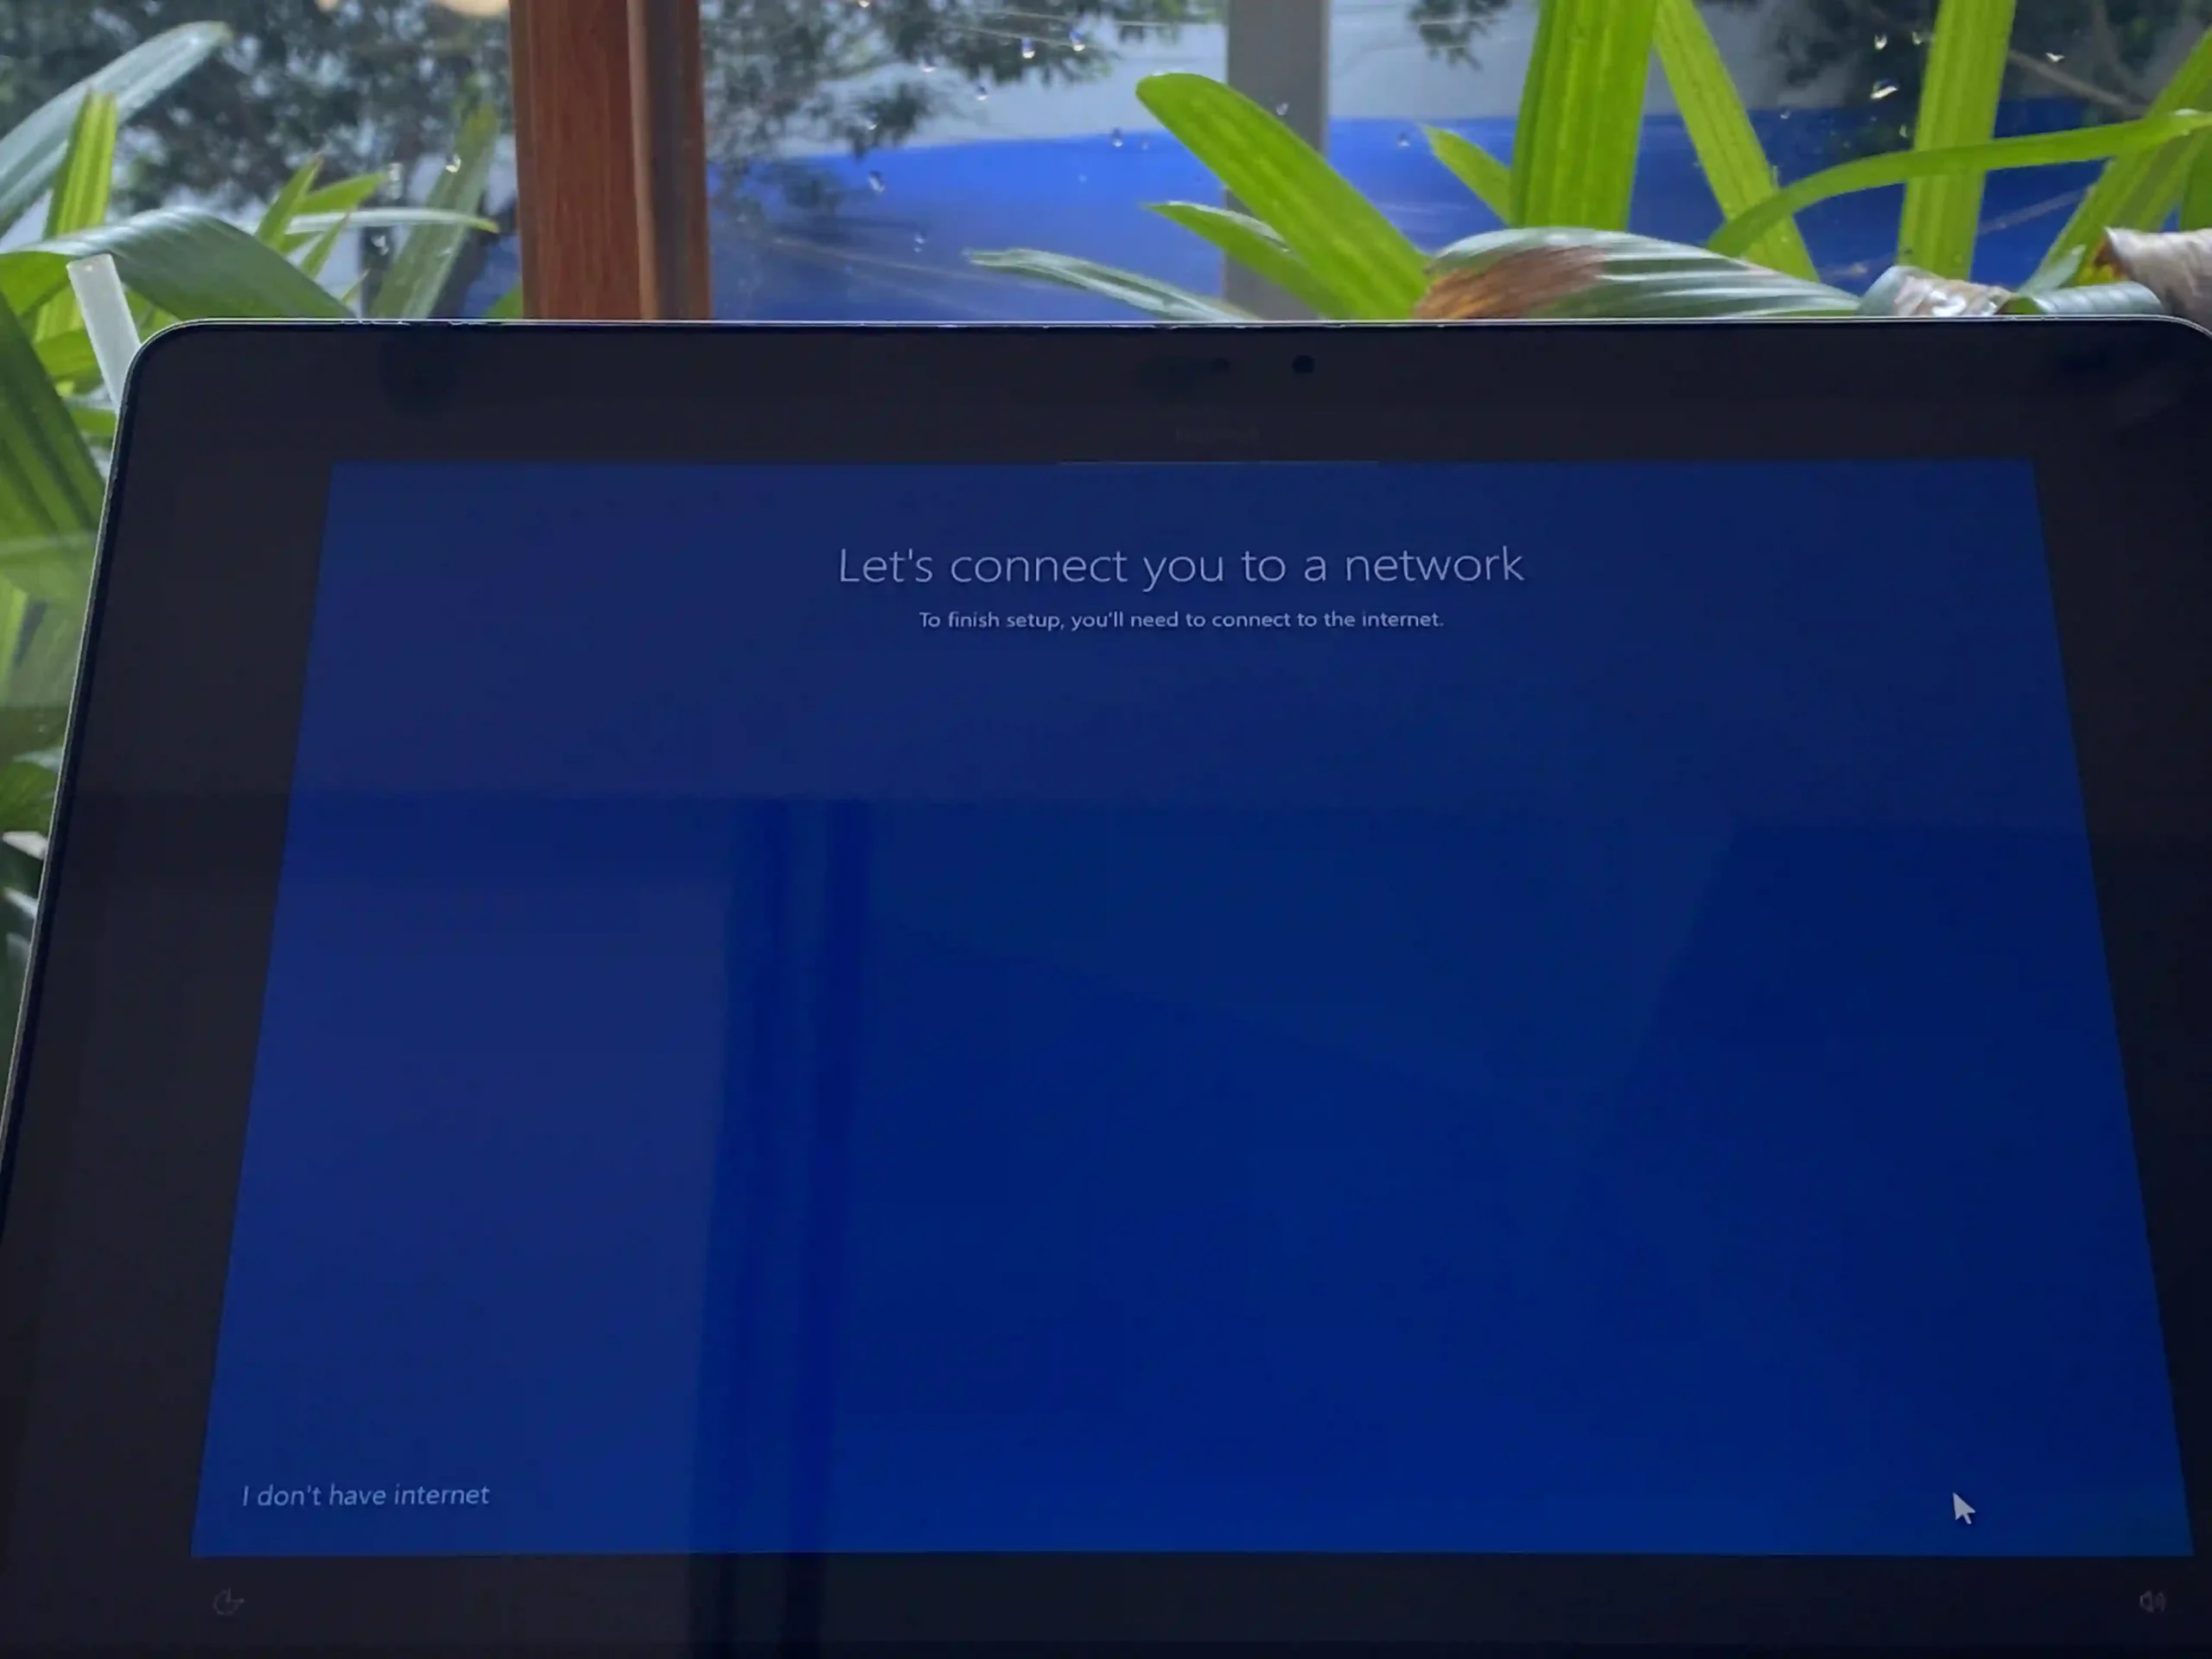
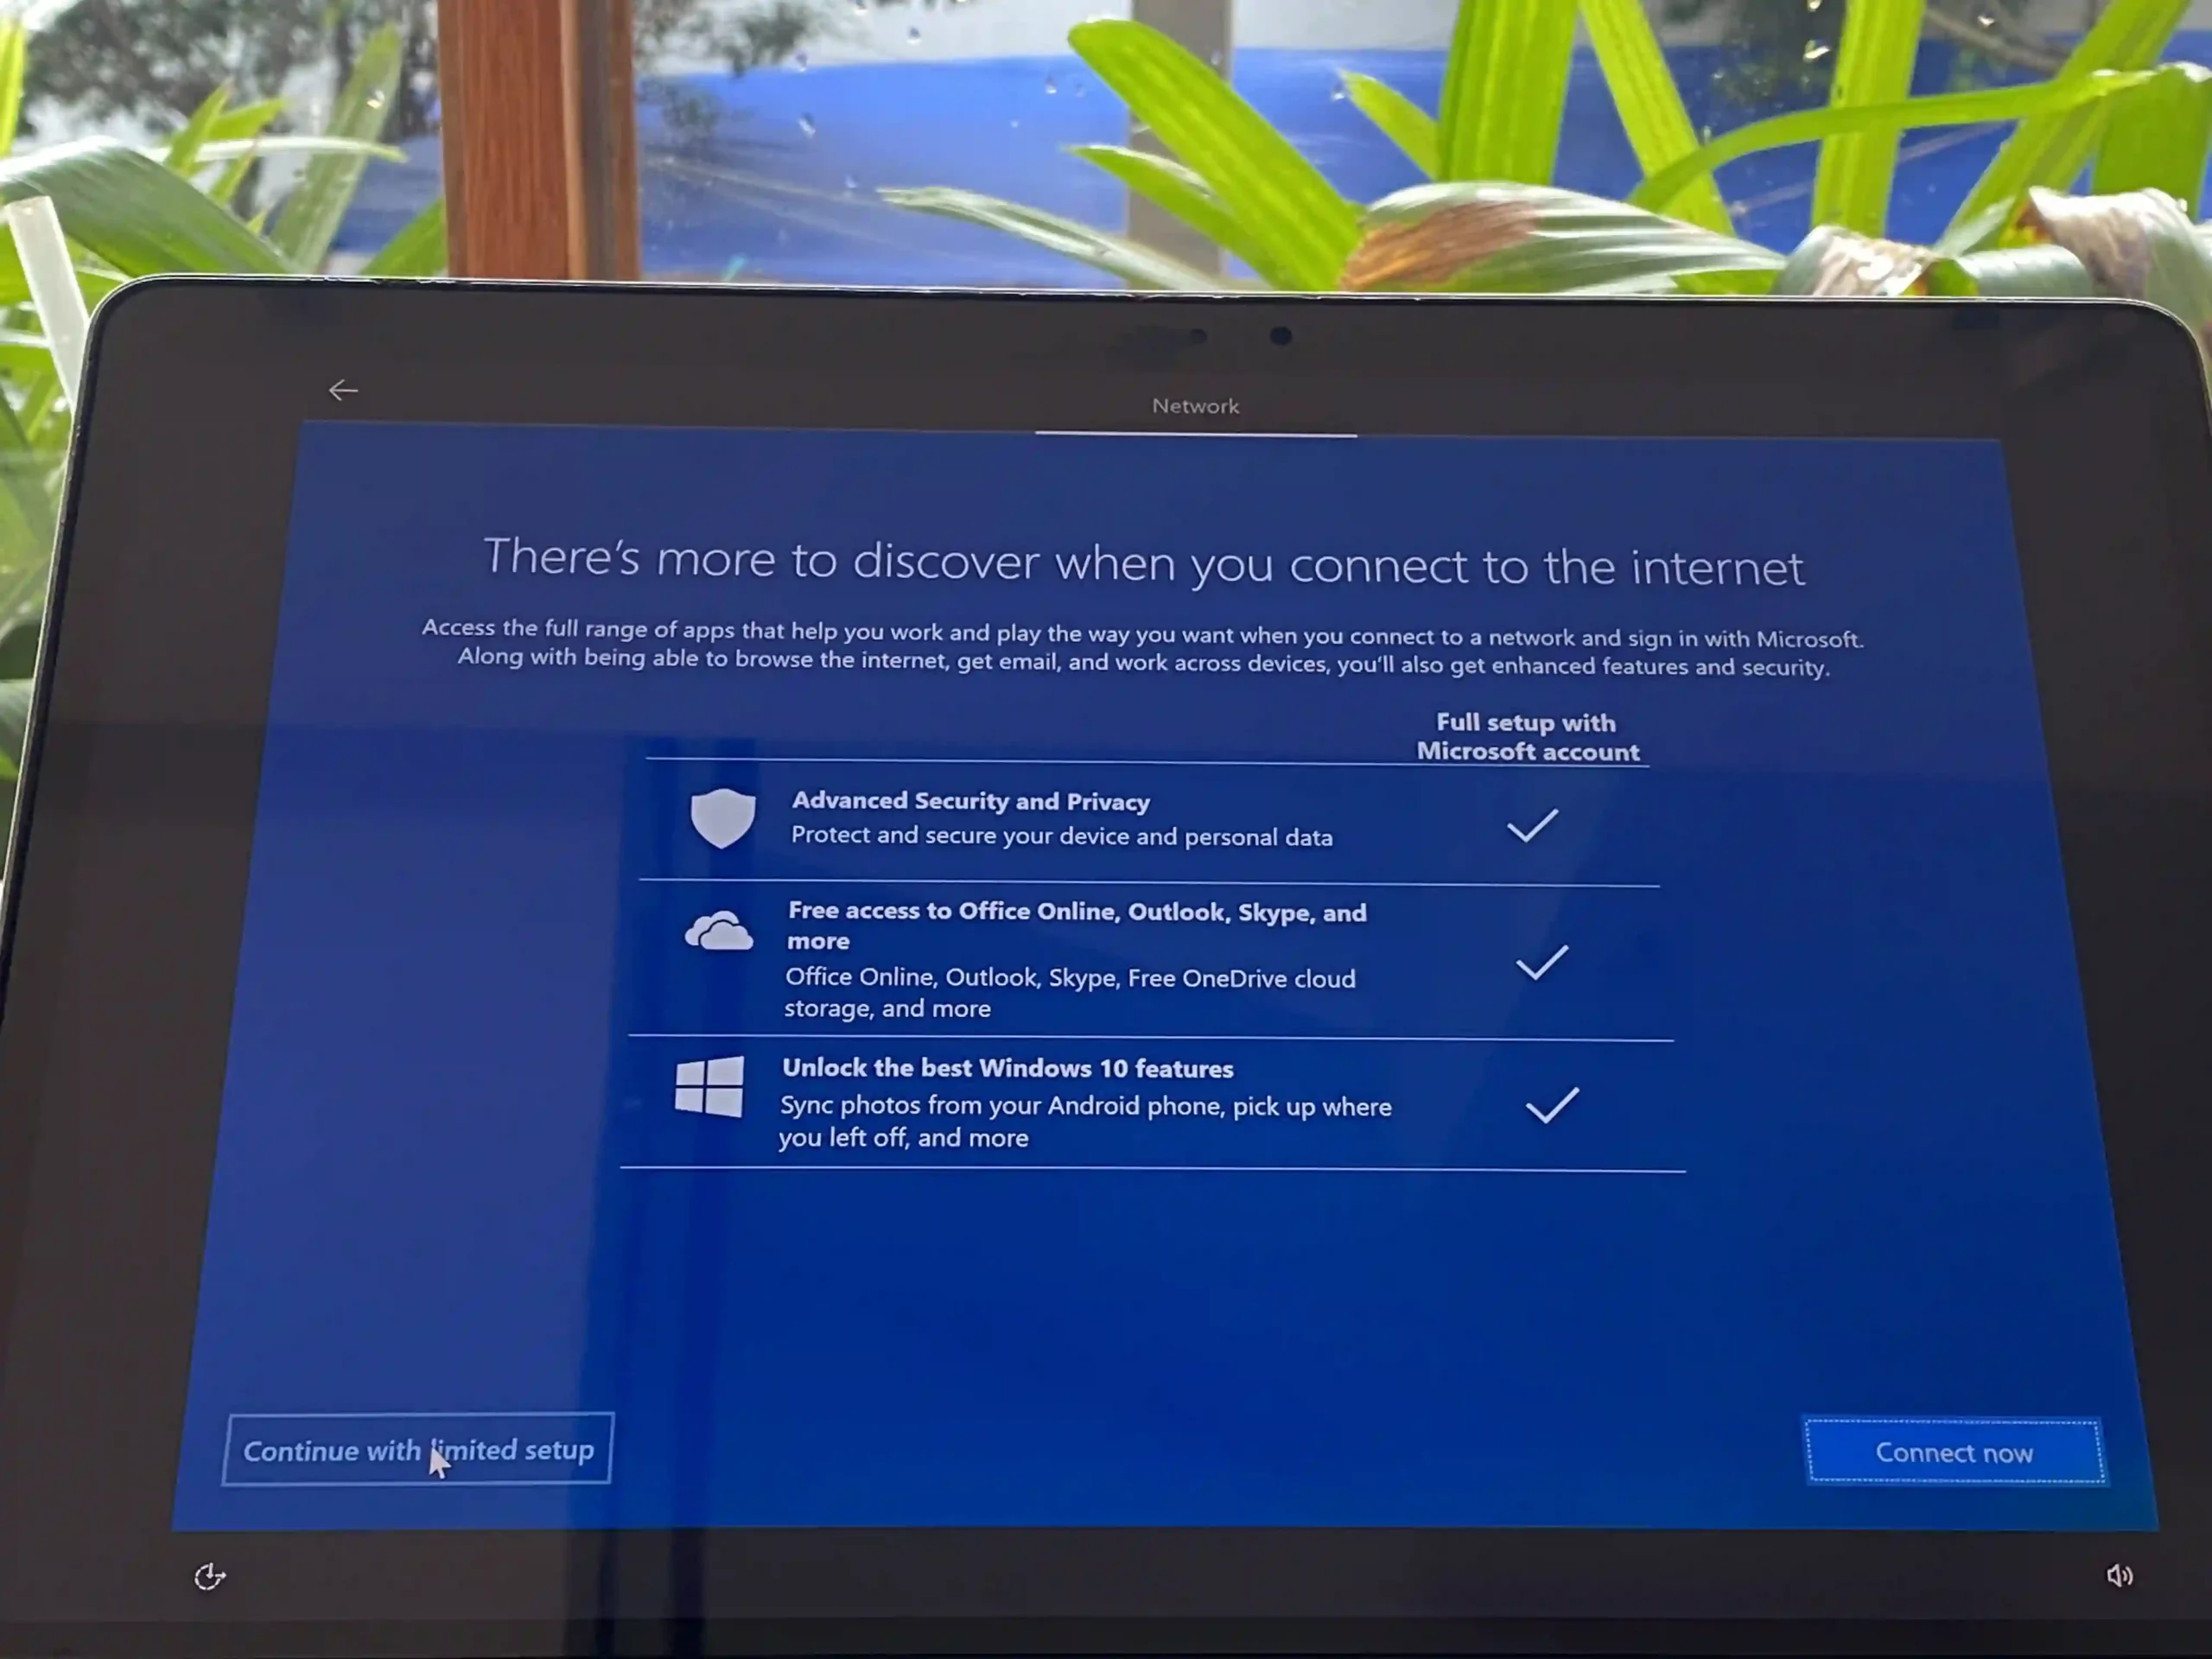
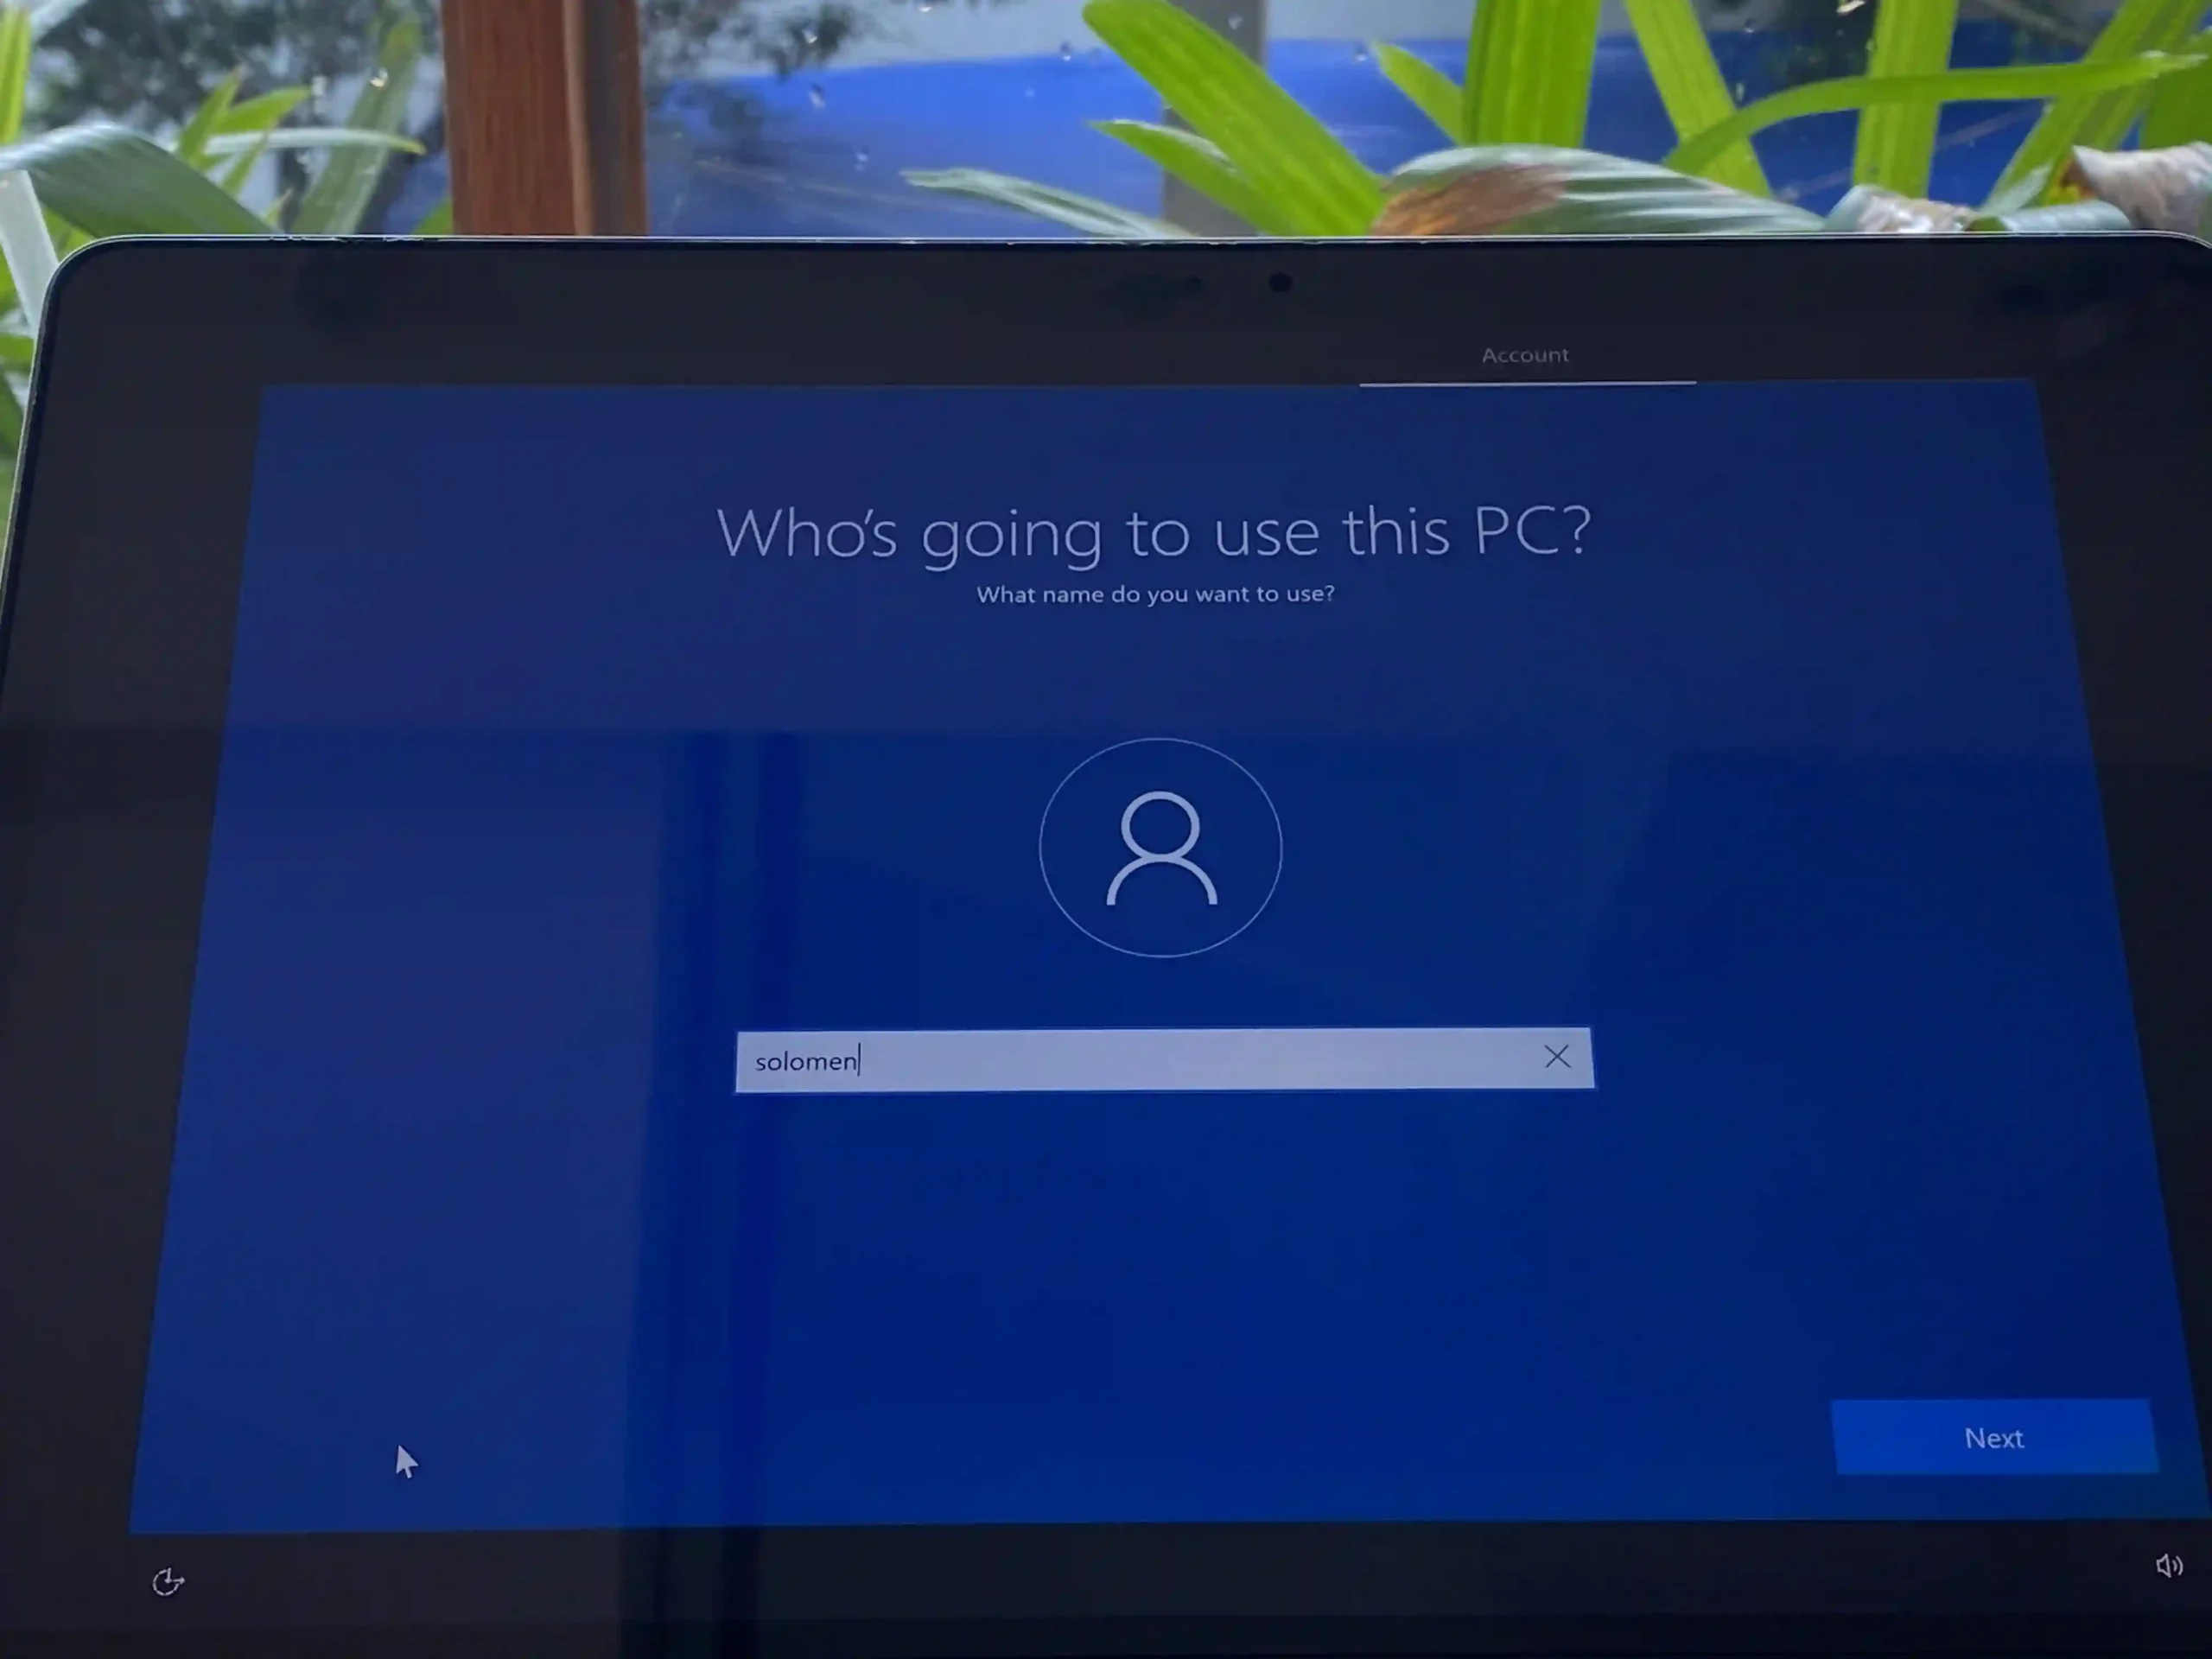
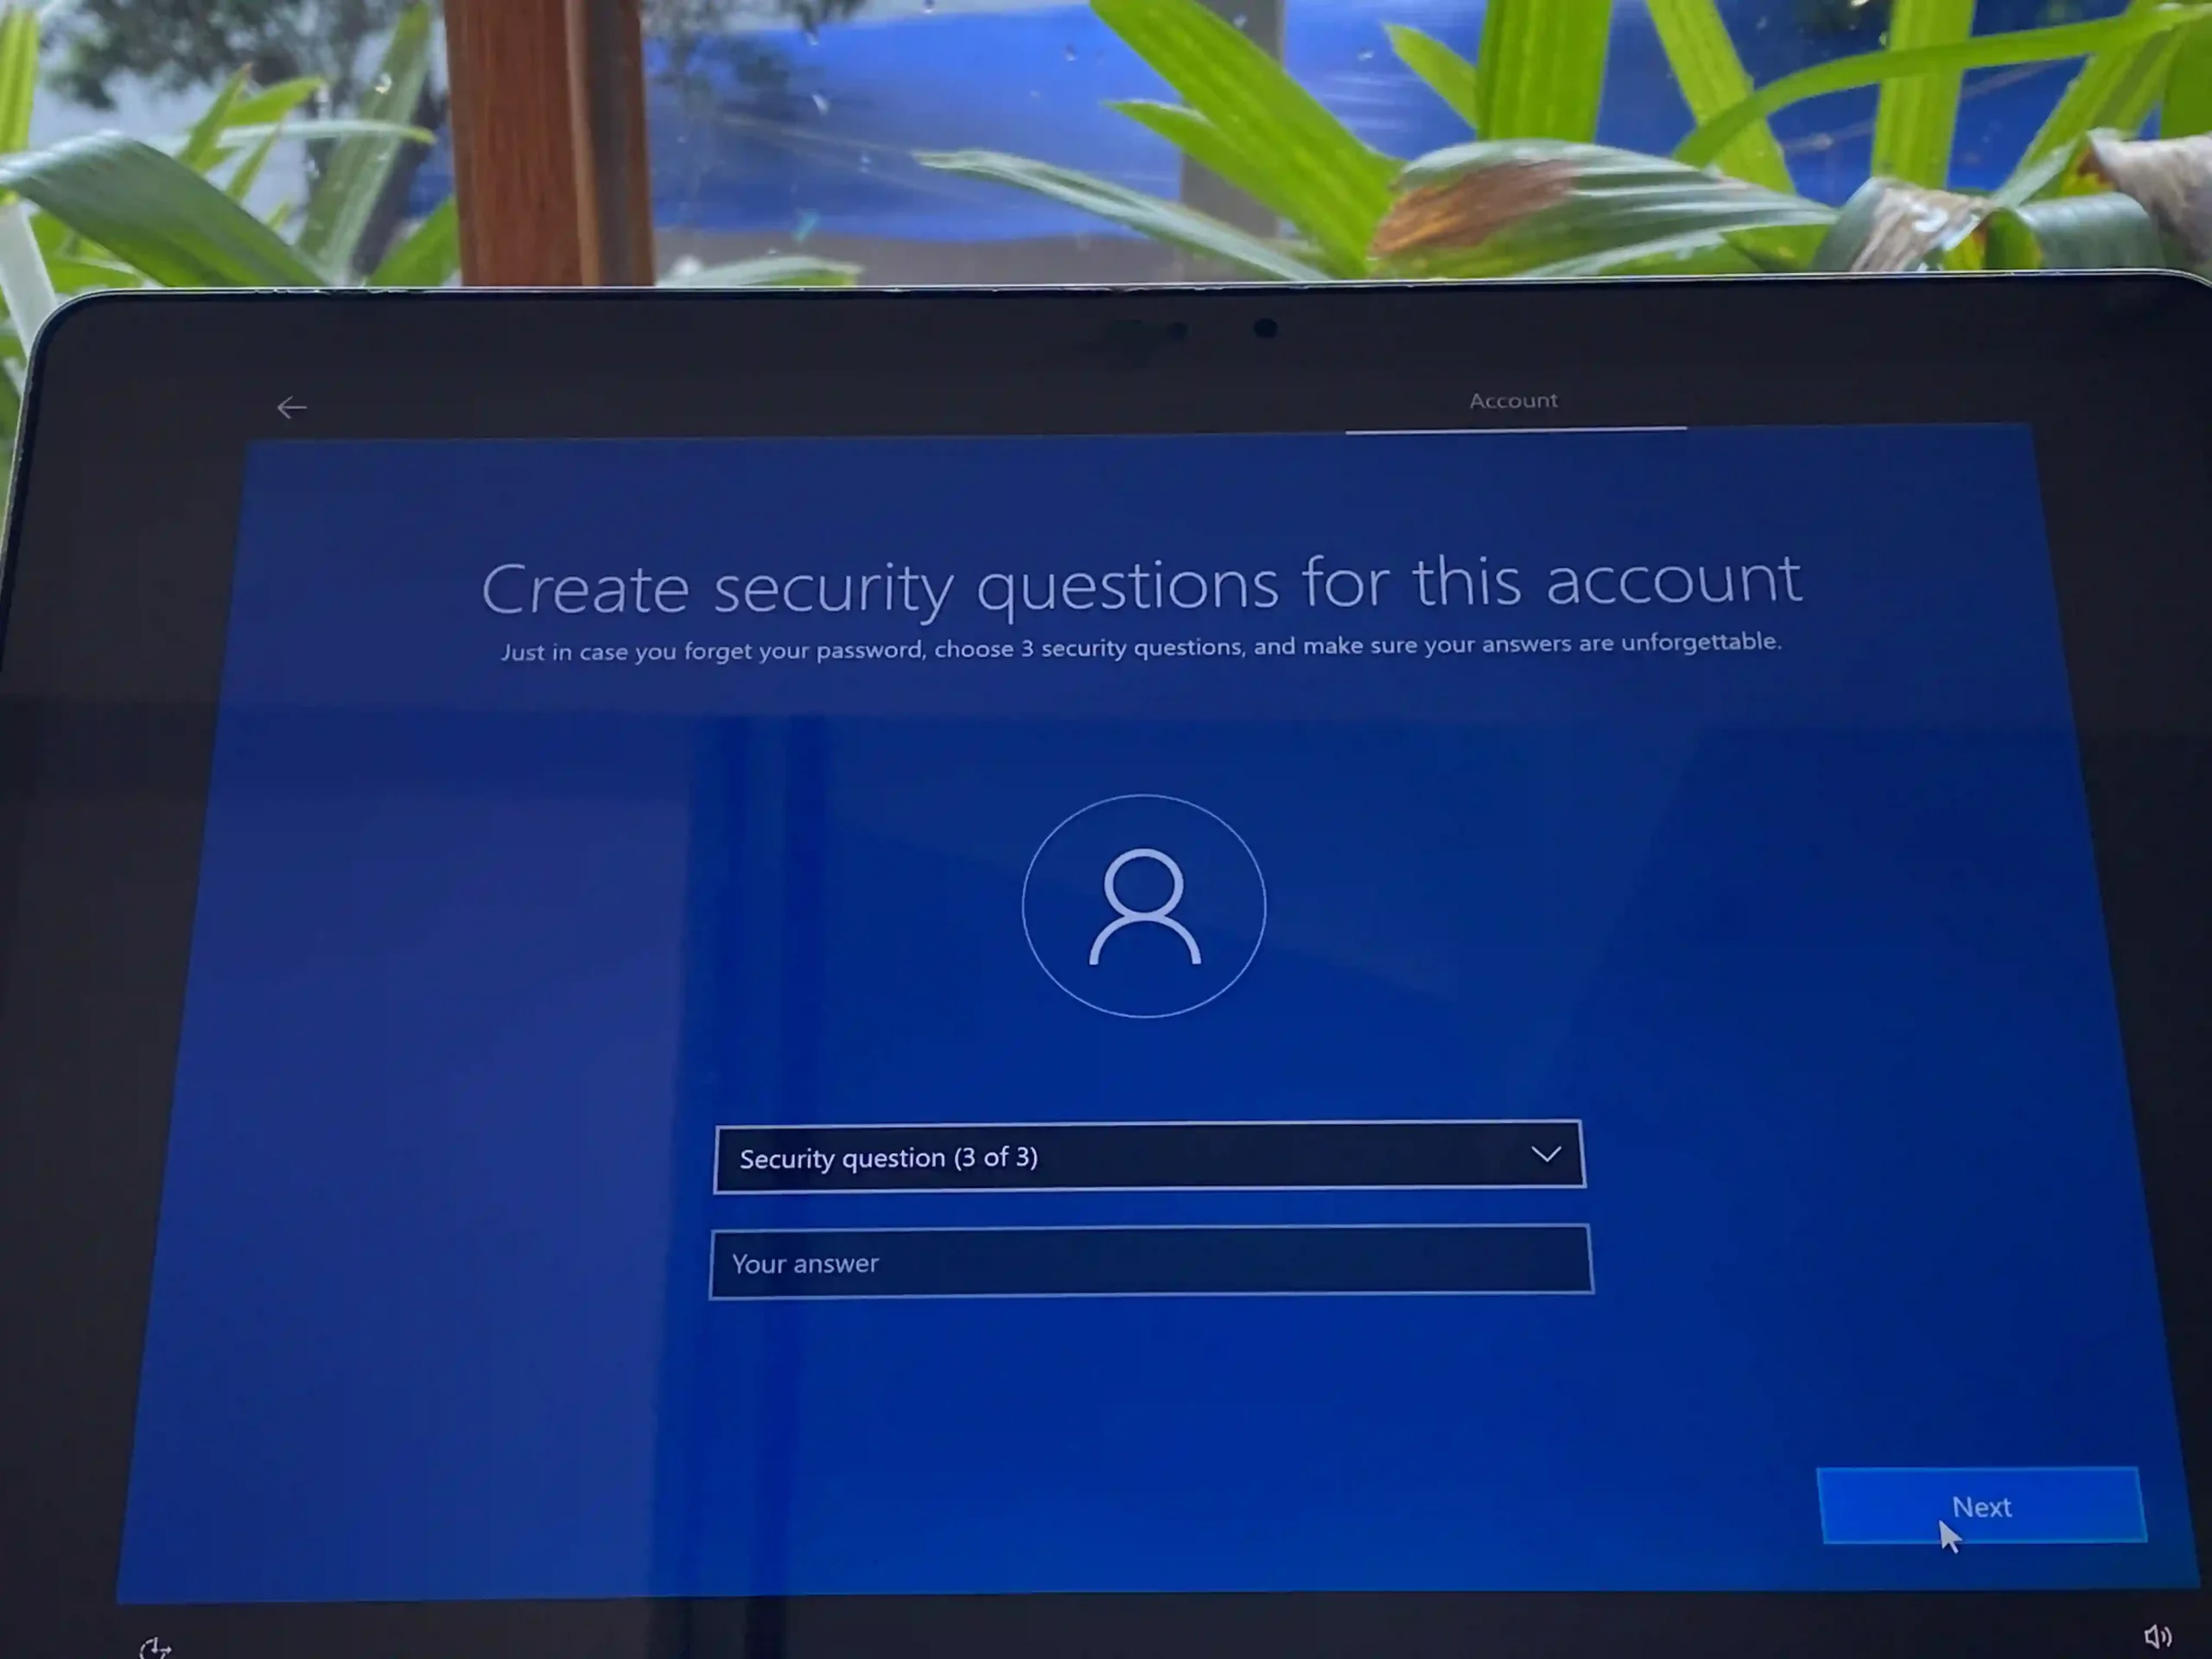
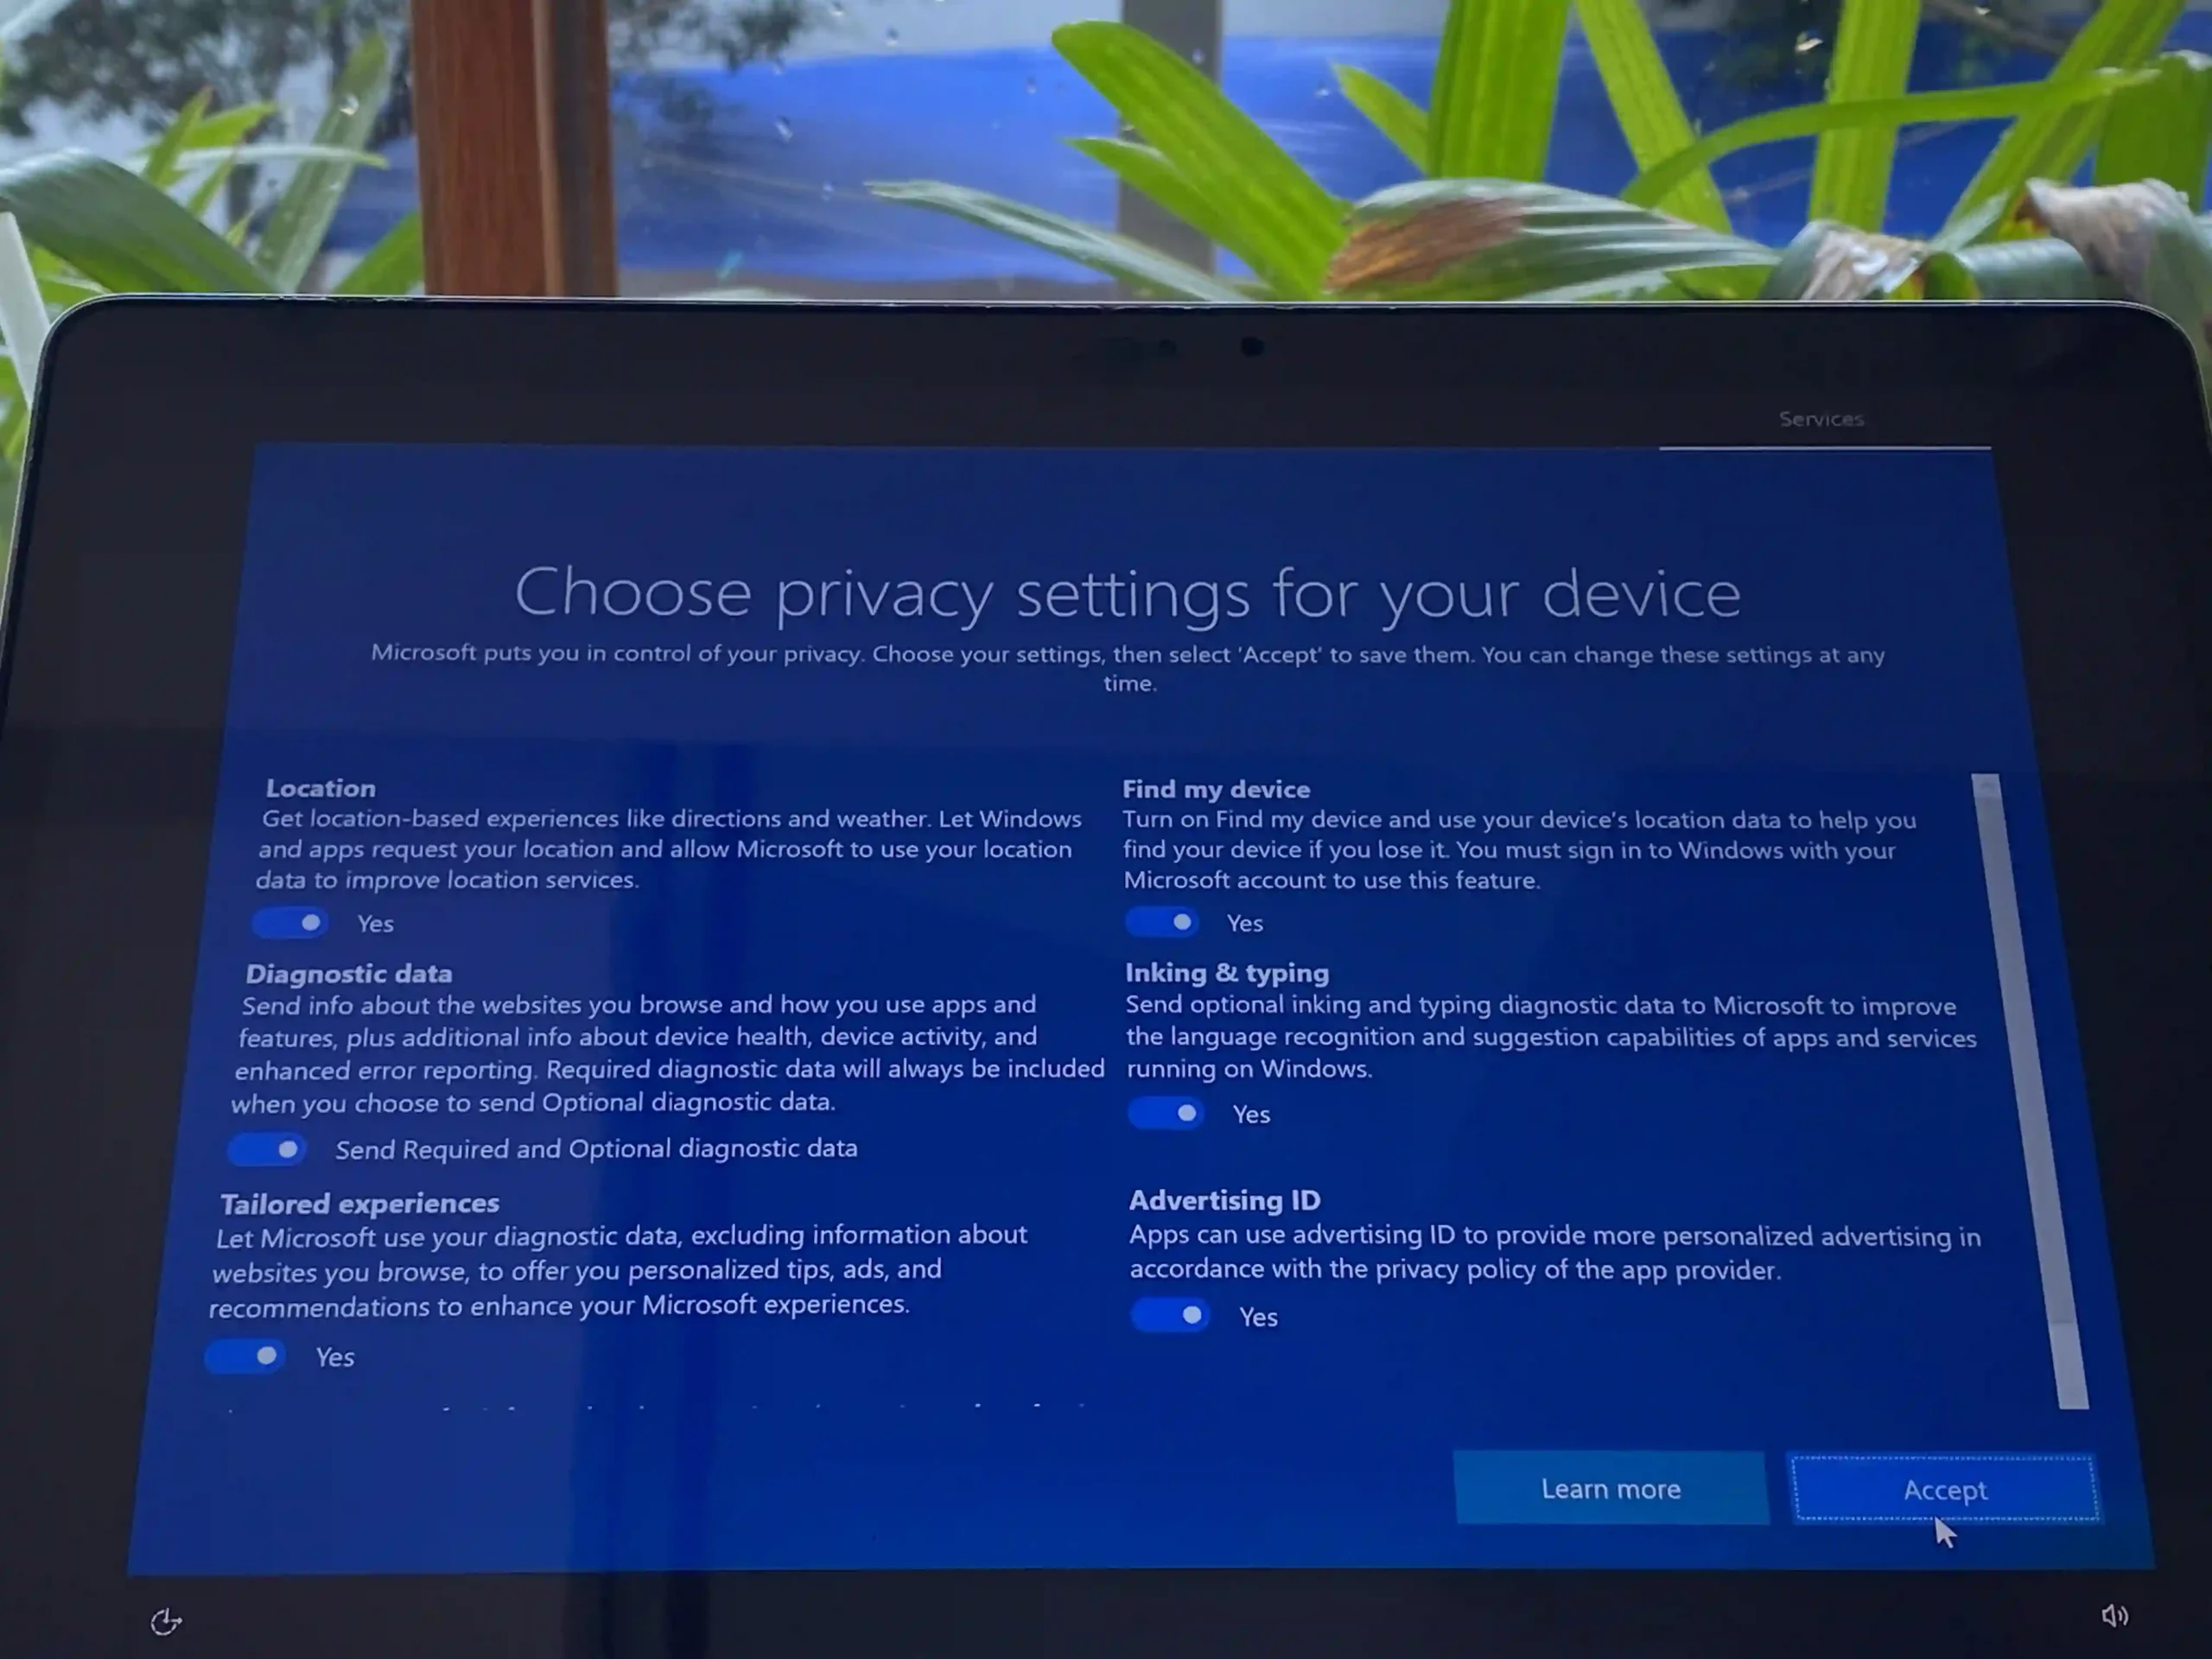
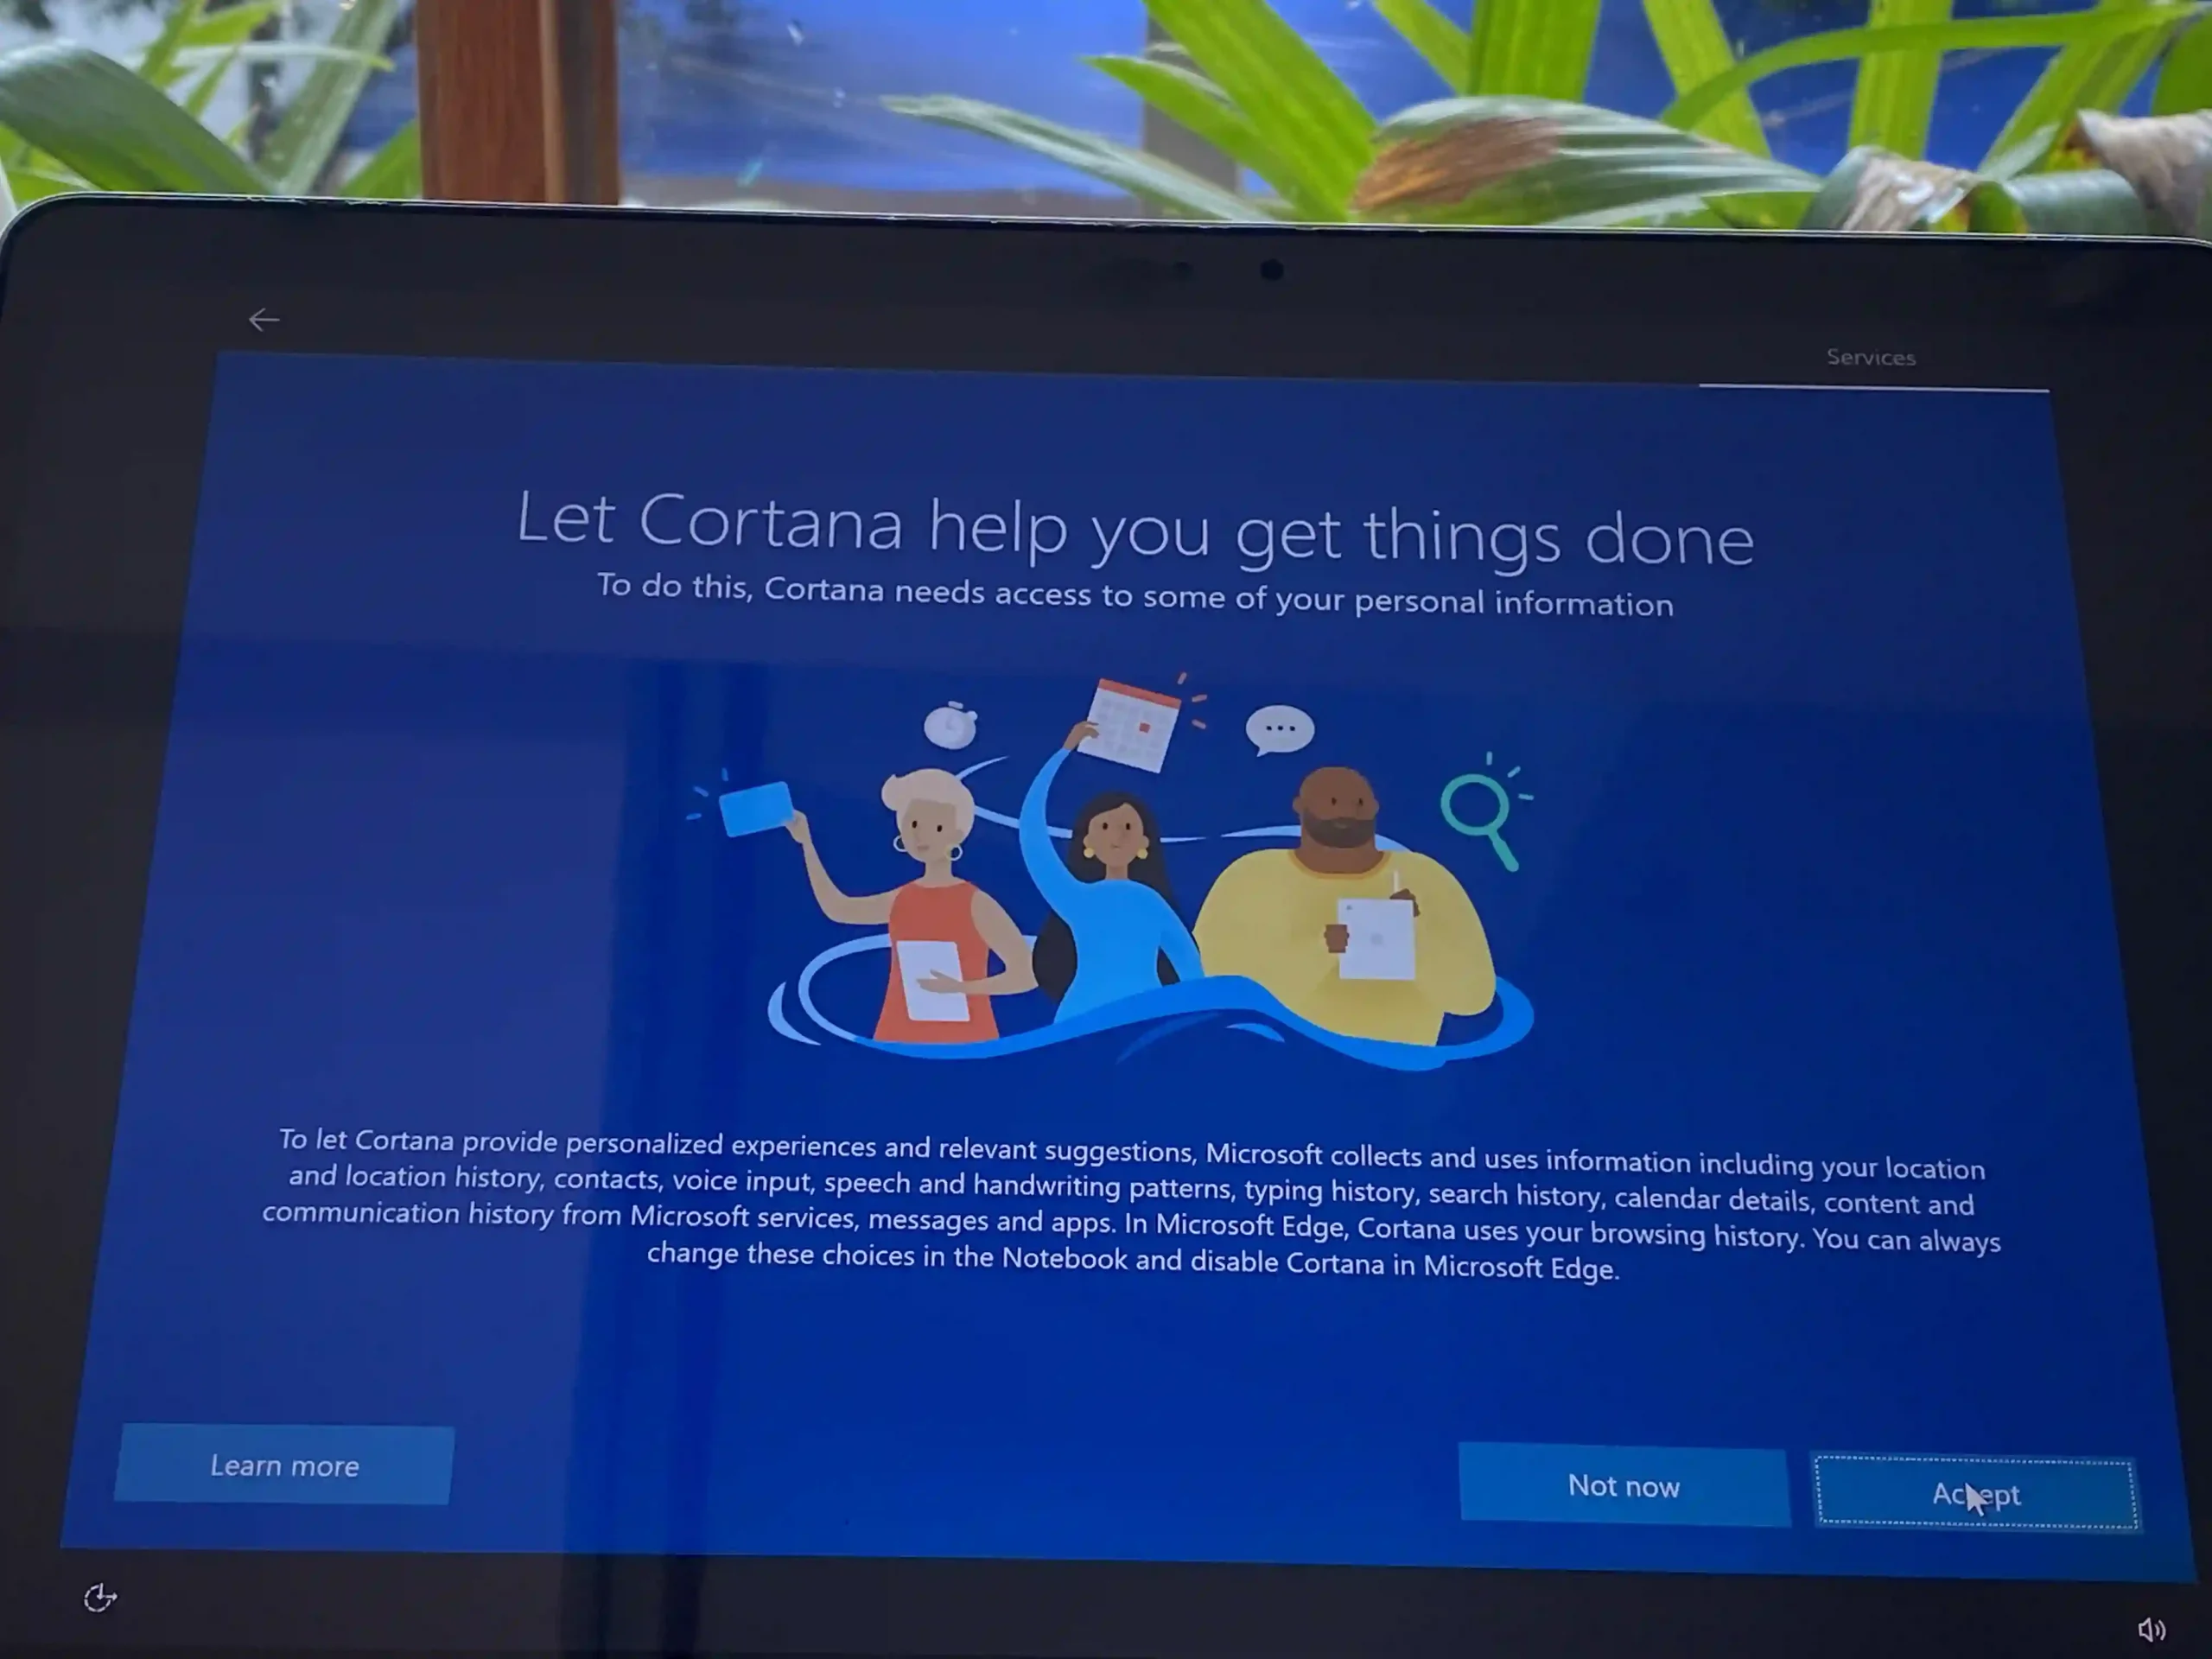
Keep following the on-screen instructions to complete the Windows 10 installation process. Once it’s done, your Mac will automatically reboot back into Windows 10.
7. Drivers for your Mac’s hardware will now be installed. This might take a few minutes.
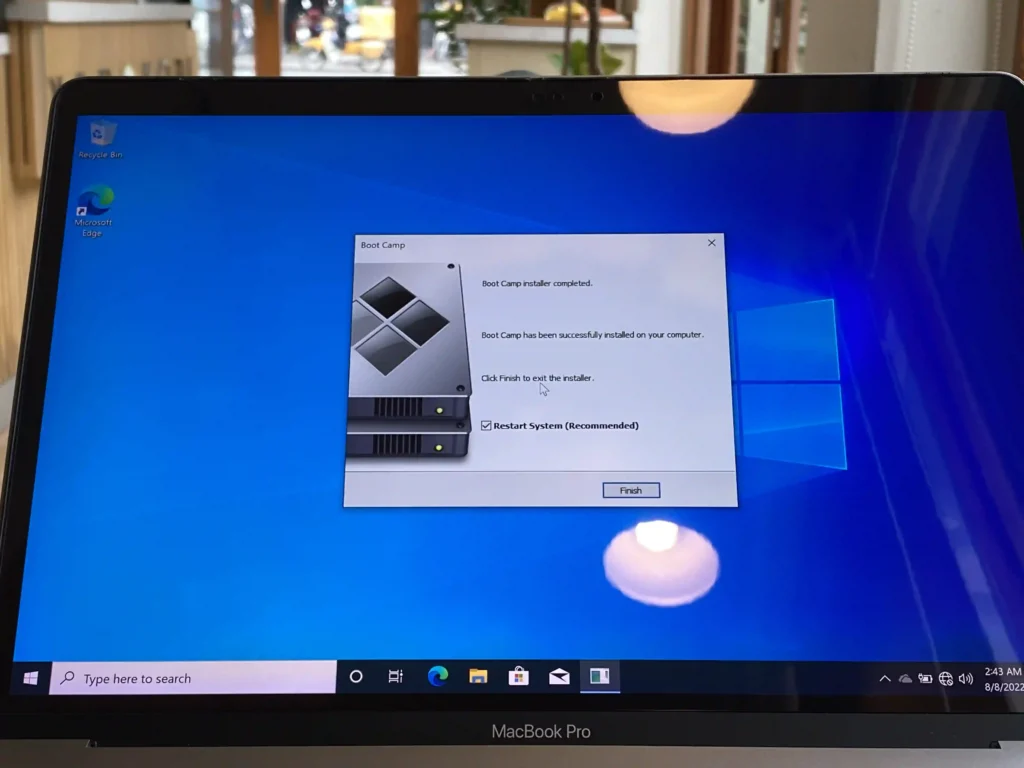
After the installation is complete, you’ll see the desktop appear on your screen. And that’s it! You’ve successfully installed Windows 10 on your Mac using Boot Camp.
8. Now that you’re in Windows 10, you can start installing your favourite apps and programs.
How To Switch Between Windows 10 And macOS
If you want to switch back to macOS, just restart your Mac and hold down the Option key while it’s booting up.
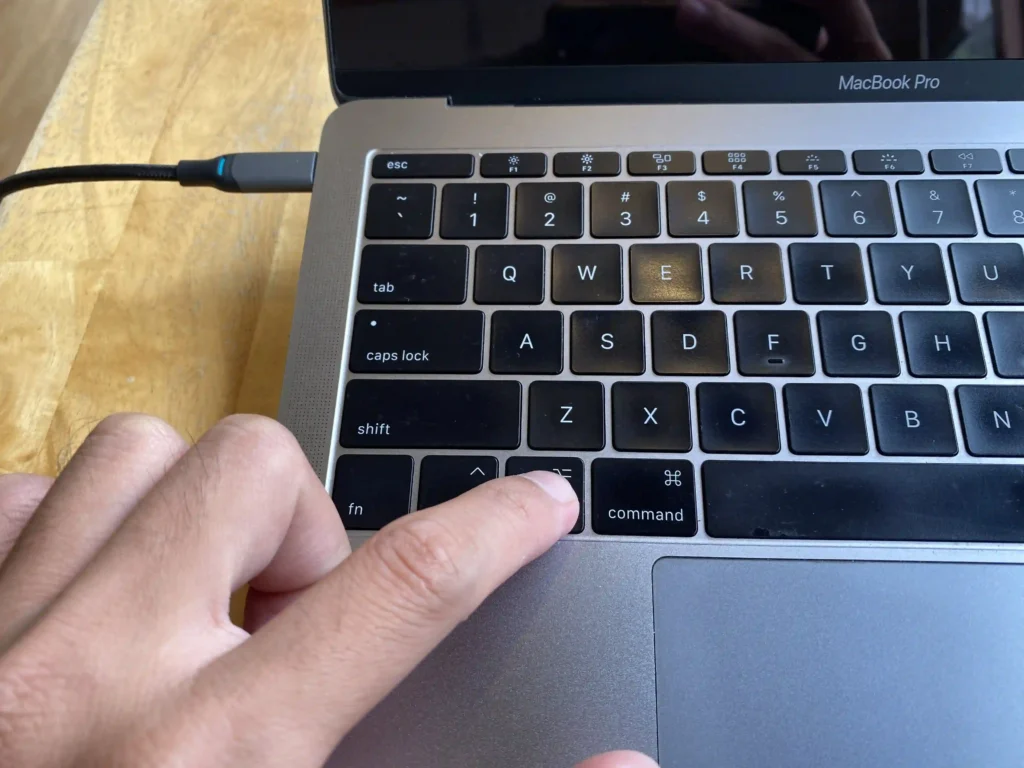
This will bring up the Boot Manager screen where you can choose which operating system to boot into. Select macOS and hit Enter to boot into it.

To switch back to Windows 10, restart your Mac and hold down the Option key while it’s booting up. This will bring up the Boot Manager screen where you can choose which operating system to boot into. Select Windows and hit Enter to boot into it.
How To Change The Default Operating System
If you want to change the default operating system that your Mac boots into, you can do so by going to System Preferences -> Startup Disk.
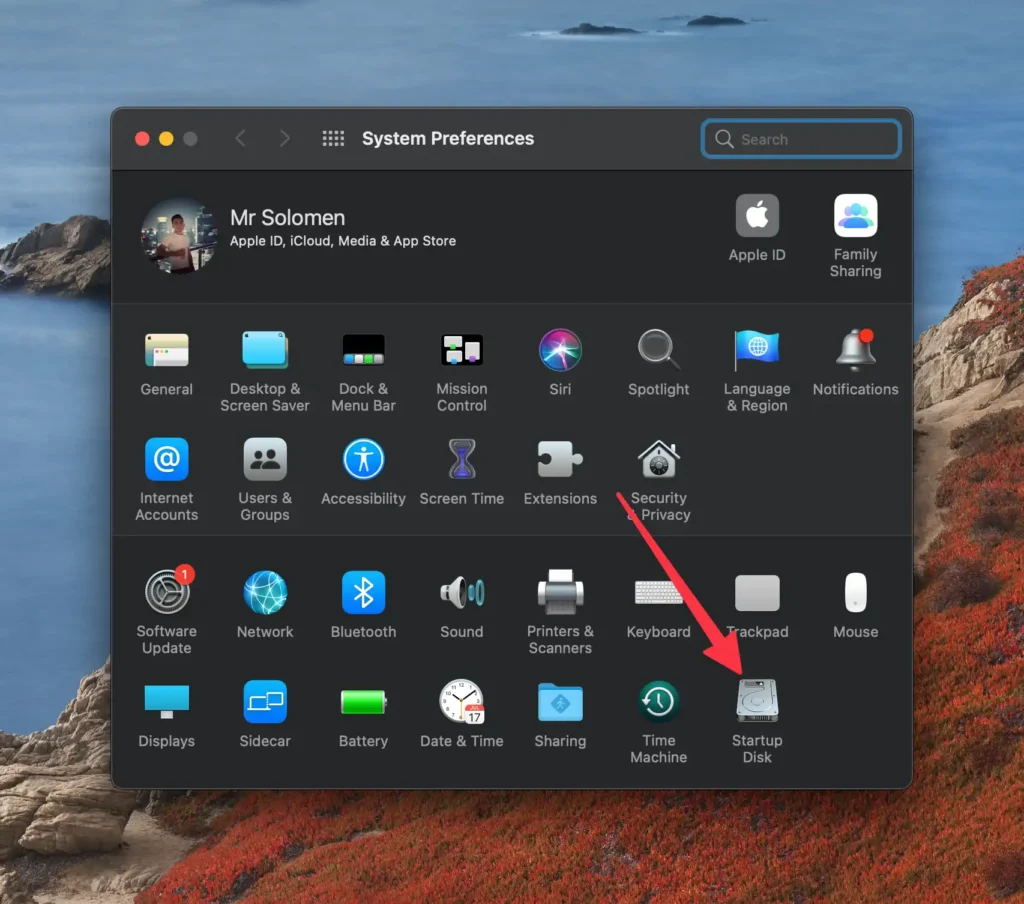
Click on the lock icon in the bottom left-hand corner and enter your password when prompted. This will allow you to make changes to the startup disk settings.
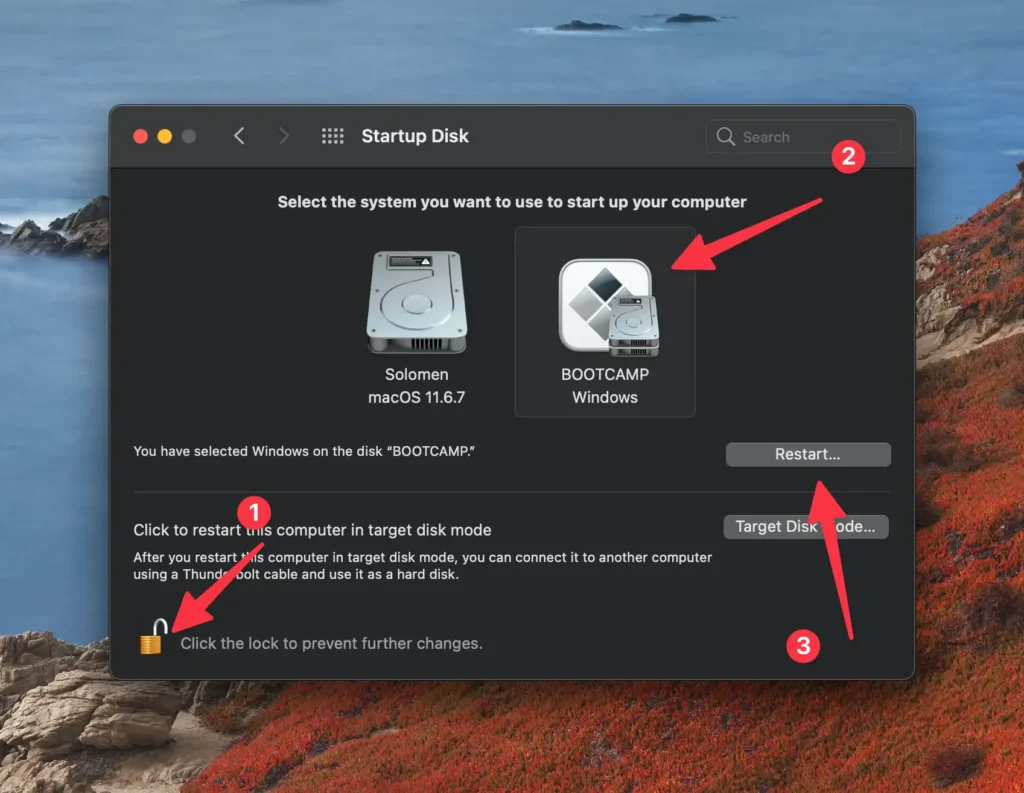
Click on the operating system that you want to be the default and then click on the Restart button. Your Mac will now boot into the default operating system that you’ve selected.
Conclusion
Installing Windows 10 on a Mac using Boot Camp is a great way to get the best of both worlds. With Boot Camp, you can use all of your Mac’s hardware features when you’re running Windows 10. And if you need to use macOS for anything, you can just restart your Mac and boot into it.
We hope you found this guide helpful. If you have any questions, feel free to ask us in the comments section below.
Solomen is the founder of MrHow.io, and he is happiest when working with technology and able to help others. In his free time, he often listens to Baroque music, swims or runs. Feel free to contact him on social media!