The iPhone is an outstanding gadget, and I deeply appreciate Steve Jobs and Apple for spearheading the smartphone industry. Without their efforts, these phenomenal devices would not exist. However, despite my admiration for the iPhone, I gravitate more towards an Android smartphone. My main rationale behind this preference is due to the significant customizable options that Android Smartphones offer, which sets them apart from Apple.
On an Android phone, you can change nearly every aspect of the home screen. This allows you to create an interface that works best for you. We all have preferences. The way we like to do things. The way we like our stuff to be stored put away and structured.
Having your stuff setup and available just the way you like it, feels good. It makes you happy. Your phone should be no different. So in this post, we’re going to show you another method for organizing, arranging, and setting up your Android smartphone so it works best for you. I’m gonna show you how to arrange your Apps into Folders.
I know, I know. Folders aren’t really all that sexy. But any time you want to get organized and remove clutter, you probably consider buying or creating folders. Whether it’s on your PC to store your digital life, or to store all your actual paper documents in your physical life. As a group, we humans love folders.
See more: How To Share Data From Samsung Galaxy To Your Xbox One
And that’s why we’re going to show you how to organize your Apps into Folders. By the end of this post, you’ll know everything there is to know about creating, modifying, and removing folders on your Android Smartphone. So let’s get started.
How To Create A Folder
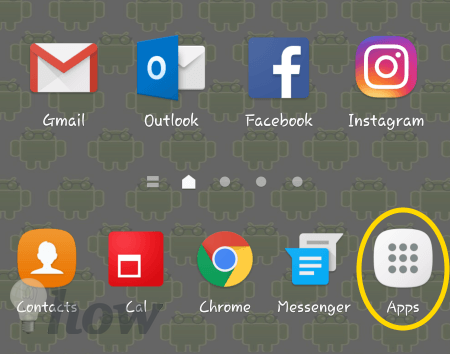
First, open the App Tray.
Tap on Edit in the upper-right corner of the screen.
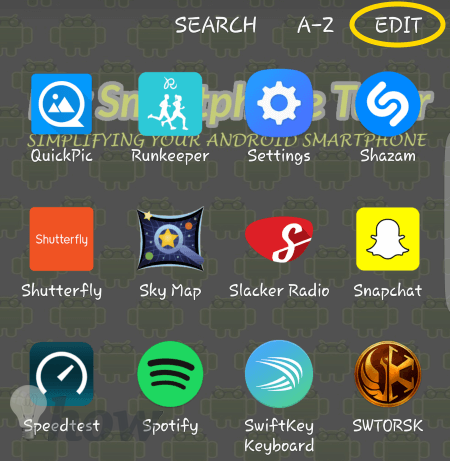
Locate the App you want to place in a folder. In this example, I’m going put all my games into a folder.
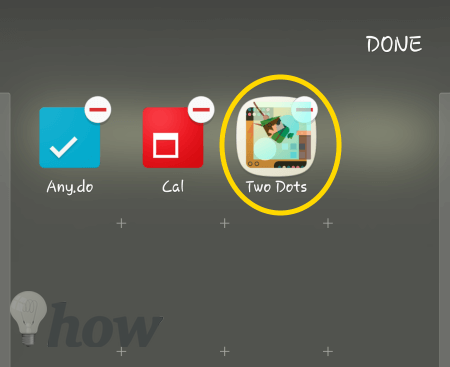
Long-Press on one of the apps, drag it over and place it on one of the other apps. Your Galaxy S6 will automatically create a folder for you.
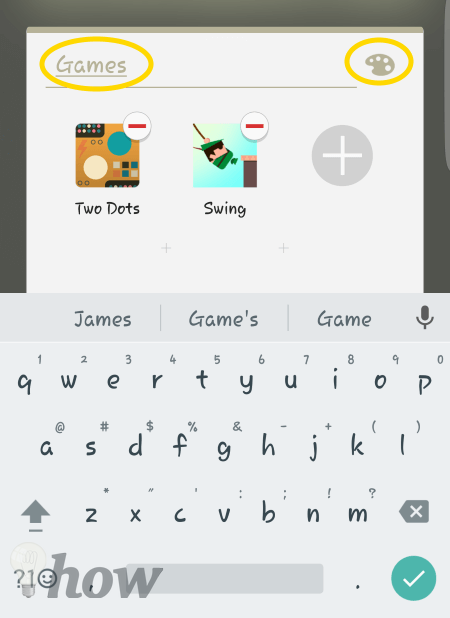
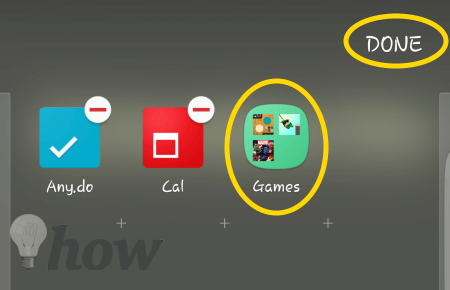
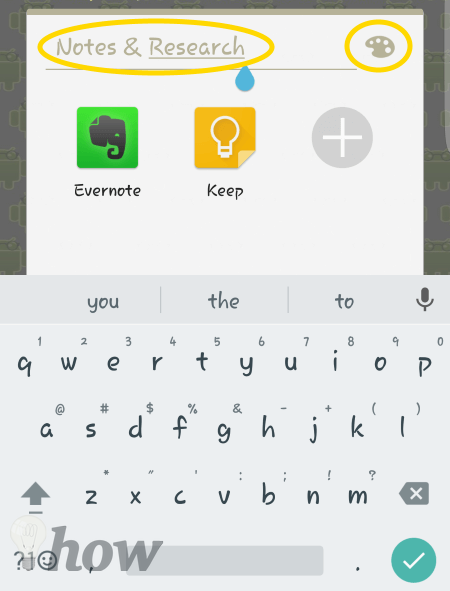
Use the keyboard to give the folder a name i.e. Games. Then, tap on the Painter’s Palette icon to change the color of the folder.
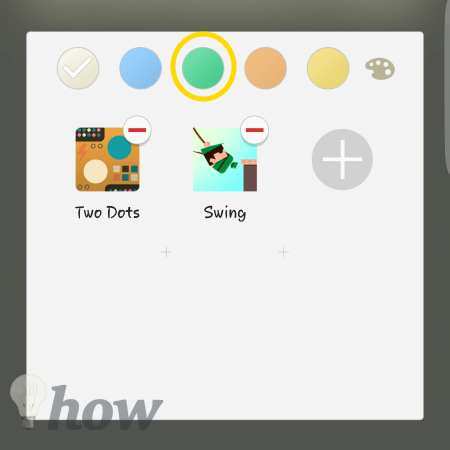
You can choose from 1 of 5 predefined colors. Samsung does not allow you to select your own colors for folders.
Once you have a folder created, simply drag other apps and drop them on top of the folder.
When you’re finished adding Apps to the Folder, tap on Done in the upper right corner of the screen.
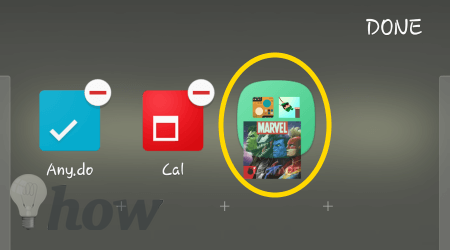
Now all of your games are organized in a single folder, reducing the number of Apps you have to scroll through to find something.
How To Place Folders On Your Homescreens
You can put a Folder on one of your Home screen panels just like you would place an App shortcut. Long-press on the Folder, drag it to where you want it on your Home screen.
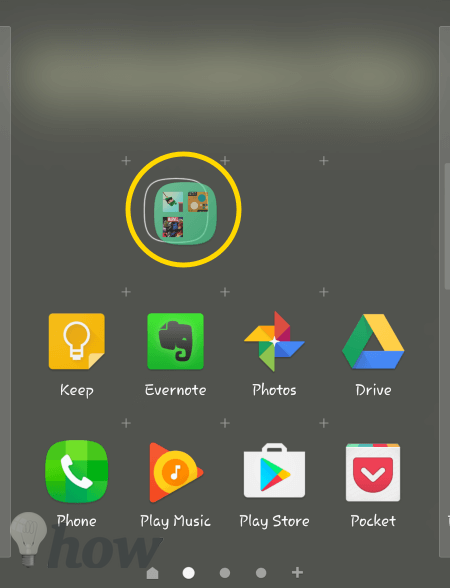
Now, lift your finger. Done!
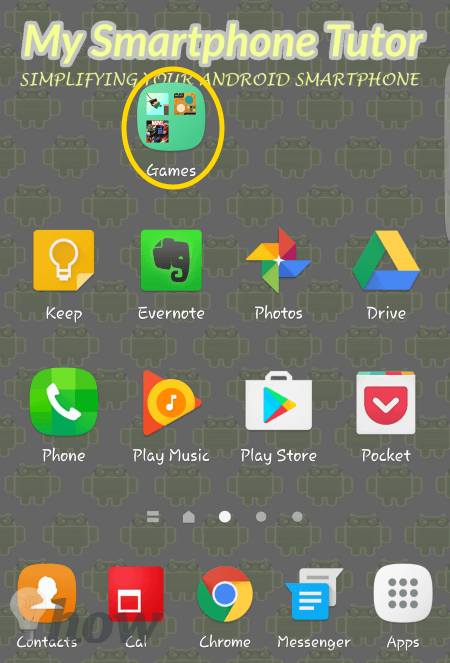
Creating Folders on your Home Screen Panel is exactly like creating Folders in the App Drawer with the exception that you don’t have to tap on Edit to get started.
Long-Press on an App icon, drag it and place it directly over another App icon.
Lift your finger and your Galaxy S6 will automatically create a Folder for you.
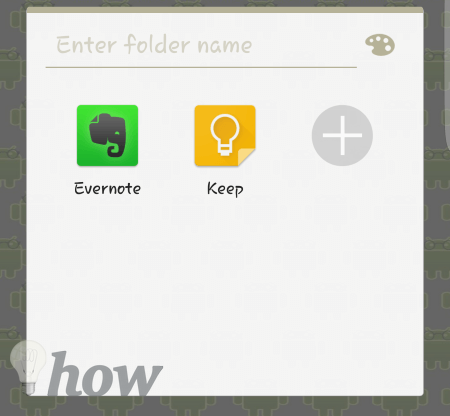
Give it a Name. Pick a Folder color by Tapping on the Painters Palette.
Tap on the Home screen or press the Home button to close the Folder.

How To Remove Apps From a Folder
Maybe, the Notes & Research folder isn’t working for you. Removing Apps from the Folder is just as simple as adding them.
Tap on the Folder to open it.

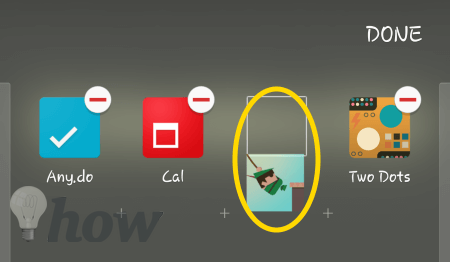
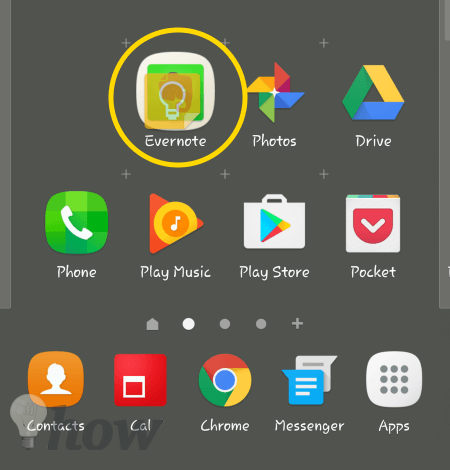
Long-Press on an App icon and drag it outside of the Folder.
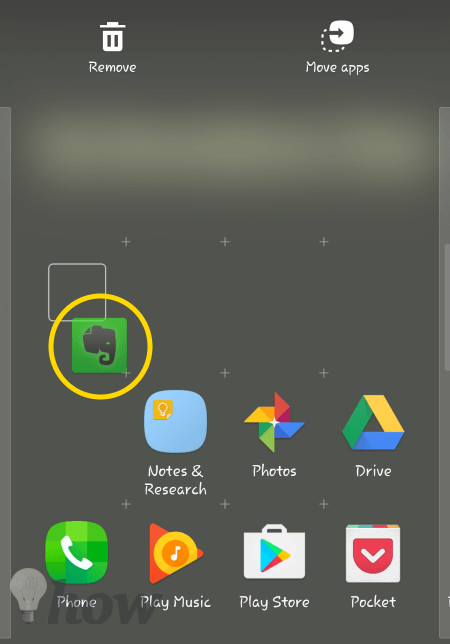
From here, you can place the App icon on your Home screen.
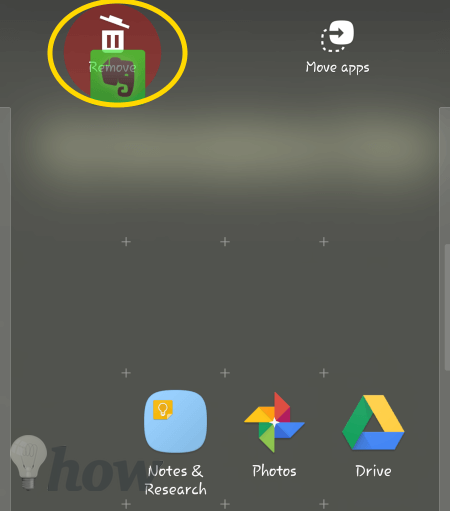
Or you can drag the App icon up to the Garbage Can icon and remove the App shortcut from your Home screen.
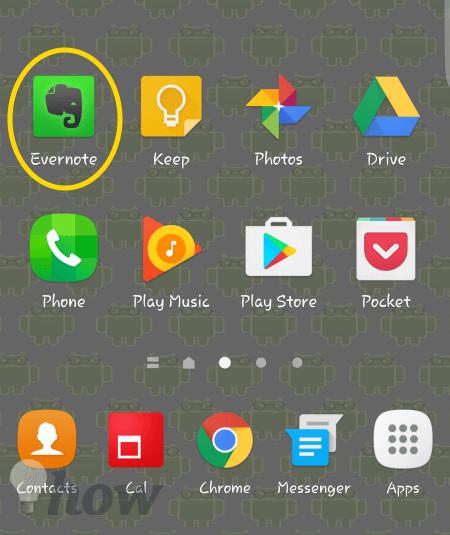
Once a Folder is down to a single App, your Galaxy S6 will automatically delete the Folder and place the remaining App icon on your Home screen.
NOTE: The folder is just a way to organize App shortcuts. If you delete a folder and all the icons within it – you will not be uninstalling the Apps. You are simply deleting the folder and the App shortcuts that you stored within it will be placed at the end of the App Tray.
How To Delete A Folder
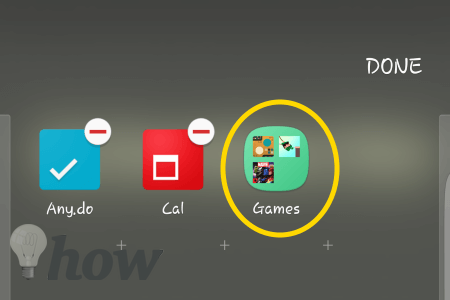
To Delete a Folder from your App Tray, tap on Edit in the upper right corner. From here you might guess that you should Long-Press on the Folder. That’s what I did, twice!. But that’s not the way it works.
To Delete, the folder simply tap on it.
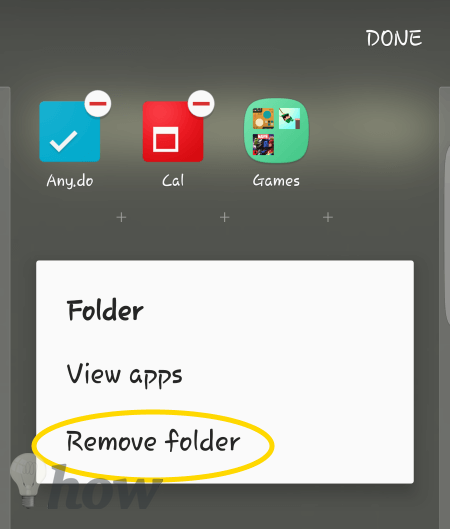
Tap on Remove Folder in the little pop-up window.
You’ll receive a notice saying the Folder will be deleted and the Apps inside the Folder will be placed at the end of your App Tray.
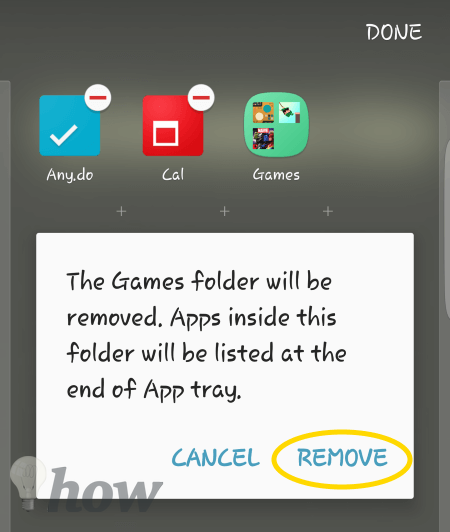
The Apps are placed at the end of the App Tray. Now you tap on Done.

Read also: How to Add a Recycling Bin to Your Android
Conclusion
There you have it. Everything you need to know about creating and managing folders on your Android smartphone. How will you use folders? Will you group similar Apps like I did with the Games folder? Or will you group apps based on tasks and projects you need to get done?
I’m always looking for new ways to streamline everything I do. The way you setup your folders might be something I could really use. Let me know in the comments below.
Read more like this
- How To Setup and Maximize Samsung Galaxy Edge Screen Settings
- How to Take a Screenshot on Samsung Galaxy
- Best Kids Tablets
Solomen is the founder of MrHow.io, and he is happiest when working with technology and able to help others. In his free time, he often listens to Baroque music, swims or runs. Feel free to contact him on social media!