When you buy a new computer and you have an Apple ID, what you do is you connect your Apple account to the iTunes app on your computer so that everything that you buy or download is instantly available on your new computer.
While everyone does that to ensure they have access to all the content they have purchased on their new computer, most people forget to deauthorize their computer when they sell it. Just like how you authorize your computer to be used with your Apple account, you should also deauthorize the computer when you sell it so the person who buys your computer cannot access your data.
There are various ways to deauthorize a computer and here’s how you can do that using iTunes. First of all, you might want to know how many computers are authorized to use your Apple account. Here’s how to do that:
Note: I will be performing the following steps on a Mac and the steps will vary for other OS.
Seeing the Computers That Use Your Apple ID
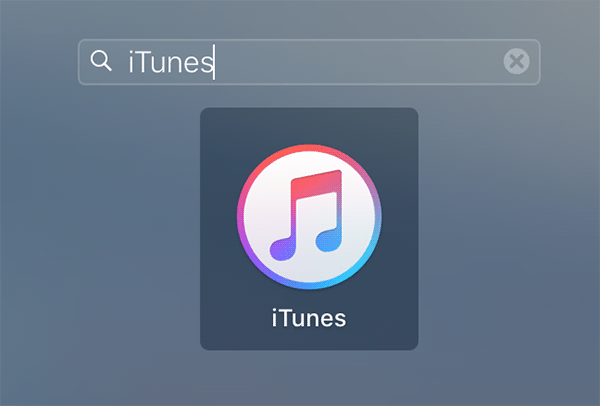
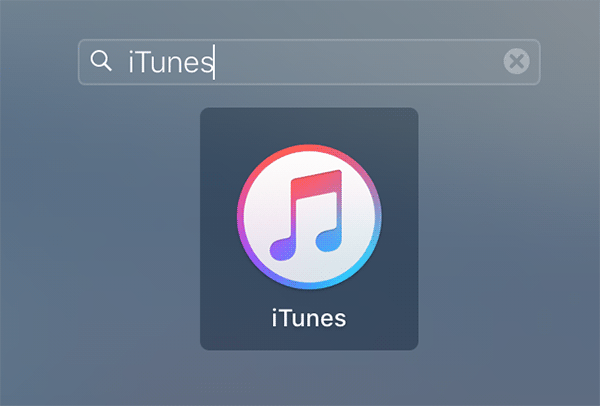
1. Launch the iTunes app on your Mac by clicking on Launchpad in the Dock and searching for and clicking on iTunes. The app should launch.
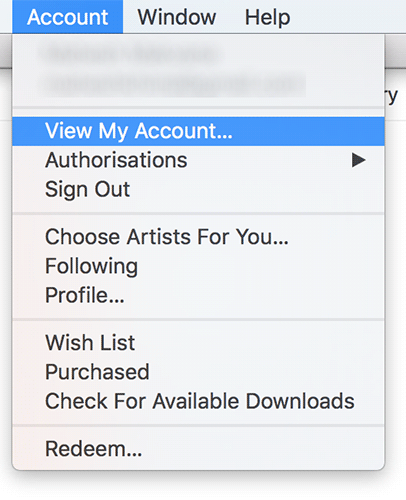
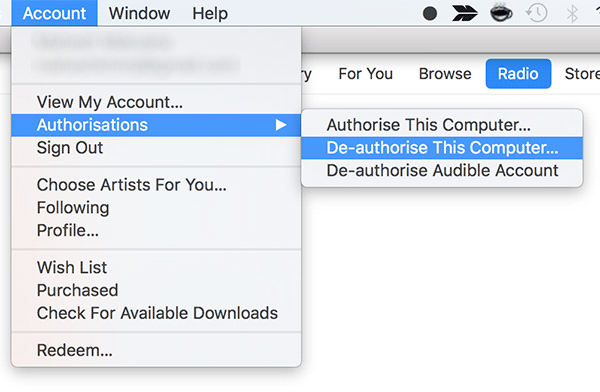
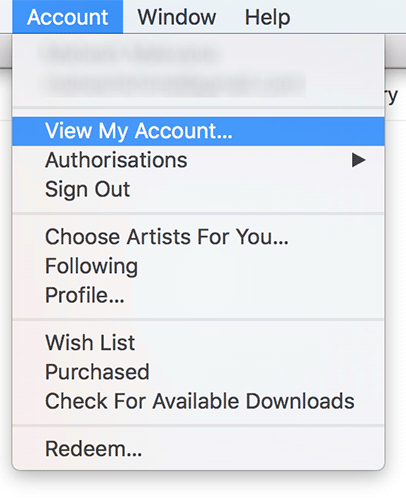
2. When iTunes launches, click on the Account menu at the top and select the option that says View My Account. It will let you see your account details.
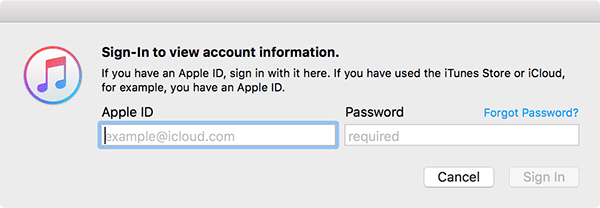
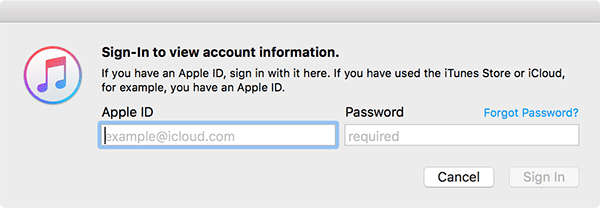
3. You will be asked to enter your Apple ID and password. Do so and move forward.
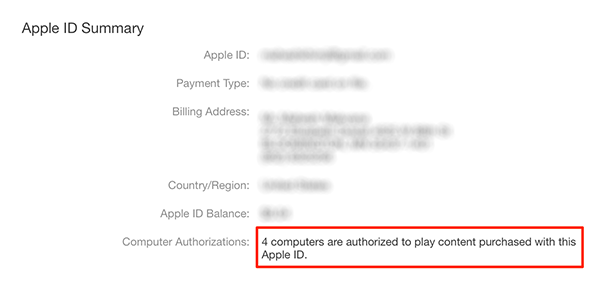
4. On the following page, you should be able to see the number of computers that are authorized to use your Apple ID. You can see it highlighted in the following screenshot.
Now that you know what number of computers use your ID, here’s how you can go about deauthorizing them:
Deauthorizing a Computer That Uses Your Apple ID
Please perform the following steps on the computer that you want to deauthorize.
1. Open iTunes on your Mac by clicking on Launchpad in the Dock and searching for and clicking on iTunes. The app will open.
2. When iTunes opens, click on the Account menu at the top and select the option that says Deauthorize This Computer.
3. Enter in your Apple account information and move forward.
4. Click on Deauthorize on the following screen to deauthorize the current computer.
That’s all there is to deauthorizing a computer that uses your Apple ID.
If you are in a situation where you have already sold your computer without deauthorizing first, then you need to use the feature for deauthorizing all the computers as shown below:
Deauthorizing All the Computers that Use Your Apple ID
1. Open iTunes on your Mac by clicking on Launchpad in the Dock and searching for and clicking on iTunes.

2. When iTunes opens, click on Account at the top and then select View My Account.
3. You will be asked to enter your Apple username and password. Do so and move forward.
4. On the right-hand side of iTunes, you will find a button saying Deauthorize All. Click on it to deauthorize all the computers using your Apple ID.
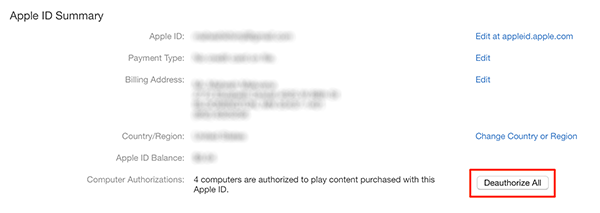
All of the computers should now be deauthorized.
Note: Please note that you can only deauthorize all the computers once in a year.
So, that was how you could see what all the computers are that use your Apple ID, how to deauthorize a single computer, and finally how to deauthorize all the computers. Let us know if this helped you by commenting below!
