
The Terminal is the default text-based interface used to interact with your Mac. It is where applications can be launched, files and folders managed, and commands executed. In this article, we will look at some of the best Terminal alternatives for Mac.
Best Alternatives to Terminal for Mac
iTerm2
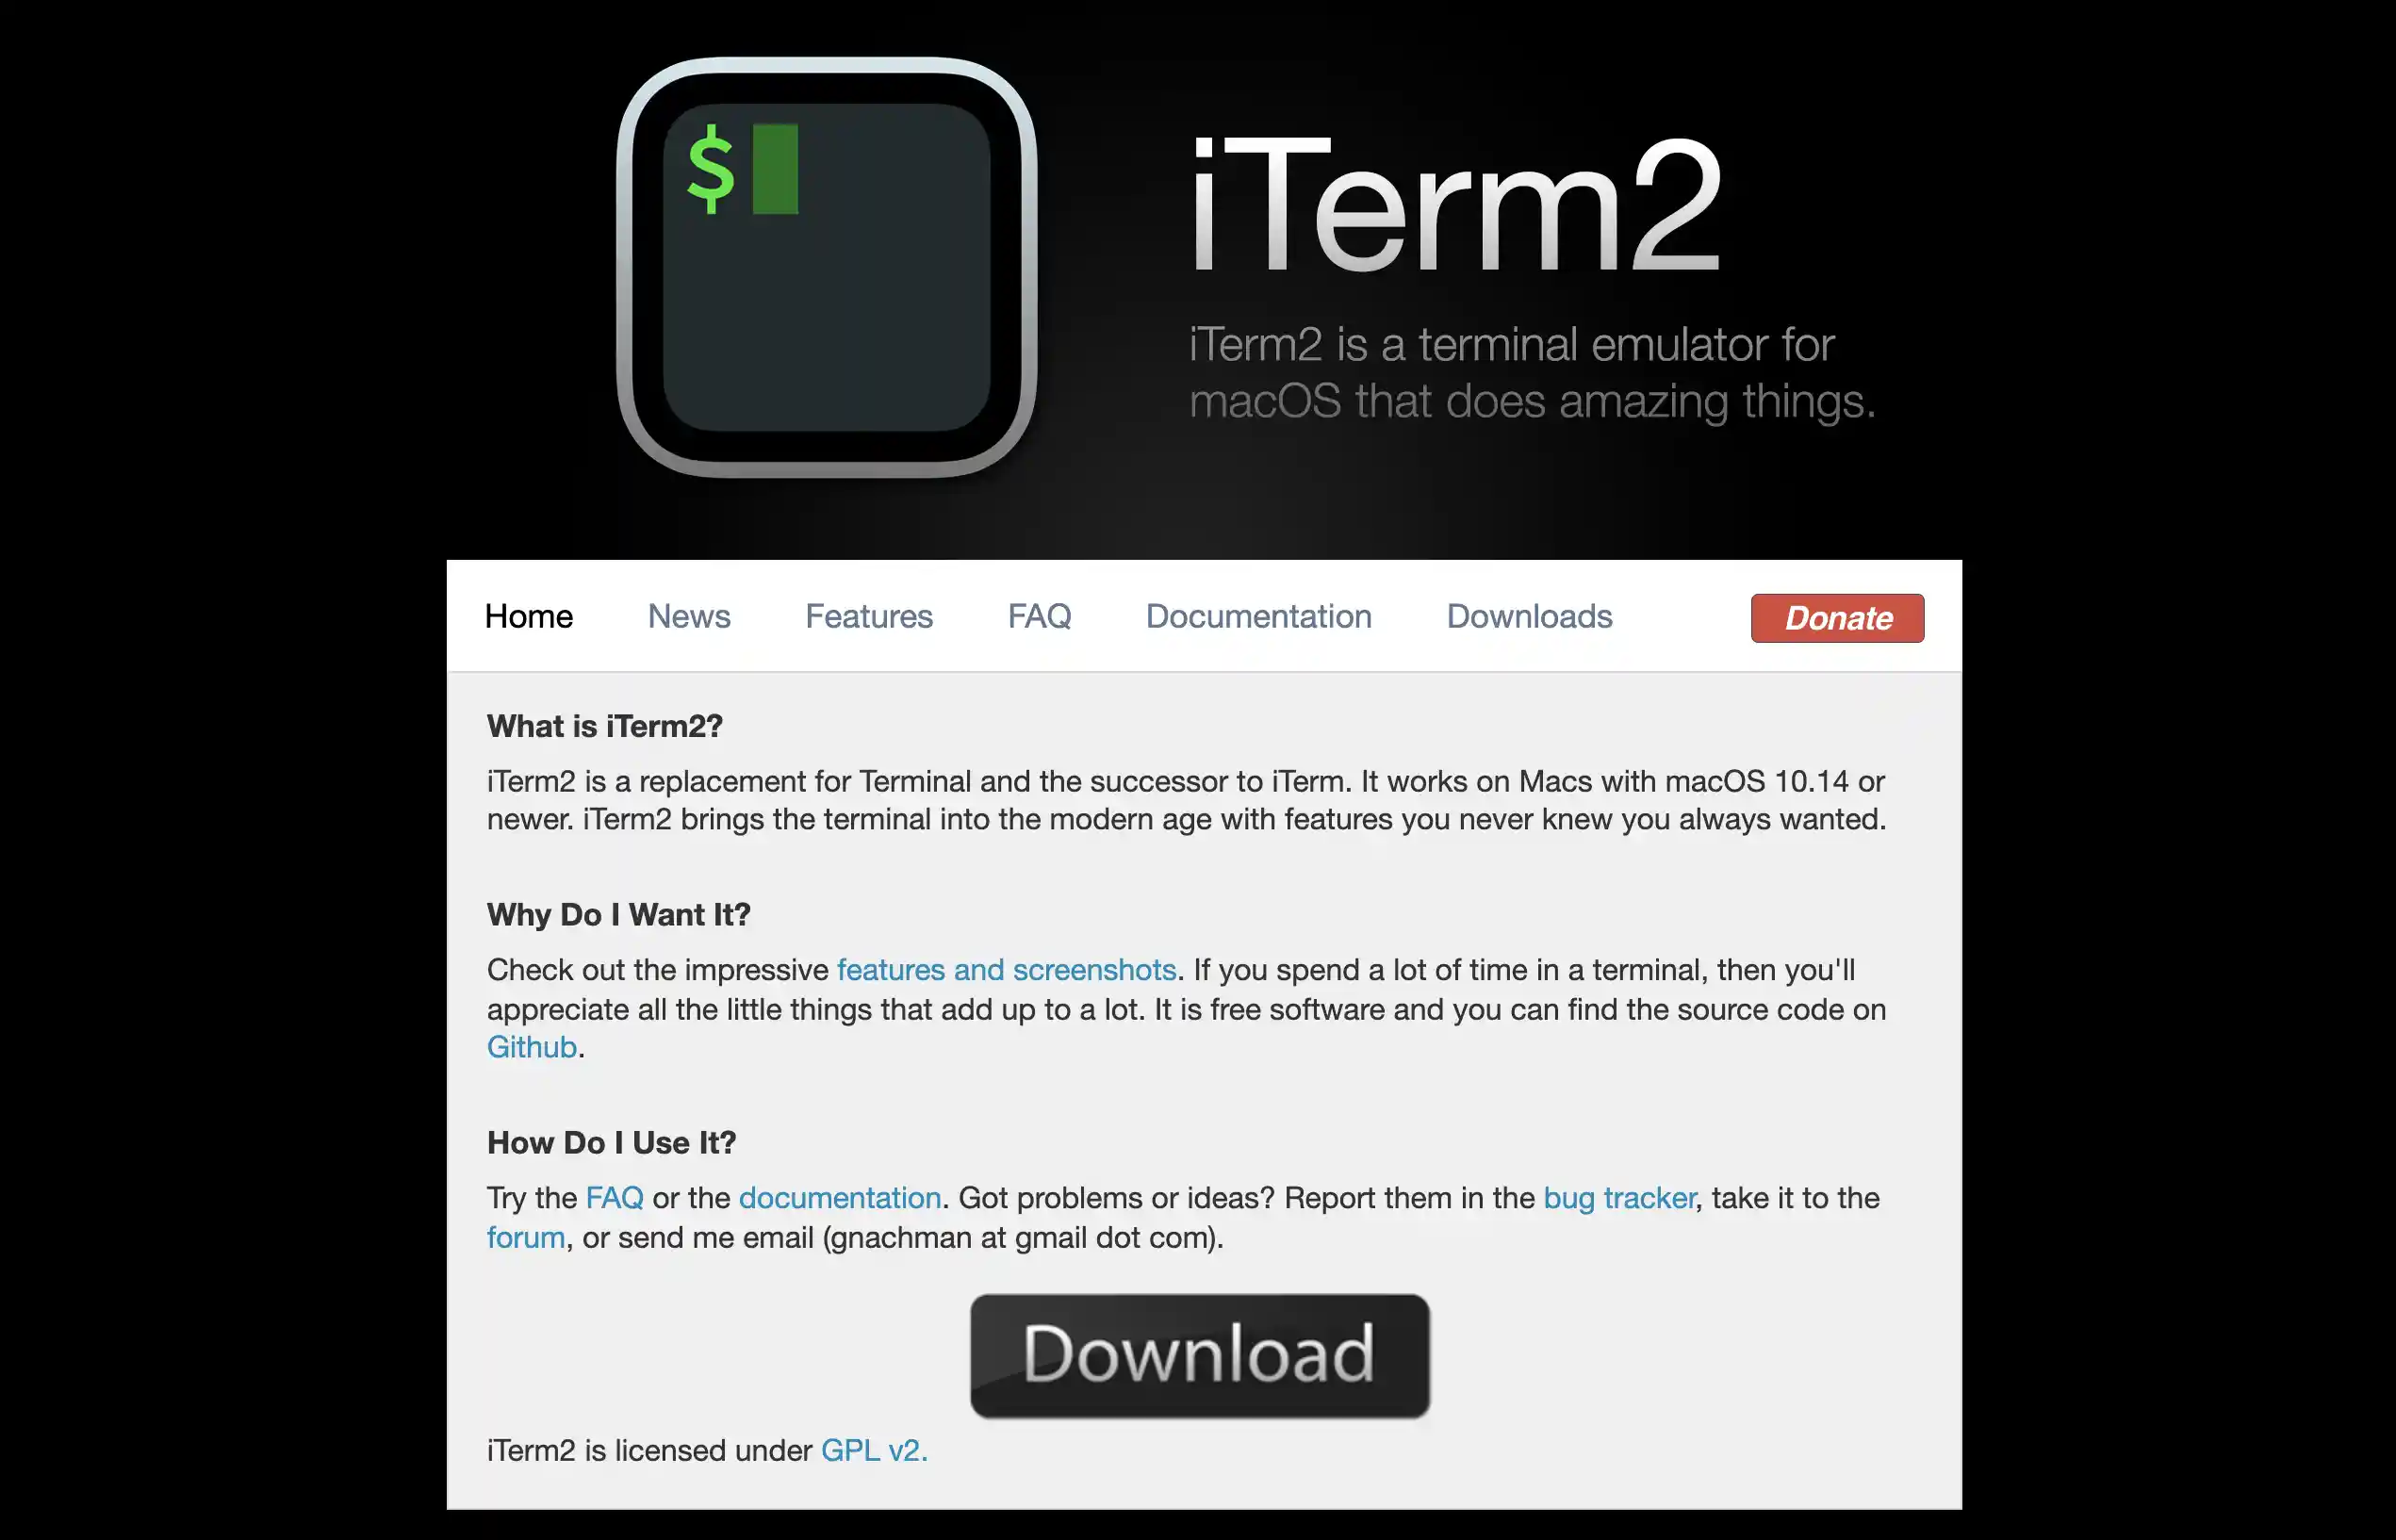
iTerm2 is a popular alternative to Terminal that offers many features not available in the default Terminal application.
iTerm2 is free, and you can download it from the iTerm2 website. iTerm2 supports split panes, search, Paste History, and a wide variety of customization options,…
Commander One

Commander One is a dual-pane file manager for macOS that offers various features, including support for popular archive formats (ZIP, RAR, 7z), cloud storage support, and more. This app is one of Mac’s best FTP clients and can connect to remote servers via SFTP, FTPS, and WebDAV.
It also includes a powerful search function that makes finding the files you’re looking for easy, even if you need to know their exact location. Commander One is available in both free and paid versions.
The free version offers limited features, while the paid version (Commander One Pro) unlocks all the features and costs $29.99. There is also a 14-day free trial available for the Pro version.
Setapp is a subscription service that gives you access to various Mac apps. The good news is that Commander One is included.
With Setapp, you pay a monthly fee of $9.99 and get access to all the apps in the catalog. A 7-day free trial is available, so you can try before you buy.
MacTerm
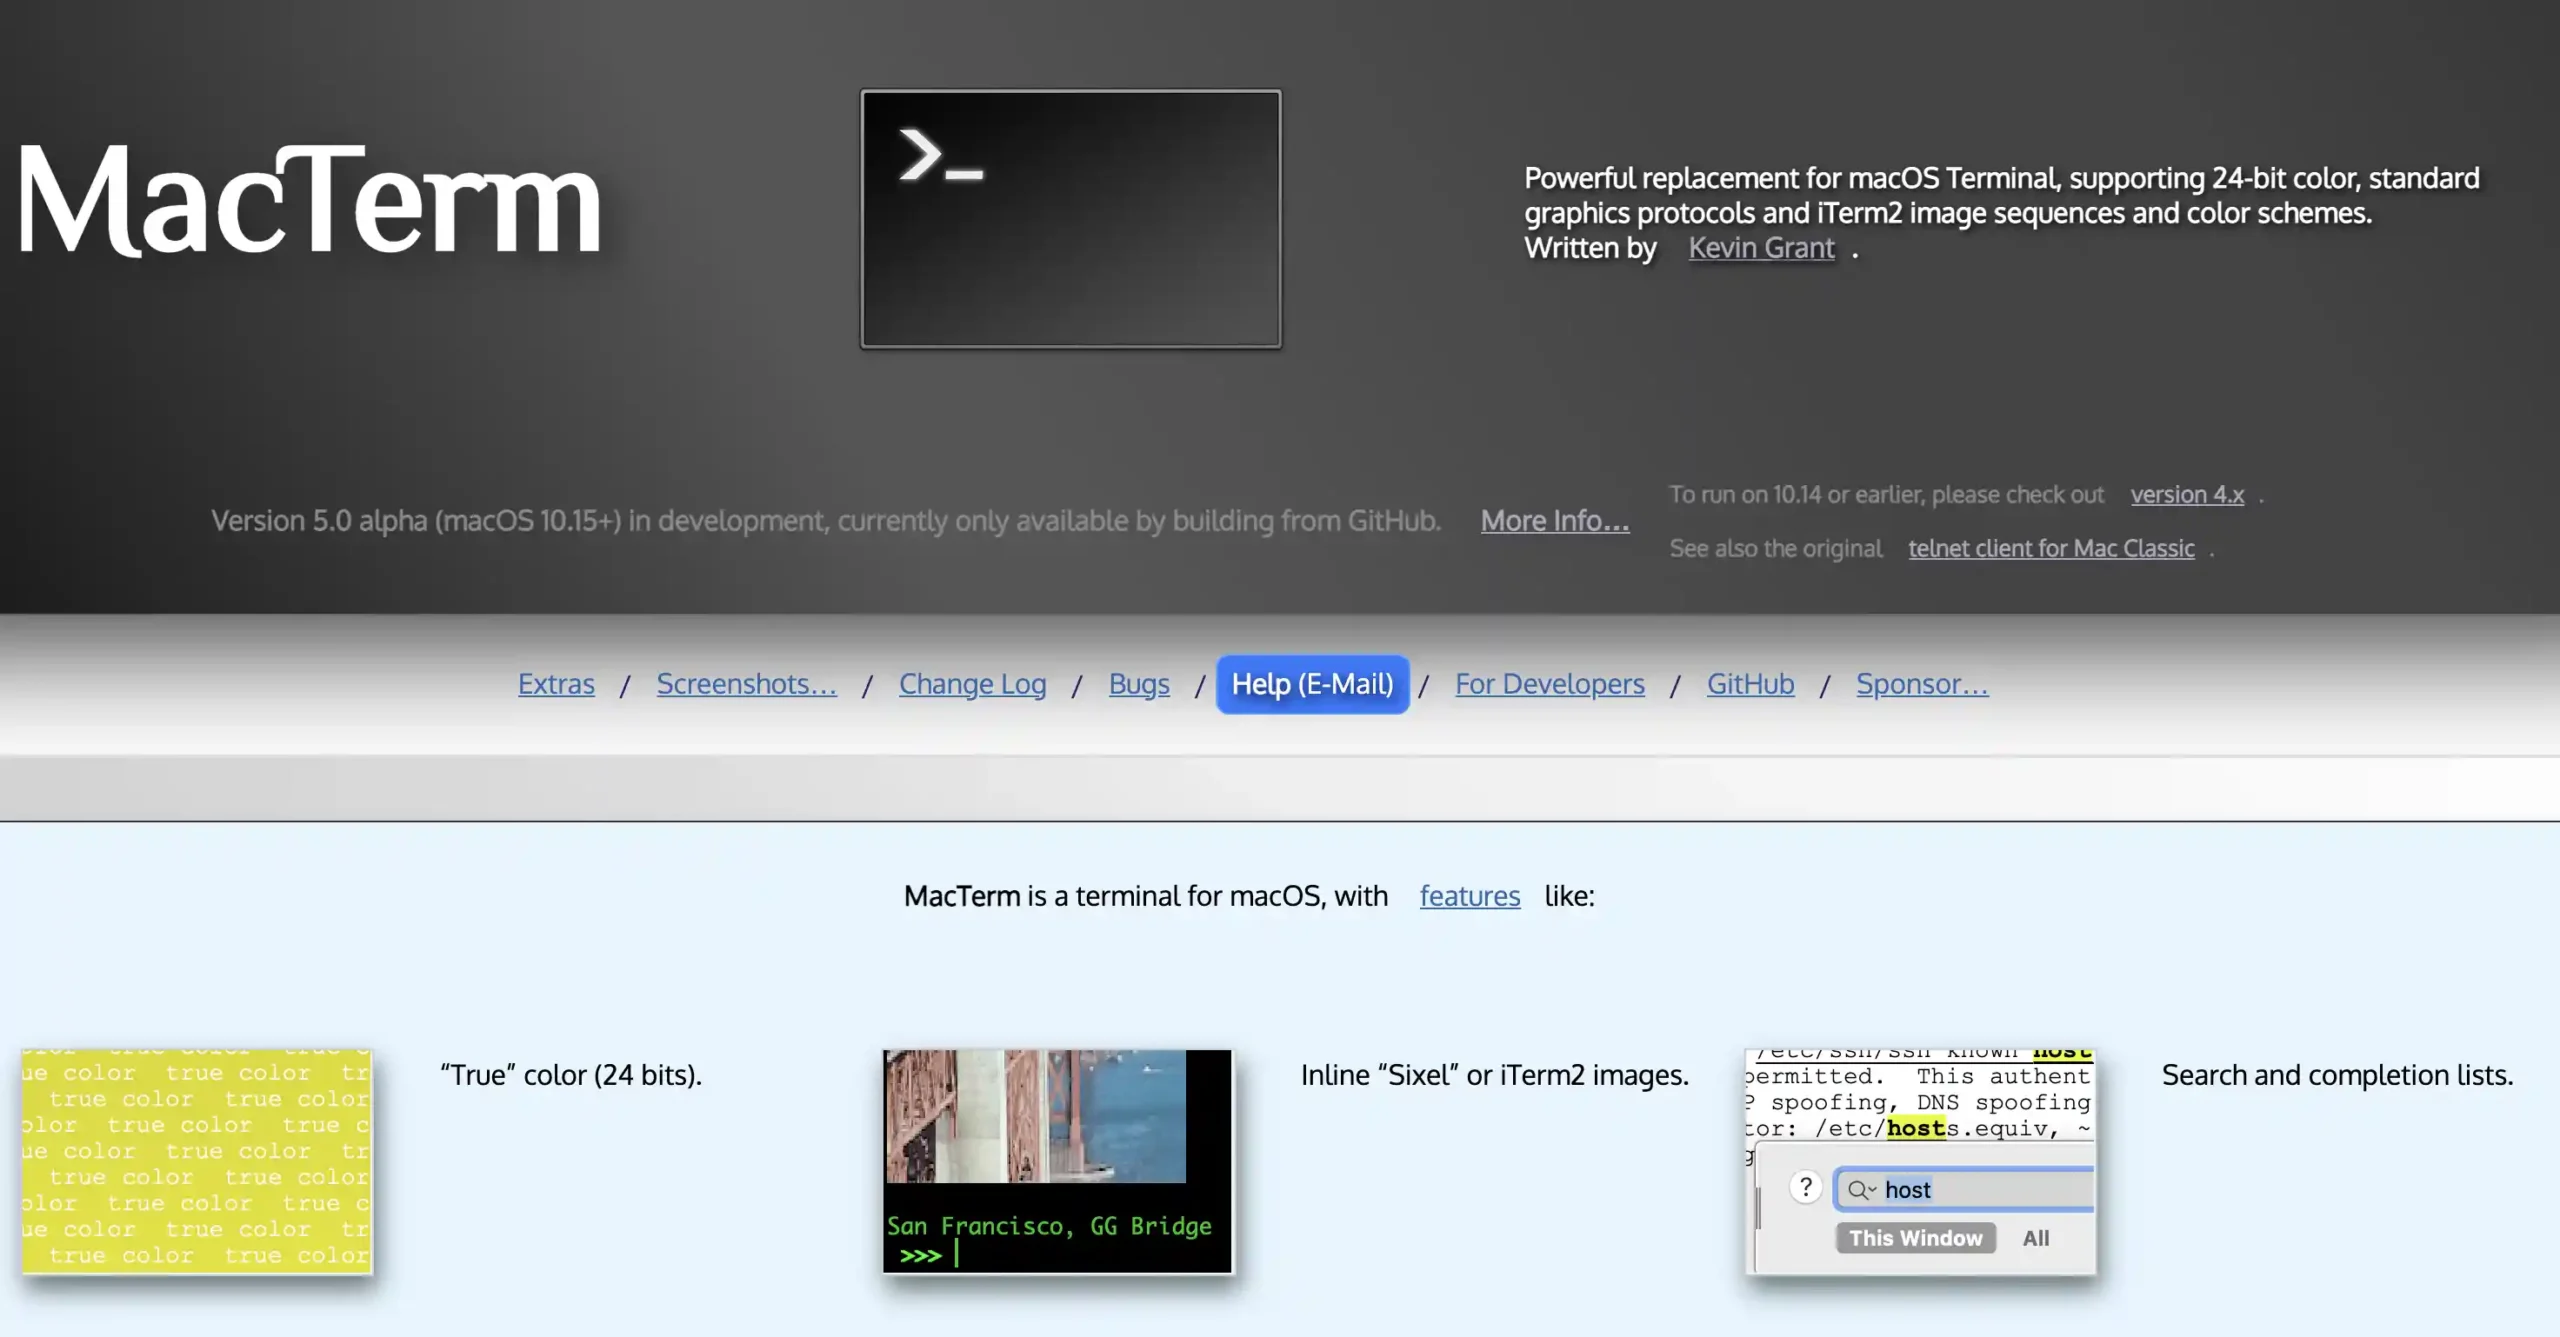
MacTerm is a terminal emulator for macOS that supports actual color and inline images. It also includes search and completion lists, notifications, and keep-alive. MacTerm can be customized to fit your needs and preferences. It is free software licensed under the terms of the GNU General Public License. You can extend MacTerm’s capabilities by installing Python 3.
MacTerm is a free and powerful terminal emulator that gives you plenty of options to customize your experience. You can install Python 3 to extend its capabilities even further.
Hyper
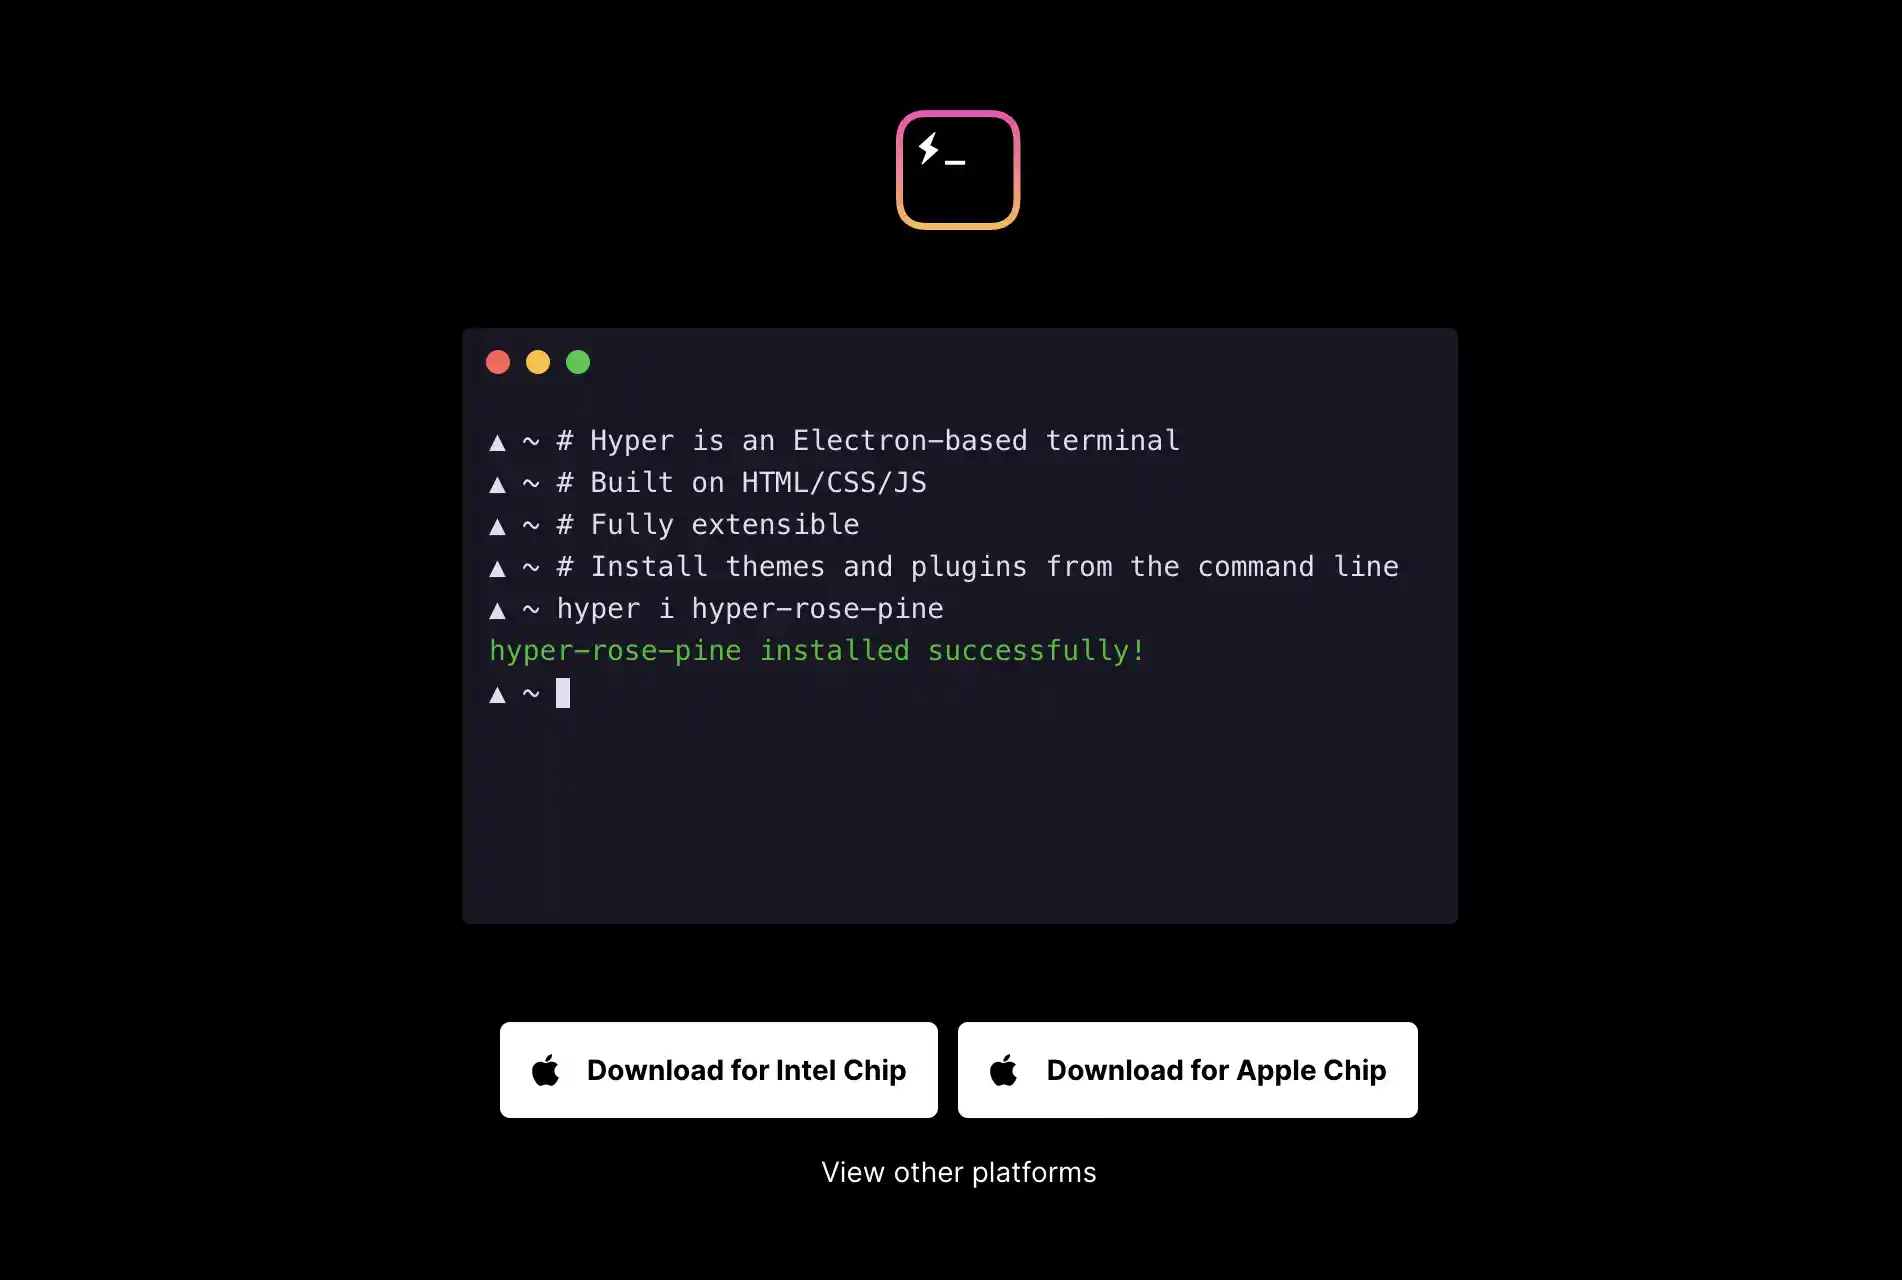
Hyper Terminal is an open-source tool with a clean design and easy-to-use features. Hyper focuses on performance, extensibility, and ease of use. It is built on Electron, a framework for creating native applications using web technologies. This allows Hyper to be cross-platform and run on Windows, macOS, and Linux.
Hyper is fully extensible, meaning you can install themes and plugins to customize the look and feel of your Terminal. Many extensions are available on npm, and you can install them from the command line. It also has a few built-in keymaps, but you can create your own. The configuration is stored in JSON, which makes it easy to customize.
The source code for Hyper Terminal is available on GitHub. You can find it here if you are interested in contributing to the project or want to browse through the code.
ZOC
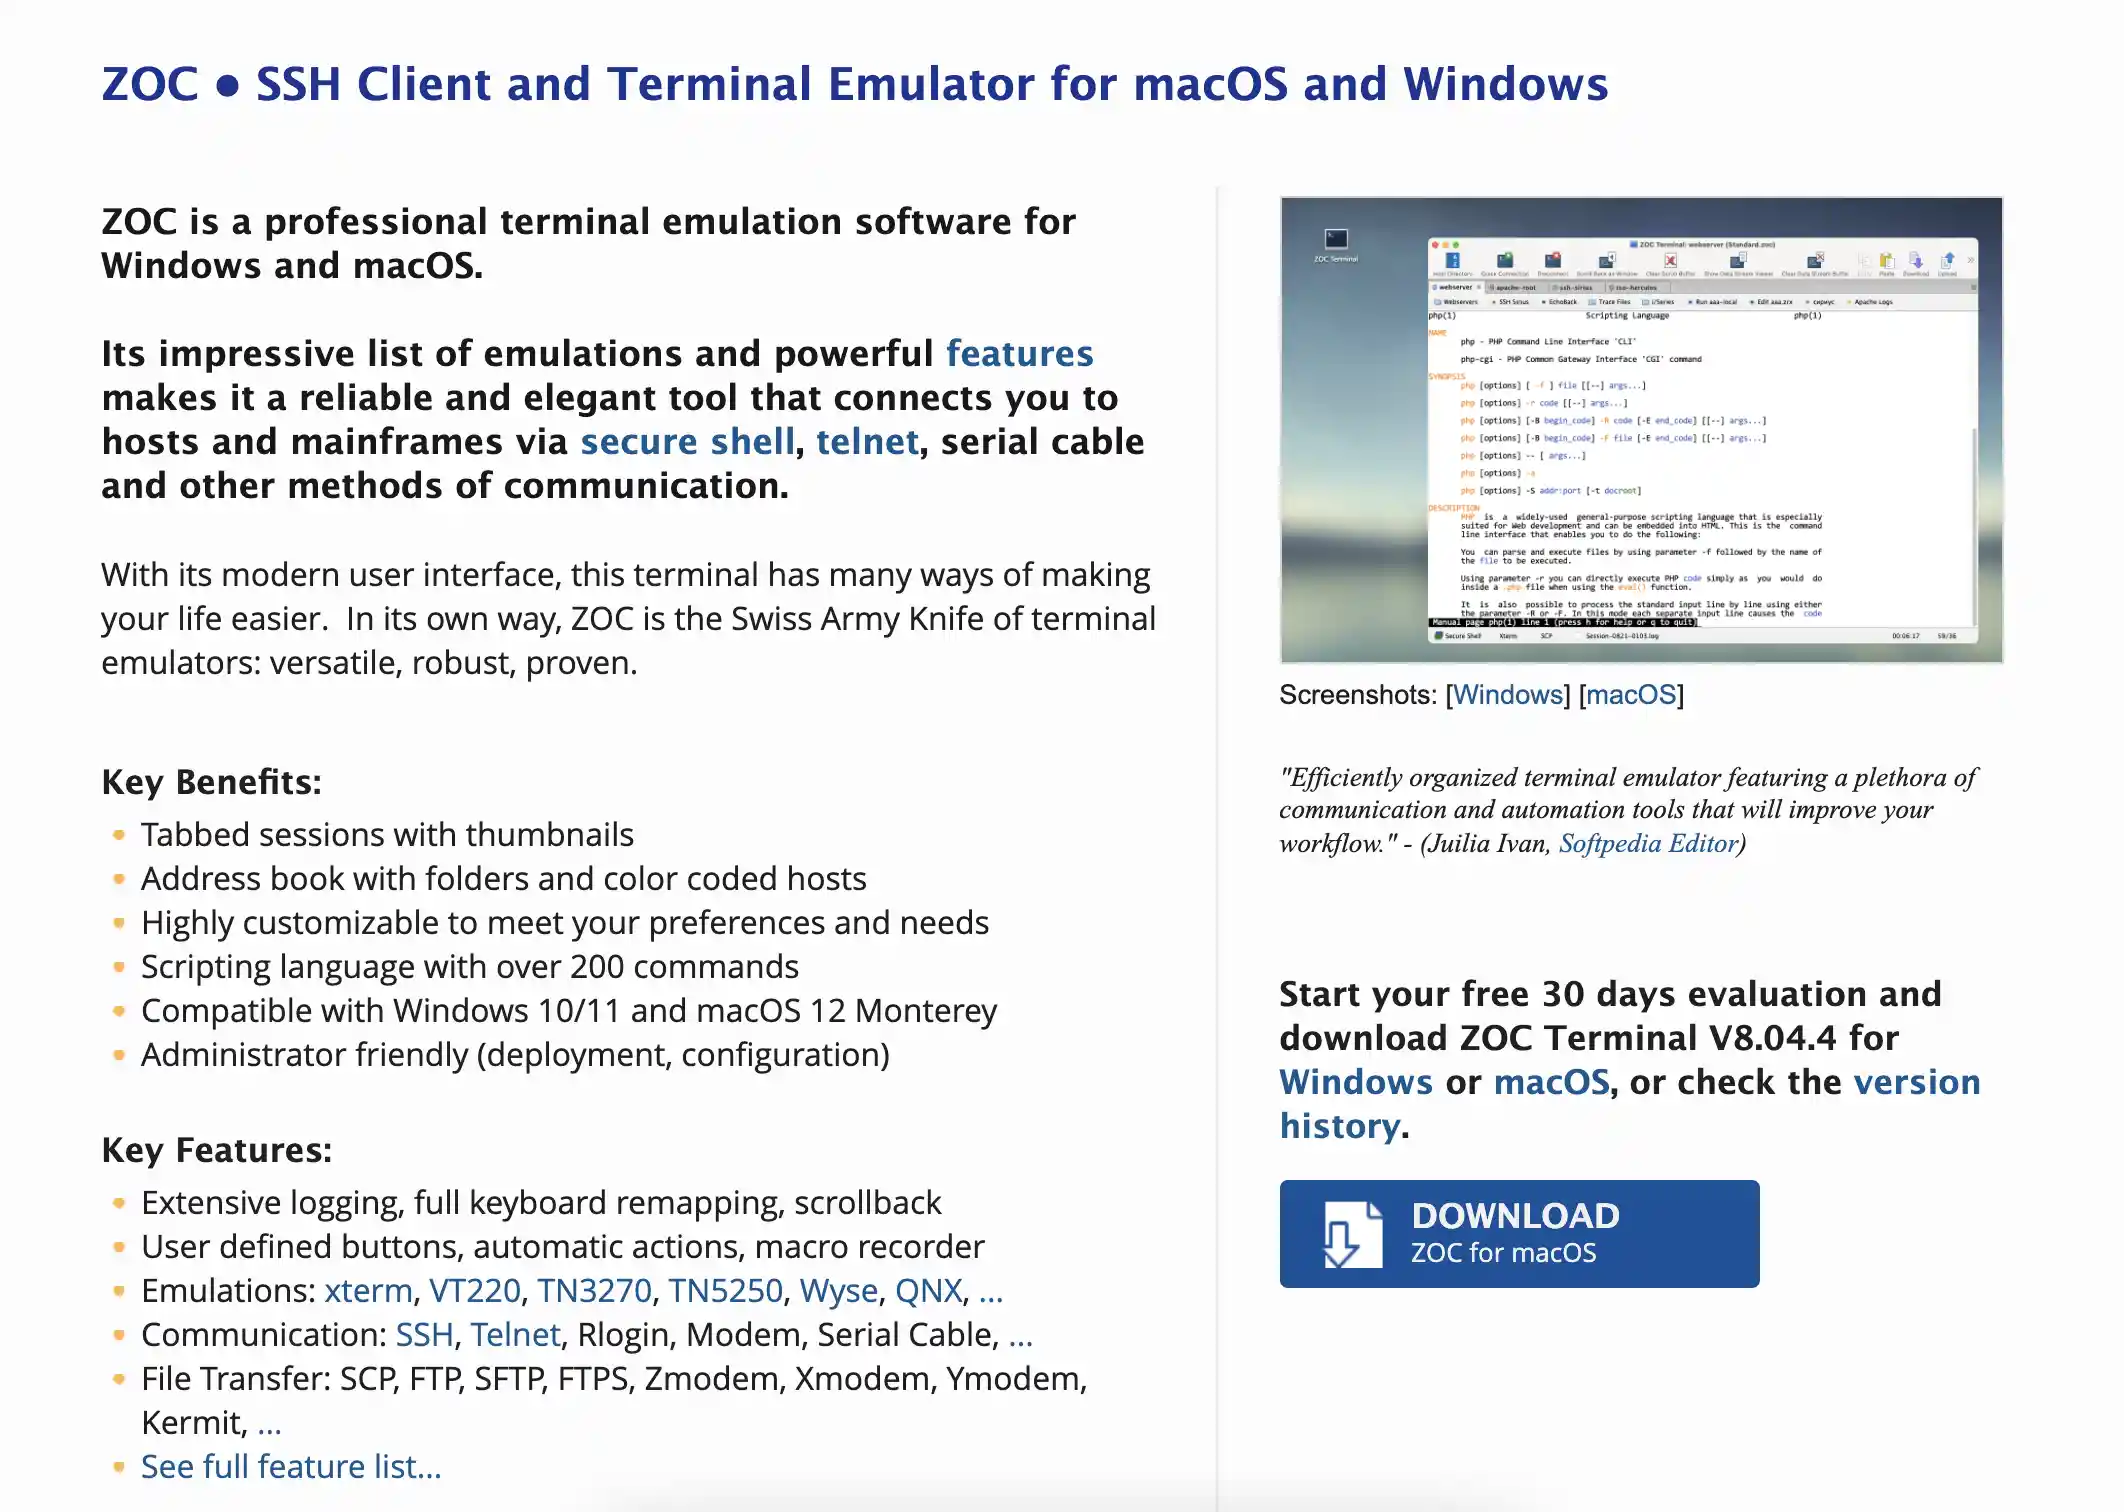
ZOC is a powerful and highly customizable SSH client and terminal emulator for macOS. ZOC allows you to open multiple sessions in tabs, which can be helpful if you need to work with various servers simultaneously. You can also create folders to organize your address book and color code your hostnames for easy identification.
ZOC also includes a scripting language with over 200 commands, so you can automate tasks or customize your workflow. It’s also fully compatible with Windows 10/11 and macOS 12 Monterey. Plus, it’s administrator-friendly, making it easy to deploy and configure.
It is free for 30 days, so you can try it before you buy it. If you decide to purchase it, you can do so through their website. However, the fee is high at $79.99 for unlicensed usage.
MacWise

MacWise is a powerful terminal emulation program that supports multiple sessions, transparent windows, on-screen text selection, clipboard support, extensive font options, and more. It makes it easy to connect to and work with different hosts or to run multiple sessions simultaneously.
MacWise also features page forward/back capability, ANSI color and Wyse 370 Esprit Color support, and the ability to capture text and save it to a file. It is compatible with Monterey, Big Sur, and backward compatible with Sierra,… It also offers a built-in modem, Telnet / TCP/IP, SSH Secure Shell, Kermit support, and Serial ports via USB to Serial adaptor connectivity.
MacWise is a paid program that doesn’t offer a free trial. You can purchase a license for $95.
Byobu
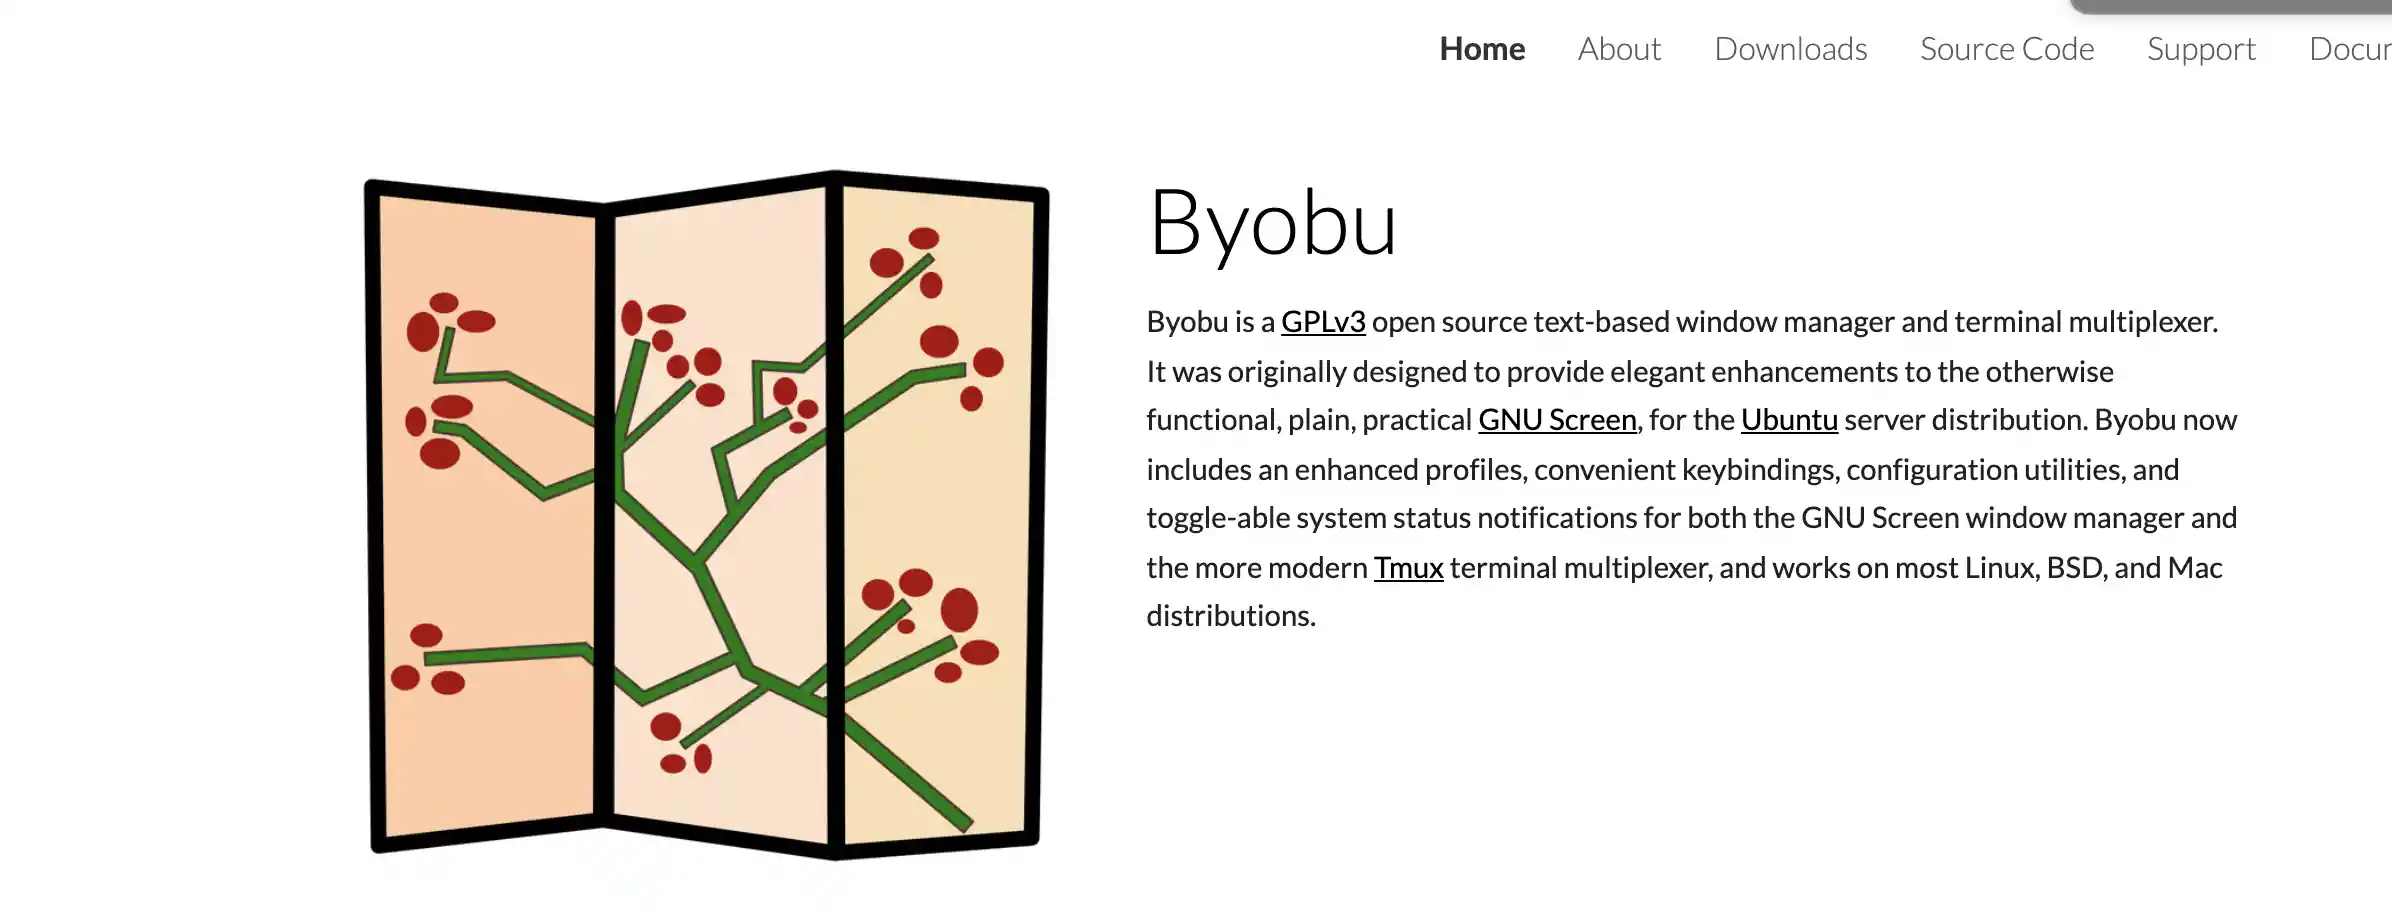
Byobu is a text-based window manager and terminal multiplexer. It was initially created to provide an enhanced user interface for the GNU Screen terminal multiplexer, but it has since been extended to support other terminal emulators.
Byobu provides several features unavailable in traditional terminal emulators, such as keybindings, configuration utilities, enhanced profiles, etc. Byobu is available on most Linux, BSD, and Mac distributions. It is not available on Windows.
PowerTerm InterConnect
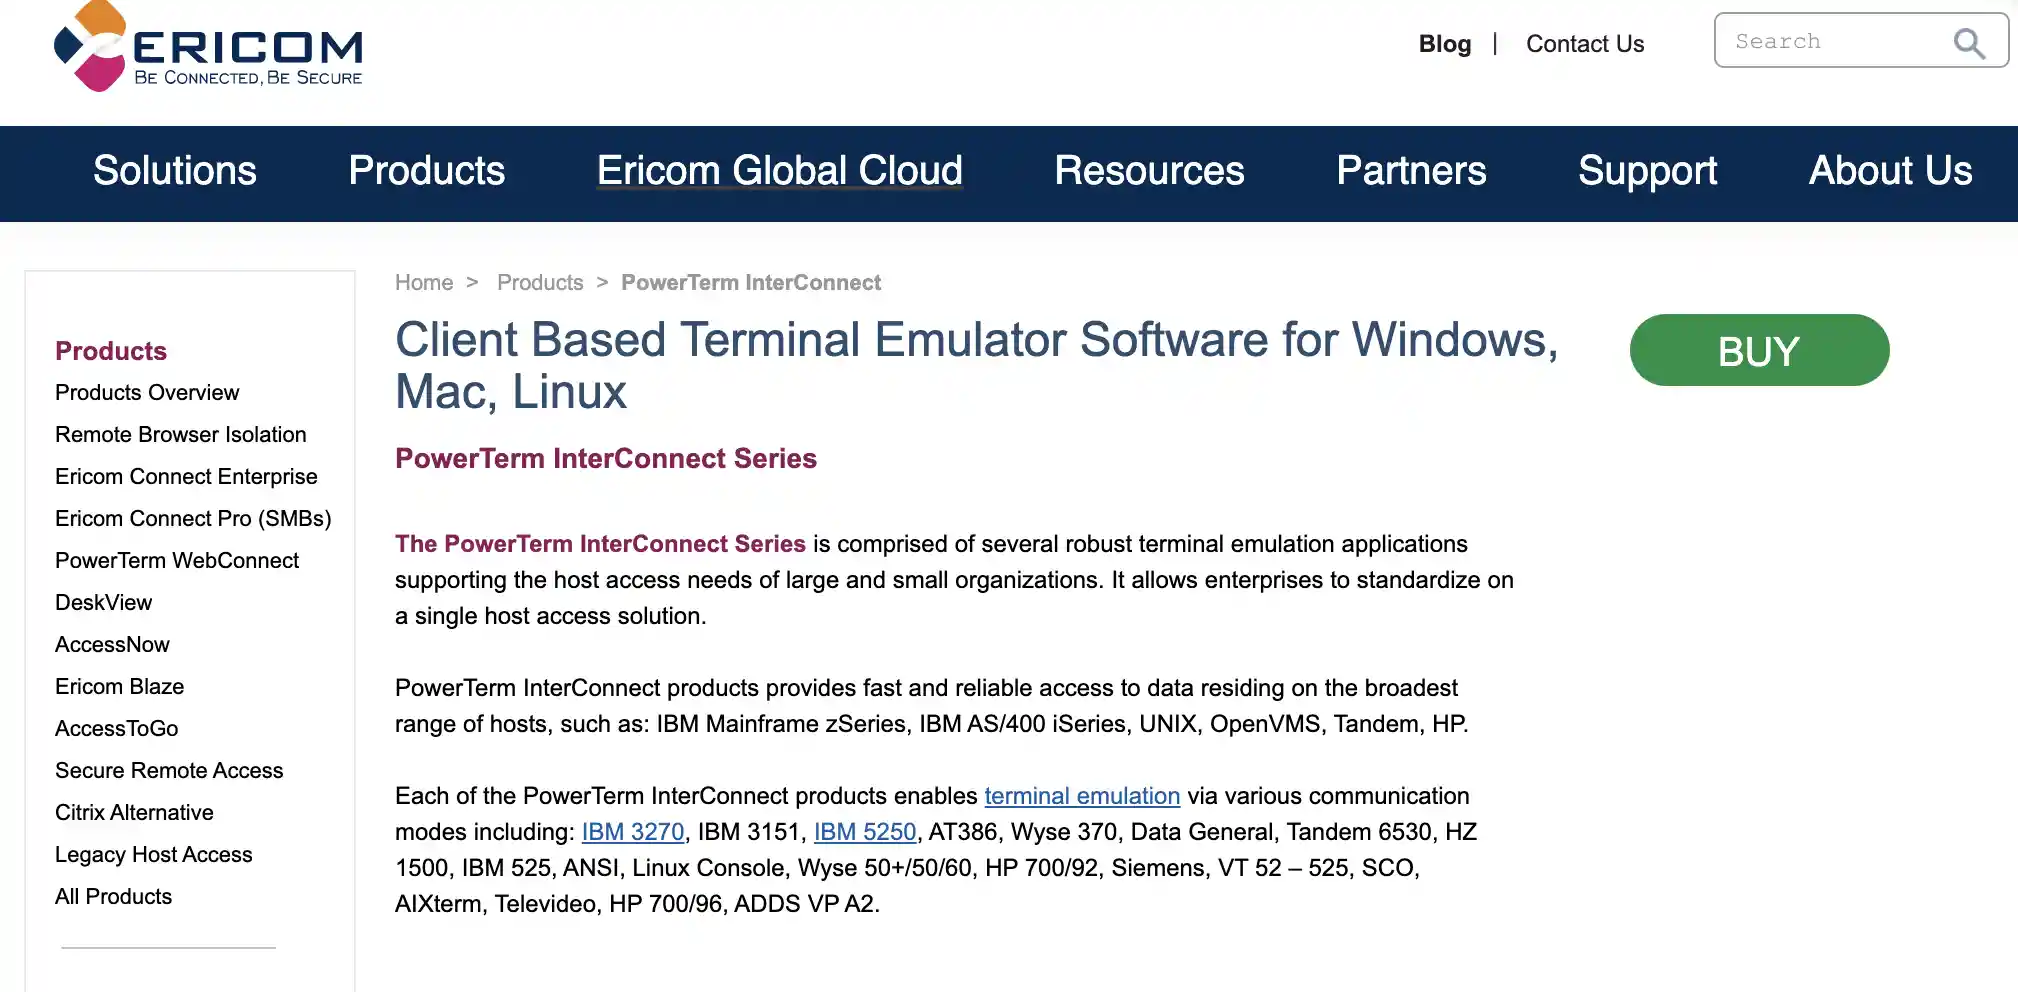
PowerTerm InterConnect is a powerful terminal emulation software that supports a variety of hosts, including IBM Mainframe (zSeries), IBM AS/400, and others. The user-friendly interface of this program includes drag-and-drop functions for simple data access, various file transport and printing options, and a Power Script Language for recording activities.
PowerTerm InterConnect supports over 30 languages, including English, German, French, Spanish, and more. This allows users to work in their native language and improves communication and productivity. However, the last update was in 2019. There might be better ideas than using this software if you want something regularly updated.
How to Open Terminal on Mac
In a previous post, we showed you how to open applications using Terminal. You can review that post to get started or follow the steps below to open Terminal.
Find Terminal in Launchpad
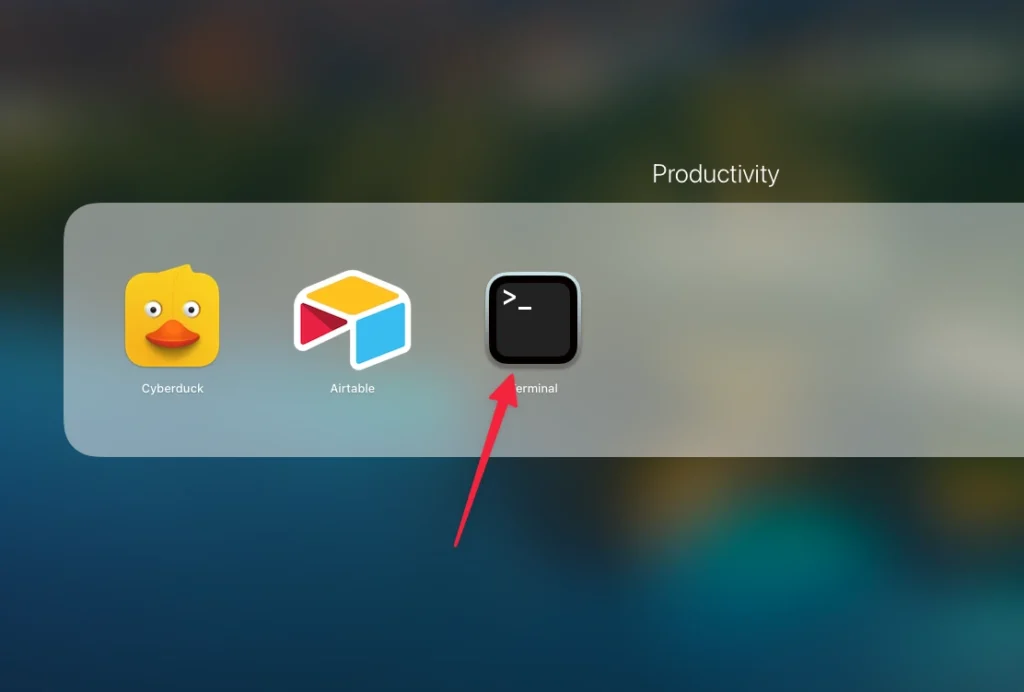
You can find Terminal from Launchpad by typing “terminal” in the search bar at the top of the screen. When Terminal appears, click on it to launch the application.
Find Terminal in Finder
If you use Finder, you can find Terminal by opening the “Applications” folder. Once you have opened the “Applications” folder, locate the “Utilities” subfolder and open it.
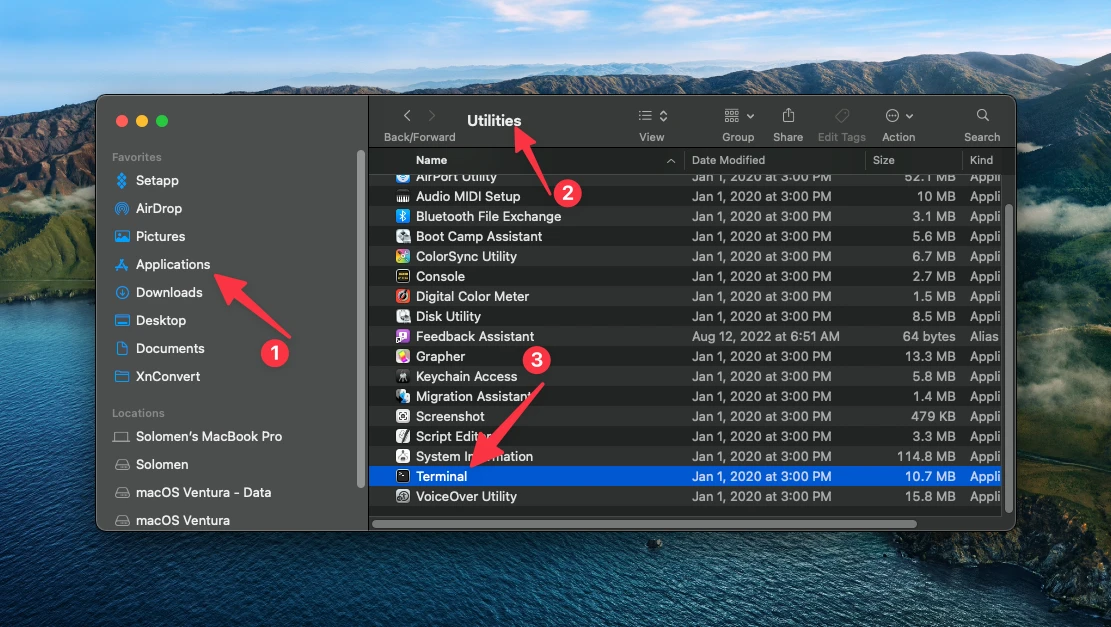
Inside the “Utilities” folder, you will find the Terminal application. Double-click on Terminal to launch it.
Open Terminal from Spotlight
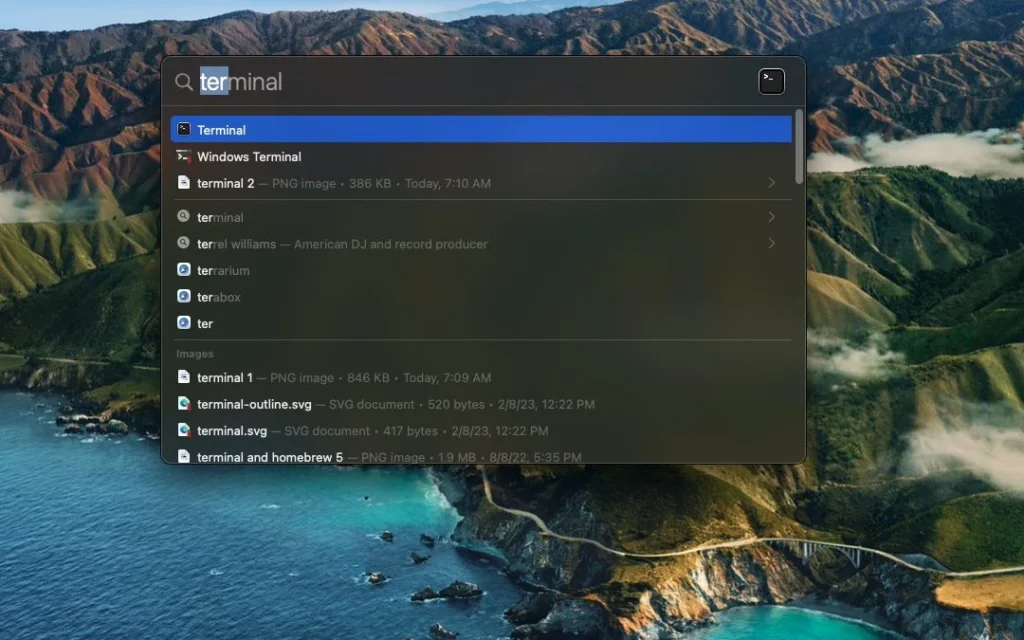
You can open Terminal by pressing the Command + Space bar keys and typing “Terminal.” When Terminal appears in the search results, press Enter or click on it to launch the application.
Use Siri to open Terminal
You can ask Siri to “open Terminal,” and she will launch your application.
Tricks: Add Terminal to the Dock for Quick Access
You can also add Terminal to the Dock for quick and easy access. To do this, open Terminal and drag the Terminal icon from the Applications folder to the Dock.
8 Basic macOS Terminal Commands
By default, macOS keeps all files and folders that start with a “.” hidden from the Finder. This is usually done to keep things tidy and prevent accidental deletion of important files. However, there are times when you need to access/show these hidden files and folders.
Open the Terminal application. Type the following Command and press Enter:
defaults write com.apple.Finder AppleShowAllFiles YESYou will need to relaunch the Finder for the changes to take effect.
You can do this by holding down the Option key while clicking the Finder icon in the Dock, pressing Command+Option+Escape to bring up the Force Quit dialog, and selecting Relaunch from the list.
Wrapping Up
Terminal is a necessary part of any Mac workflow. There are various options to choose from, including the apps mentioned above. These are just a few of the most popular ones, but many more are out there.
We hope this article has helped you learn more about the best Terminal for Mac. If you have any questions or suggestions, feel free to comment below. And if you know of any other great terminals we didn’t mention, let us know about them too!
Solomen is the founder of MrHow.io, and he is happiest when working with technology and able to help others. In his free time, he often listens to Baroque music, swims or runs. Feel free to contact him on social media!


Have been using Rio terminal and just loving it https://github.com/raphamorim/rio
It seems great!