
When was the last time you used a digital camera to take a picture? It’s probably been a while, right? Most of us used our smartphone to take a million pictures of our pets or of that beautiful sunset you were lucky enough to see. If taking pictures is something you love to do, you look for a smartphone that’s within your budget that has the best camera possible.
But, what happens when you finally have a smartphone with an amazing camera, do you know the tips you need to keep in mind to take great pictures? If you want to know what you need to do to take amazing pictures, keep reading.
Read also: Everything You Should Know Before Buying an SD Card
Clean and Take Care of the Lens
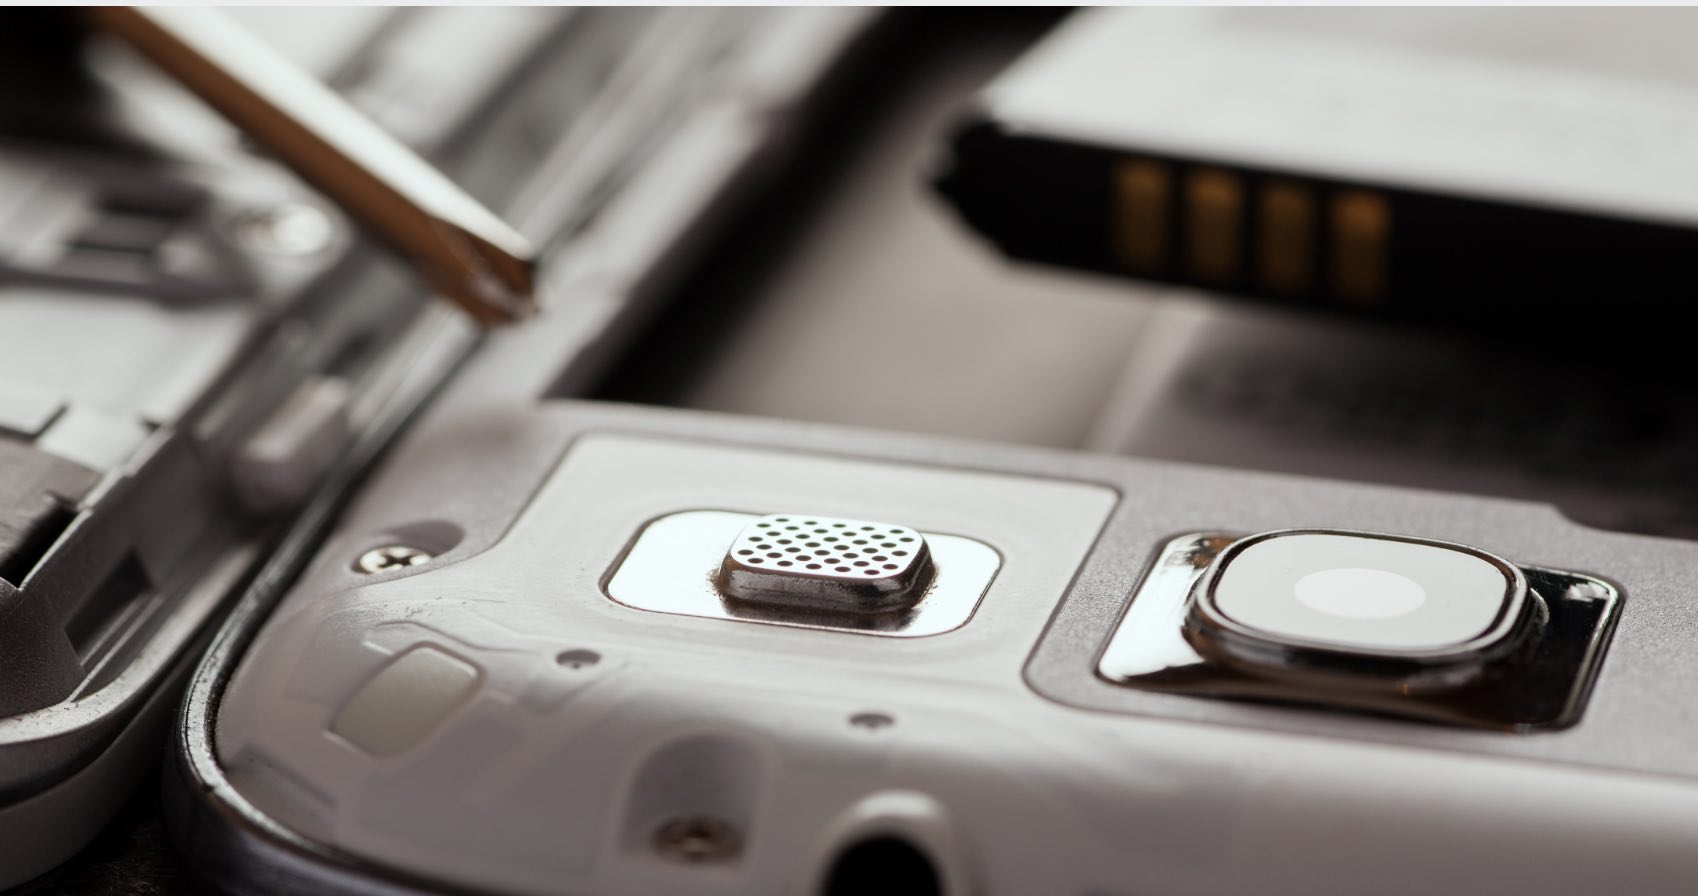
Clean and Take Care of the Lens
I know this sounds obvious, but it’s something that many of us may not be doing, and that explains why the pictures are not coming out the way we want them to. So, before every picture, make sure that your camera lens is clean and if you’re going to go to the beach, keep your phone in either a special case or even a Ziploc bag to maintain the sand from permanently scratching the lens.
Use The Camera’s Auto-Focus
Almost every smartphone on the market has its camera with auto-focus, where the only thing you need to do is tap on the part of the screen that has the object you’re going to take a picture of and tap on the camera icon. It’s always a good idea to do with before every shot so you can get the best picture possible.
Always Use Both Hands
Admit it, you know you like to use only one hand when you take pictures with your smartphone. The problem with that is that your phone can slip and that can result in a blurry picture. There are times when using both hands is not possible, but whenever it is, do it. You’ll see how your pictures are crisper.
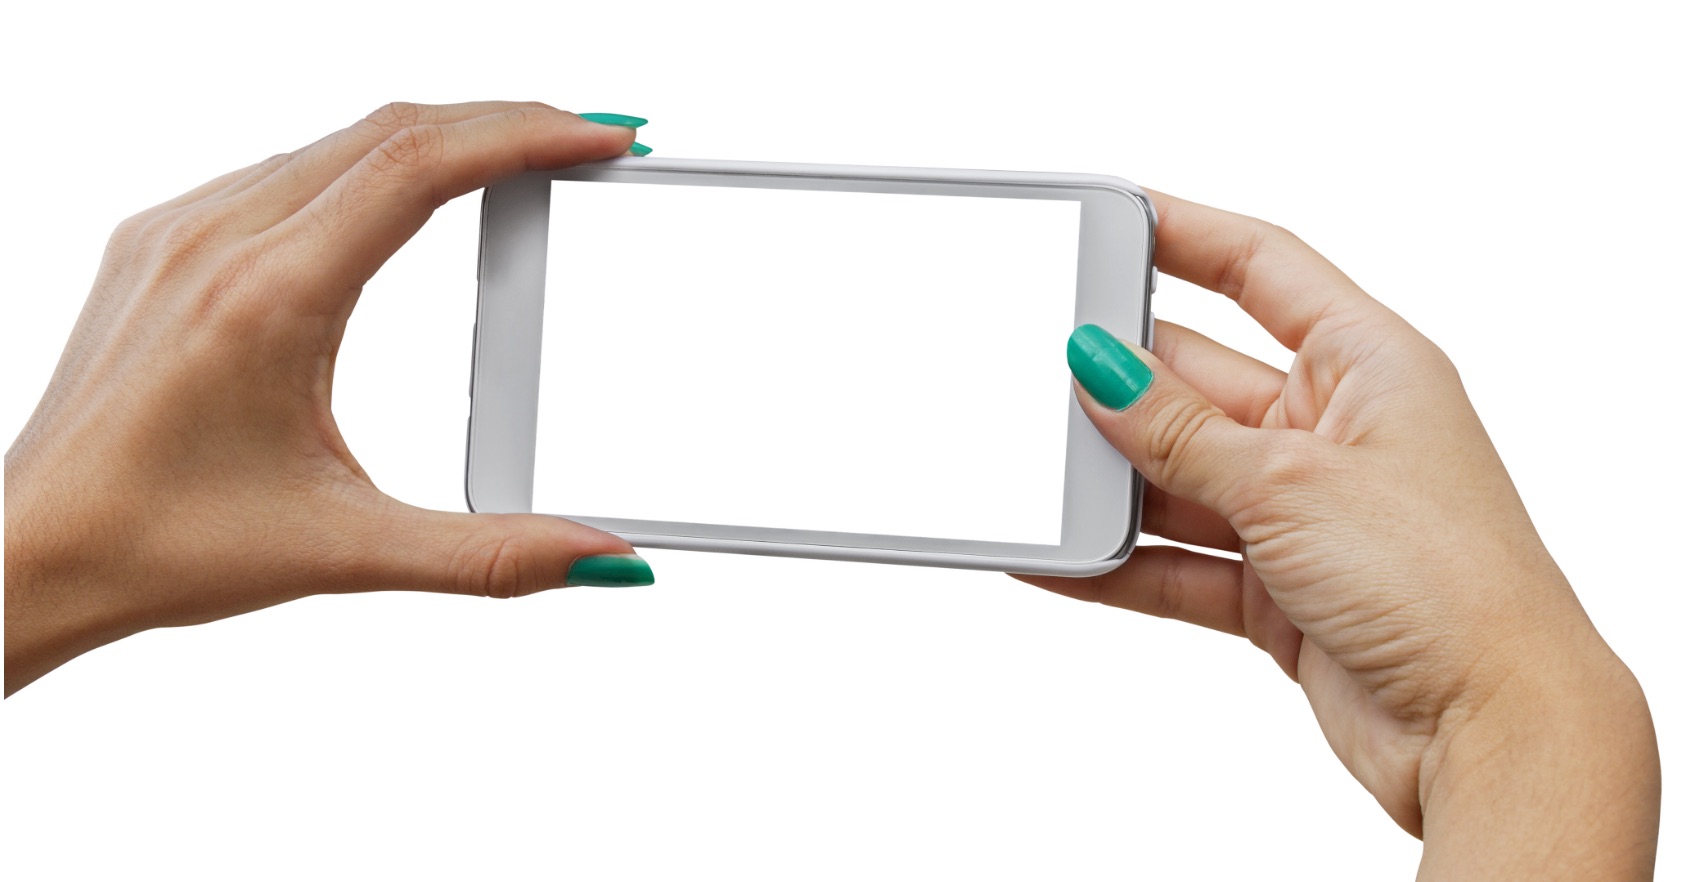
Always Use Both Hands
If you’re able to use something like a tablet as support, even better since that will reduce the blurriness of trembling hands. Holding your breath when taking the picture also helps reduce the blurriness and if you can set a timer, even better since it’s going to reduce the vibration that pressing the camera button causes.
Don’t Use Zoom
Whatever you do, avoid using the zoom on your smartphone. You might think it’s a good idea because you think that the zoom on your smartphone is as good as the zoom on those professional reflex camera, it’s not!
The zoom on your smartphone is digital, and all it does is make the pixels bigger, so the best zoom you can use is with your feet. In other words, walk to get closer to whatever it is you want to take a picture of and avoid using the zoom.
How to Add Depth to a Picture of Landscape

You don’t have to take a photography class to learn how to give your images depth. Let’s say you’re going to take a picture of the Gran Canyon, to add depth to the image, make sure you have something in the foreground. With that simple tip, your images will look professional.
Don’t Forget About Rule of Thirds

You’re probably asking yourself what Rule of Thirds is and if that’s your case, it is something that applies to a subject with the guidelines and the intersection points. It’s a fundamental principle where you imagine two horizontal lines across and two vertically.
It’s applied by aligning an object or person with the guidelines and their intersection points, putting the horizon on the top or bottom line, or you can allow the linear features in the picture to flow from section to section. Thanks to this grid, you will now know where to place the point of interest of your picture as you frame your image.
Try a Different Angle
You want to take a picture of something, you probably just stand in front of it and shoot, right? After a while, that can get boring. Why not try to take the picture from a different angle? Try taking the picture as if you were looking down on the subject. If the picture didn’t come out as you planned, you could always erase it.
Get to Know Your Camera Settings
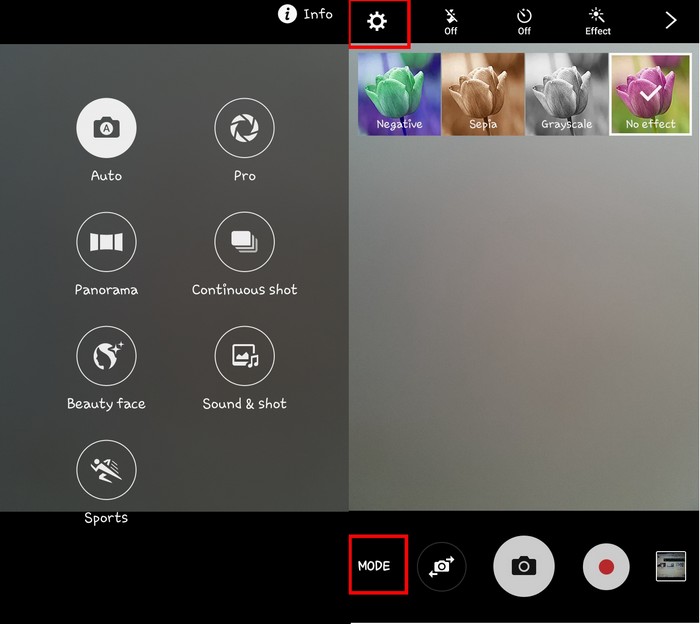
Camera Settings Android
If you don’t want to go through the hassle of learning what camera settings goes best with your shot, then it’s best to leave your phone at its Default Auto mode. But, if you’re willing to do some photography research you could get some fantastic pictures with the settings that are already included on your phone.
Get out of your comfort zone and change the settings for Focus, Exposure, White Balance and ISO. Another thing to keep in mind is that if you can avoid using your phone’s flash, go without it. Sometimes it just makes things worse.
Set Your Device’s Resolution to the Highest
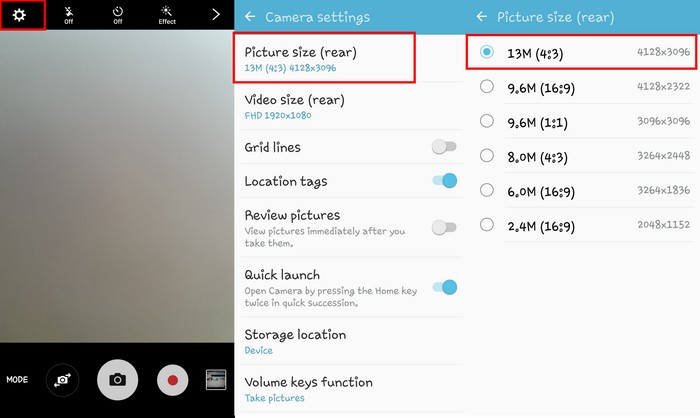
I think it’s pretty evident that the higher resolution a picture has, the better, it’s going to come out. You can check how high your device’s resolution is by tapping on the gear icon >> Picture size rear >> Choosing the highest resolution your device has.
Post Process with Snap
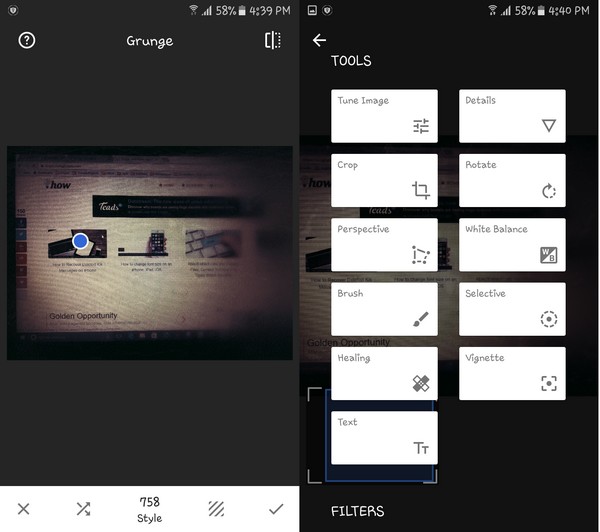
Let’s not forget that there are plenty of apps out there that will help us edit our pictures in such a way that you’ll wonder how you ever did without the app. For example, a great and free app you can try is SnapSeed. By tapping on the pencil icon, you gain access to all sorts of tools such as Rotate, Selective, White Balance, Brush, Text, Crop and much more!
Conclusion
You don’t have to become a professional photographer to take amazing pictures. Only keep in mind the tips you have just read, and you should be okay. Did I miss a tip you use? Let me know what it is in the comments.
I can never get enough of tech in general, whether it's Android or web apps, but helping others solve their tech problems also brings great satisfaction. I carry a device wherever I go and I'm always connected. Life without Internet just sounds too scary to me. :-).