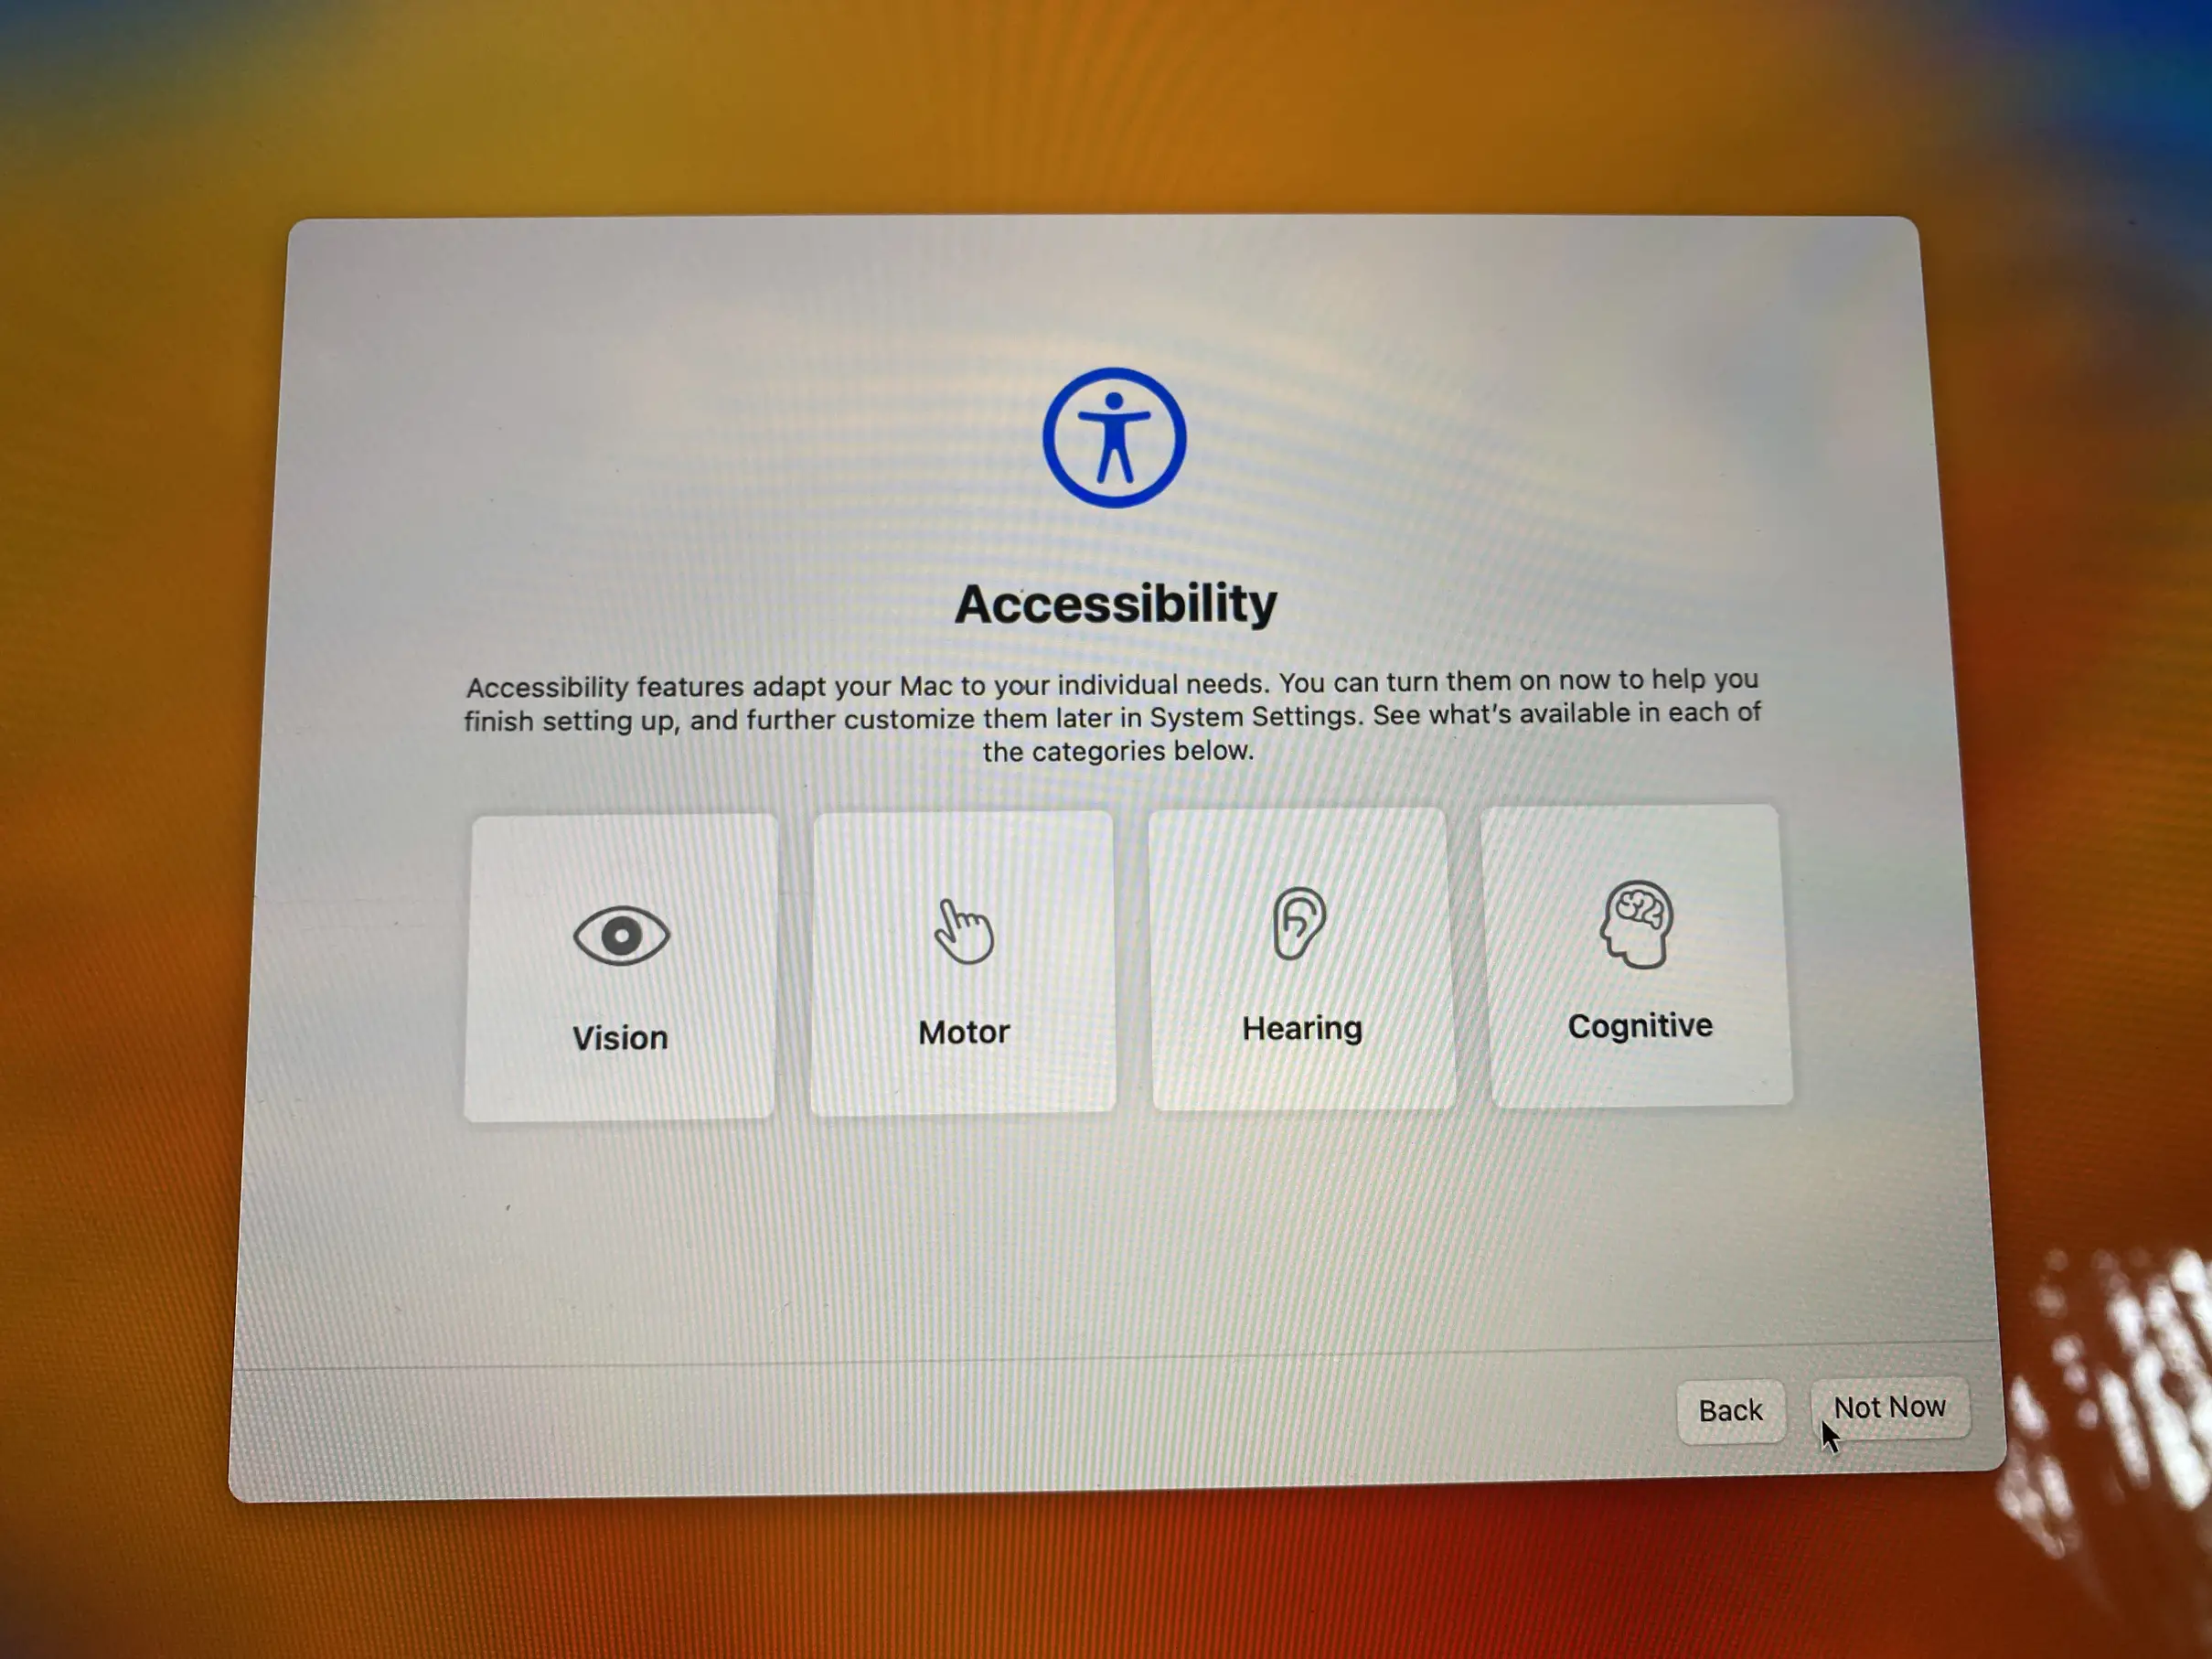
Imagine you’re interested in testing the latest macOS version or utilizing an earlier version like macOS Ventura or Sonoma. You have the option to obtain it from the Apple macOS page or participate in Apple’s beta software scheme. Keep in mind that this is software still in the developmental stage, so it may be unstable and have bugs. Consequently, it’s not advised to use it on your main Mac.
This post will show you how to run a dual macOS on your Macbook, and it also means that we will install a new macOS on Second Partition. By following these simple steps, you can have two versions of macOS installed on your computer simultaneously and switch between them as needed.
Why I Always Install macOS Beta on a Second Partition
I never plan to use a new macOS as my primary operating system. Instead, I wanted to create a partition to test the new features and see how they worked.
If I find something I like, I will upgrade my primary partition to the latest macOS. Otherwise, I could boot into my old partition and use it usually.
Creating a second partition and installing macOS Ventura or Sonoma is relatively simple. However, there are a few things that you need to keep in mind before you get started.
macOS Compatibility
Make sure your Mac is compatible with macOS 13 Ventura, you can find a list of compatible Macs here. For macOS Sonoma, click here.
Backup Your Mac
Before you do anything, it’s always a good idea to back up your Mac. If something goes wrong, you can restore your data from the backup.
There are a few different ways that you can back up your Mac. You can use Time Machine, which is built into macOS, or you can use an external hard drive or cloud service.
Power
Make sure your Mac has a good battery life or is plugged in, as creating a second partition and installing macOS Ventura will require your Mac to be turned on for an extended period.
How to Install macOS on a Second Partition
Create a new Partition on the Mac
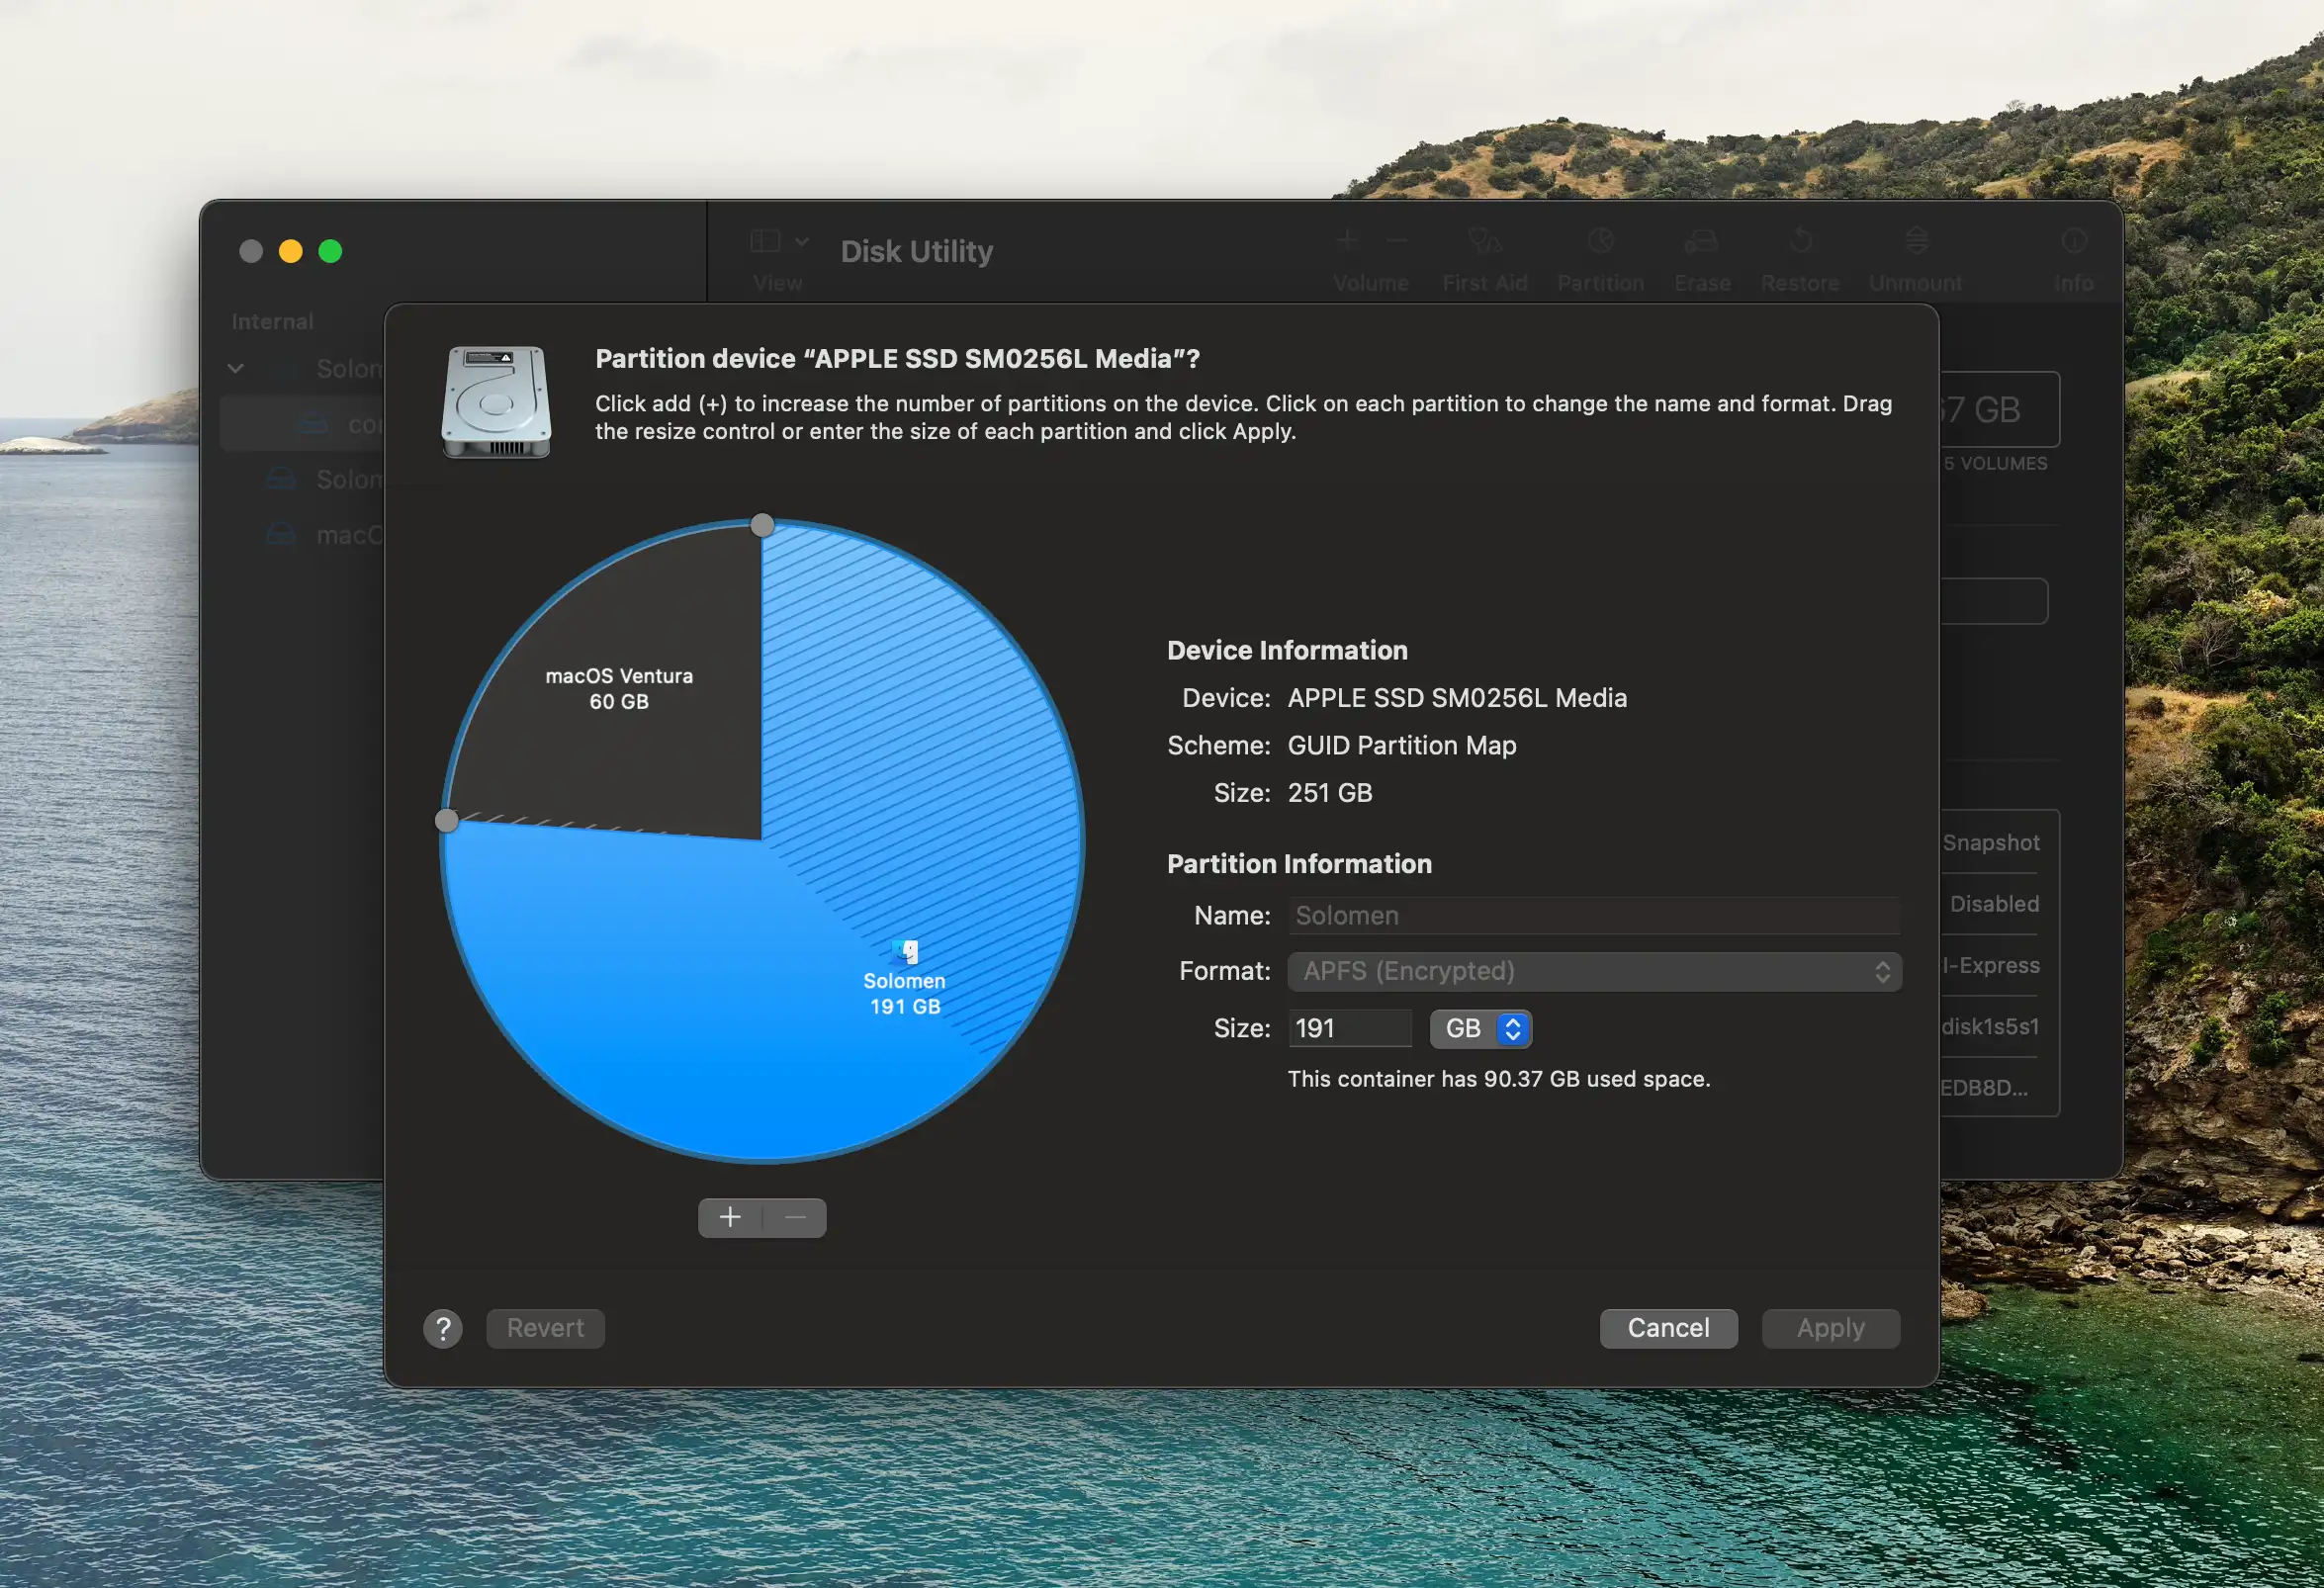
Now, you need to create a new partition on your Mac. This is where macOS 13 Ventura will be installed. I recommend creating a partition that is at least 50 gigabytes in size. Following are the steps for creating a new partition:
1. Open the Disk Utility application from the Utilities folder in your Applications folder.
2. Select your primary hard drive from the left sidebar.
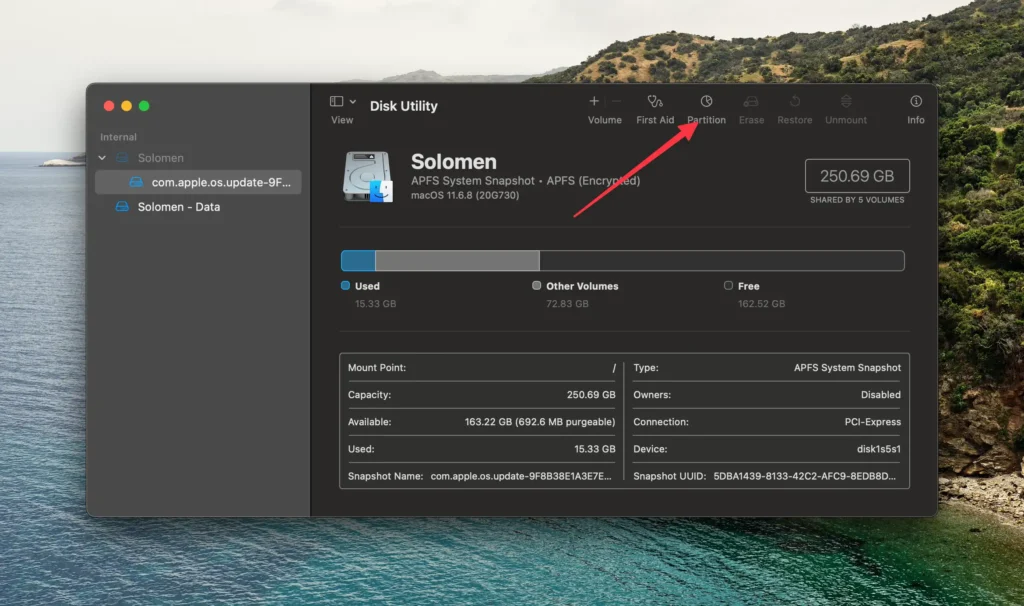
3. Click on the “Partition” button in the main window.
4. In the partition pane, click the “+” button to add a new partition.
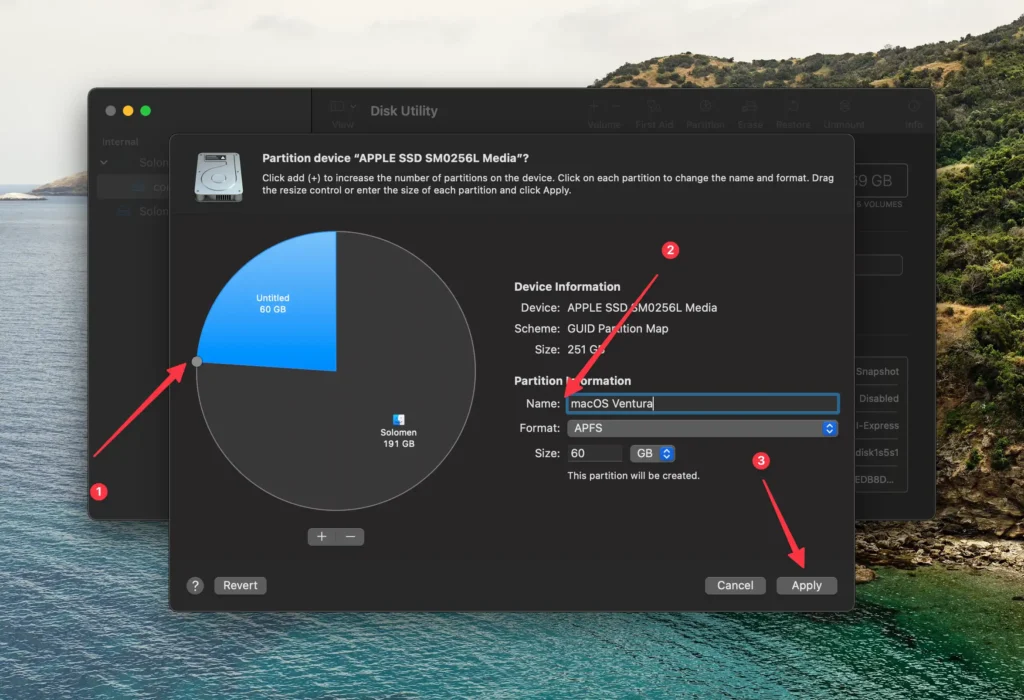
5. Name your new partition, such as “macOS Ventura.” Choose how much space you want to allocate to the new partition. I recommend giving it at least 60GB of space. Click on the “Apply” button to apply your changes.
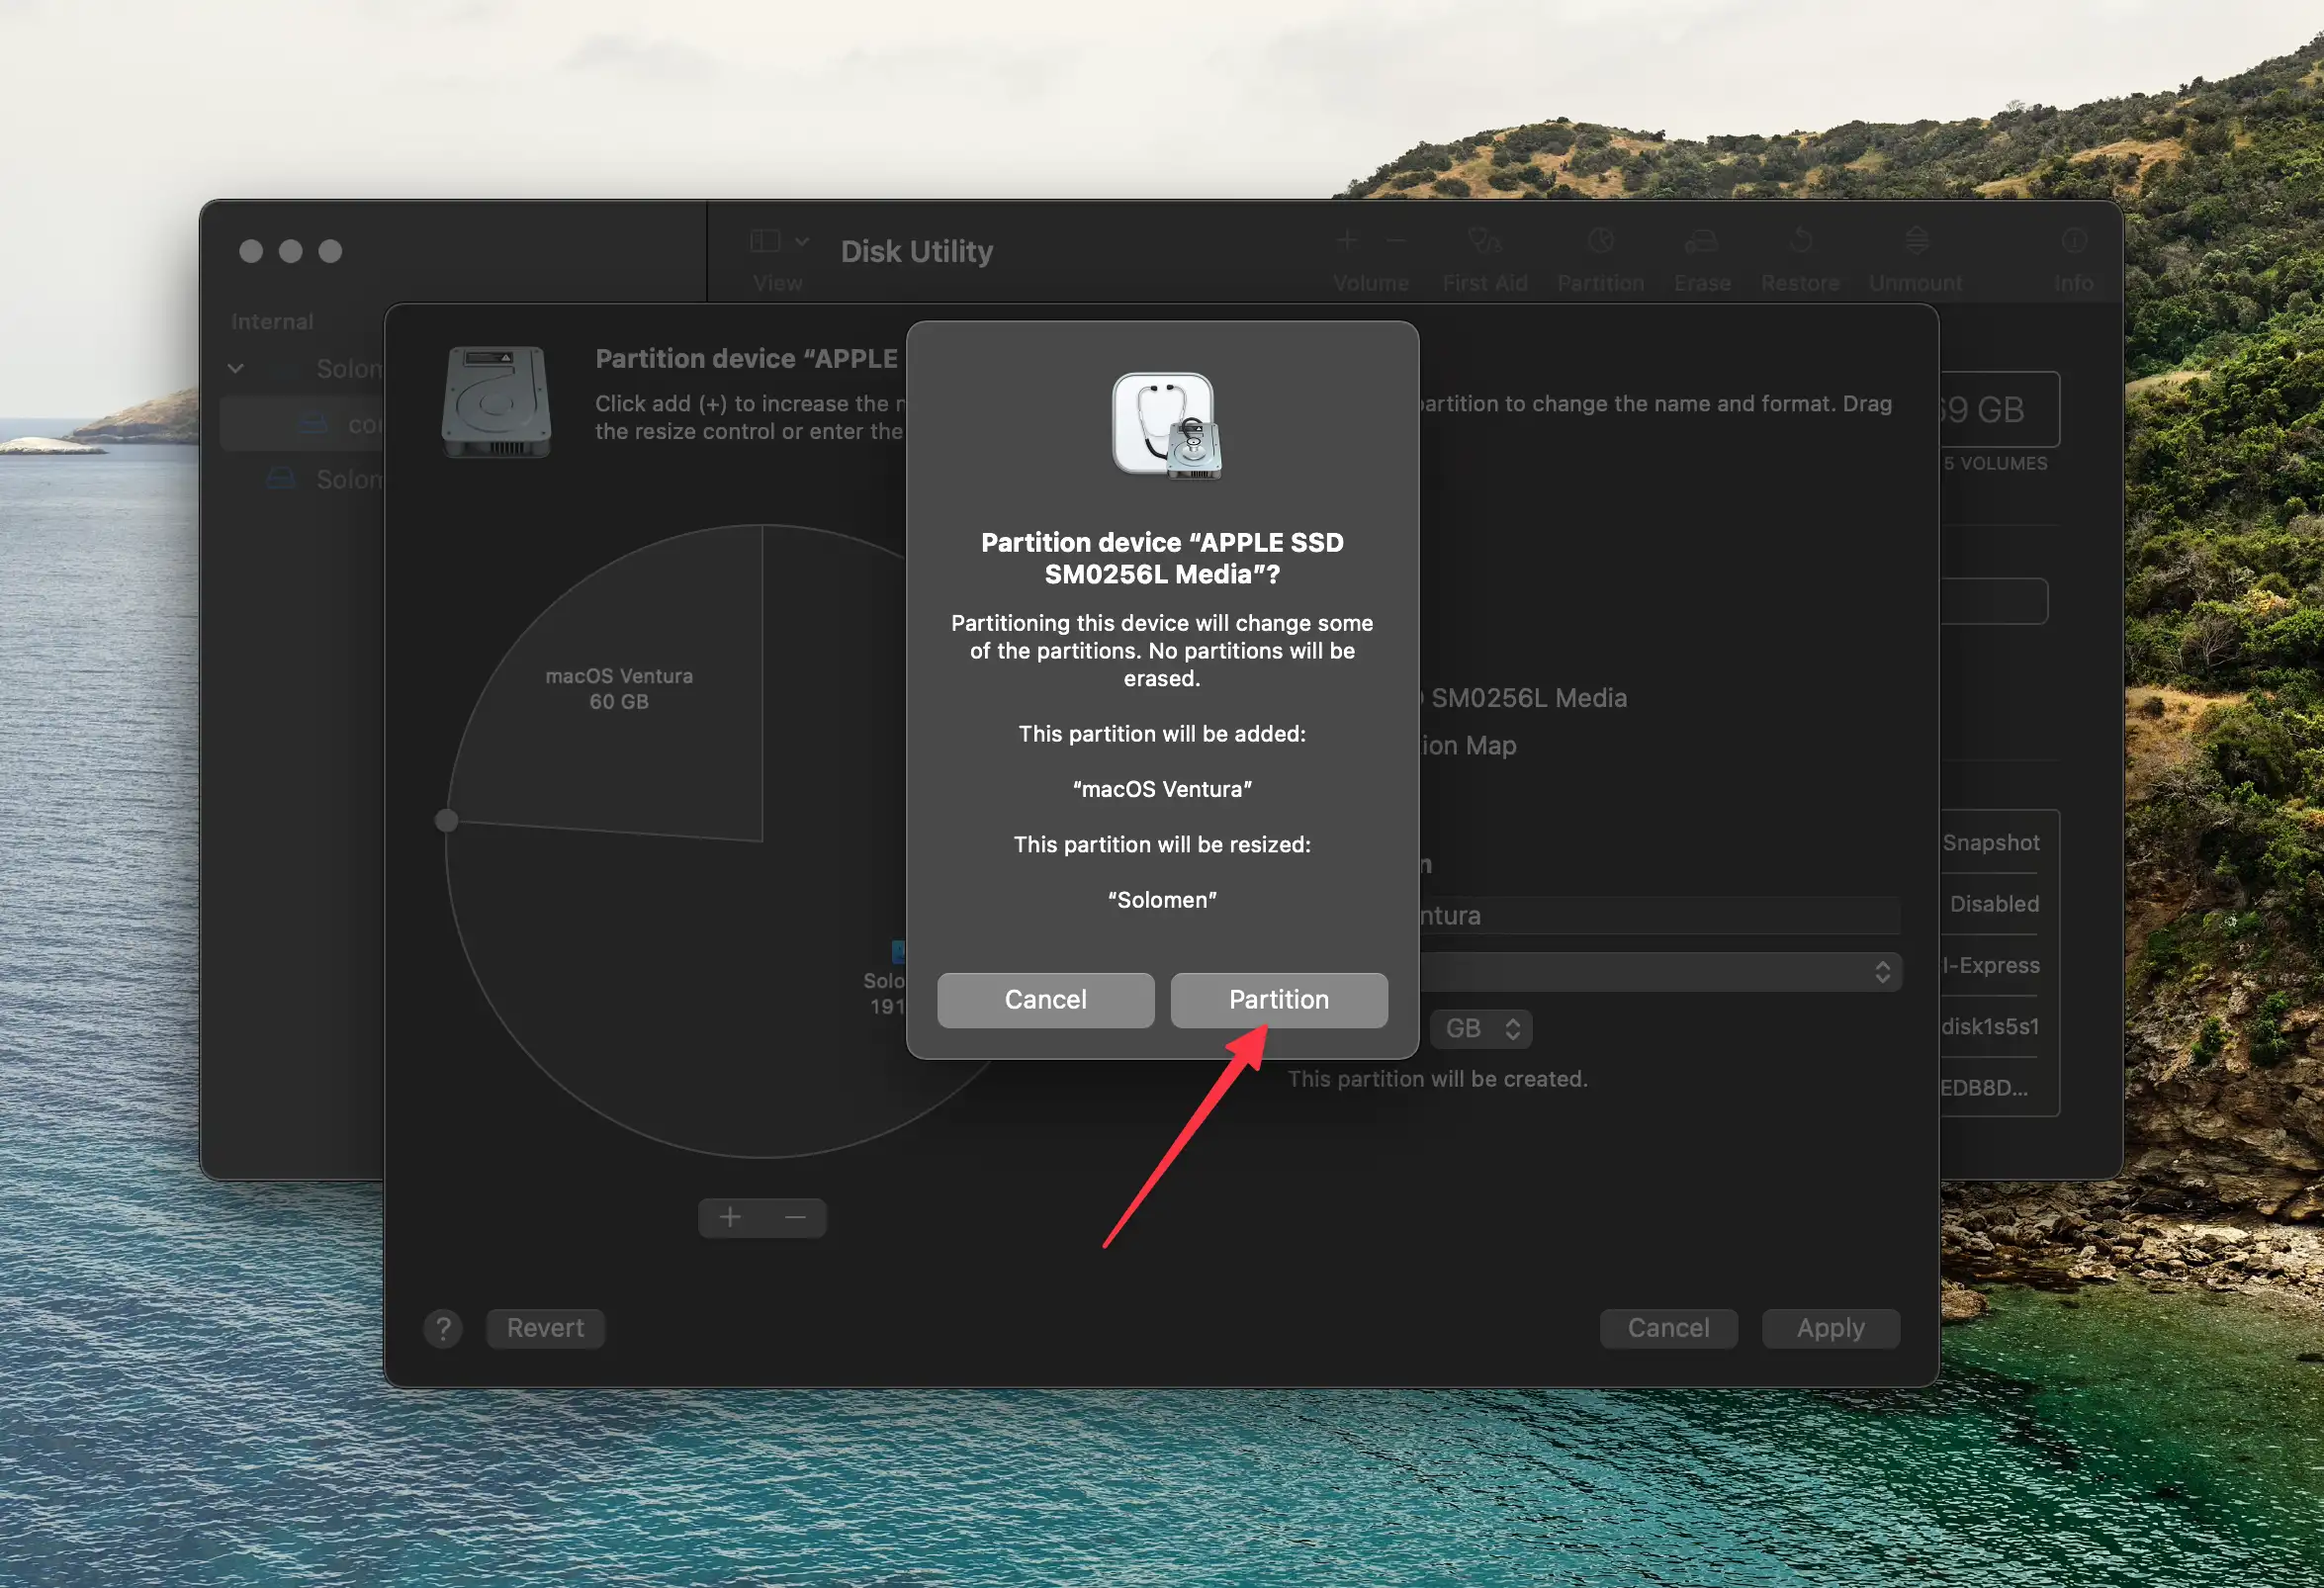
Do not turn off your Mac or interrupt the process when your Mac resizes the partitions.
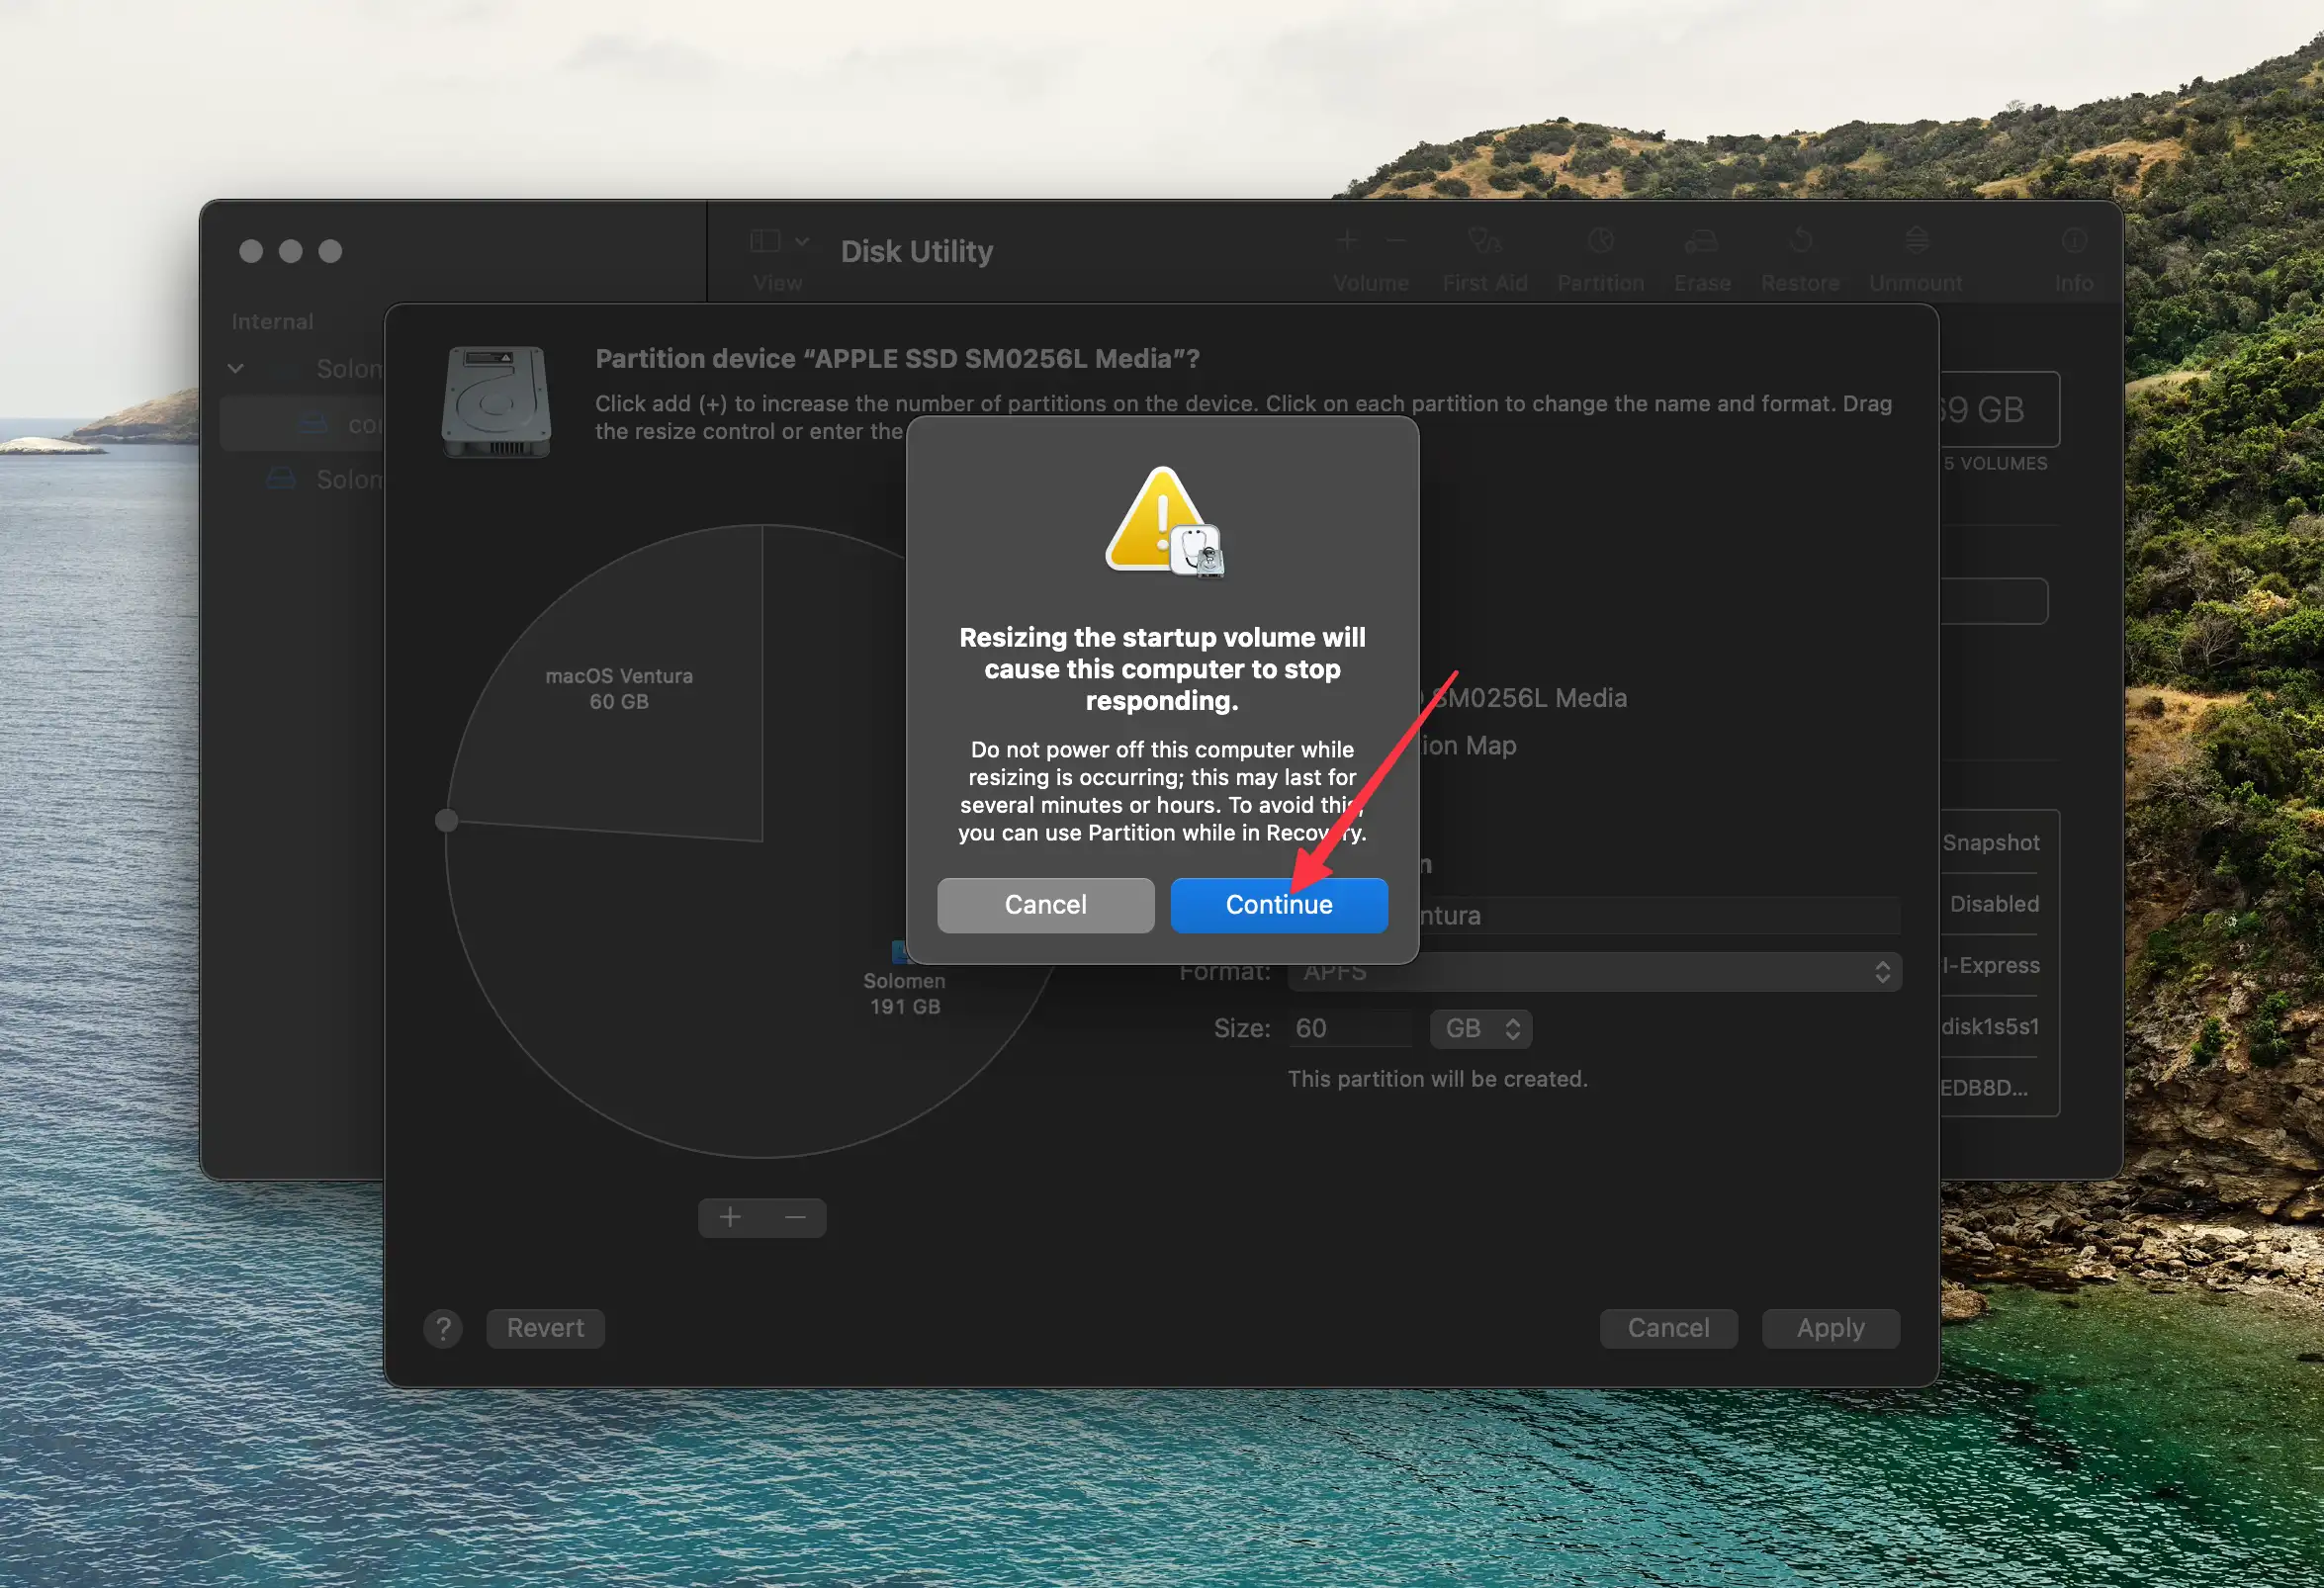
Your Mac will now create the new partition, and a new volume will appear in the left sidebar of Disk Utility.
Note:
If your Mac does not have enough space to create a new partition to install a new macOS, you must first delete some unuseful files or applications from your Mac.
CleanMyMac X is an excellent tool to help you do this. Or use an external drive to store some files you don’t use frequently.
Do the same for other macOS if you want. It could be macOS Ventura, Sonoma, or newer. This guide below is just an example.
Download macOS Beta From Apple
Now, download the macOS 13 Ventura/Sonoma installer from Apple or Others. Follow the steps below to do this:
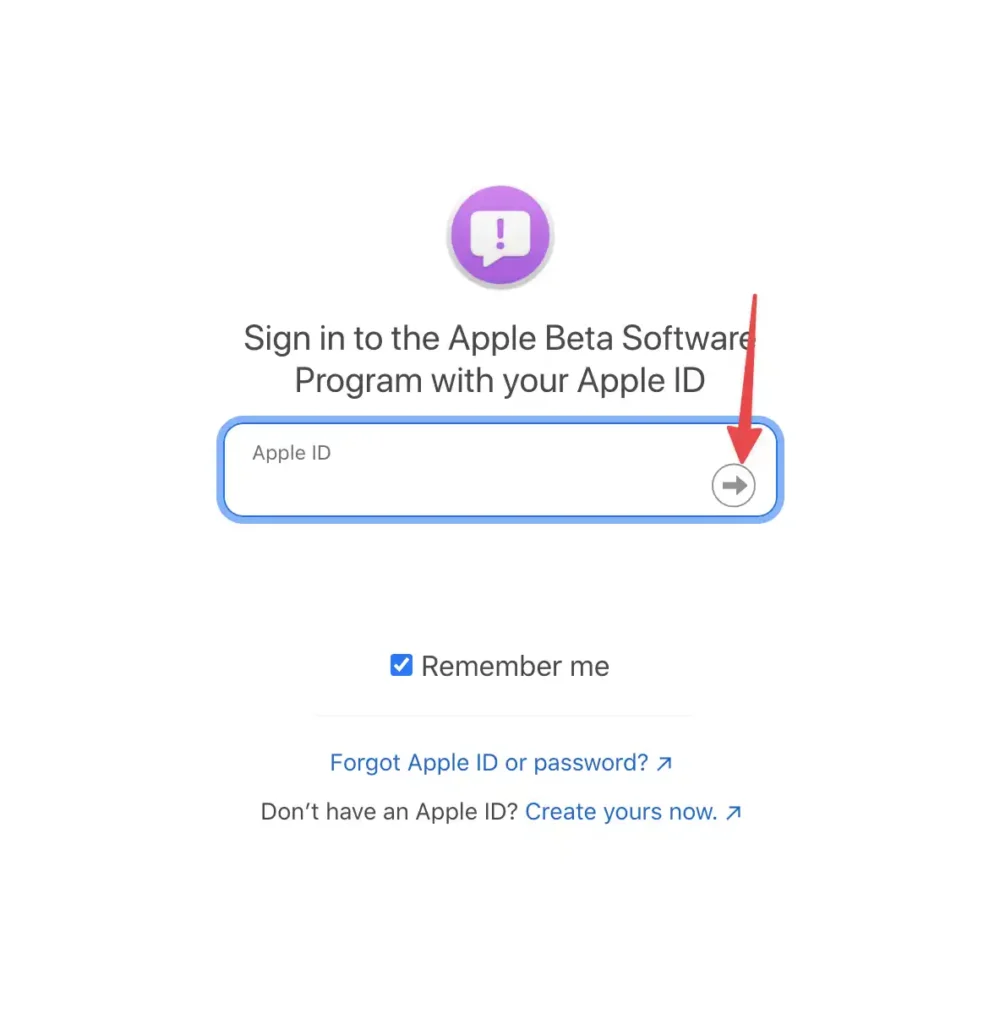
1. Sign in with your Apple ID to the Apple Beta Software Program website.
2. Click “Enroll Your Devices” from the top-right corner of the page.

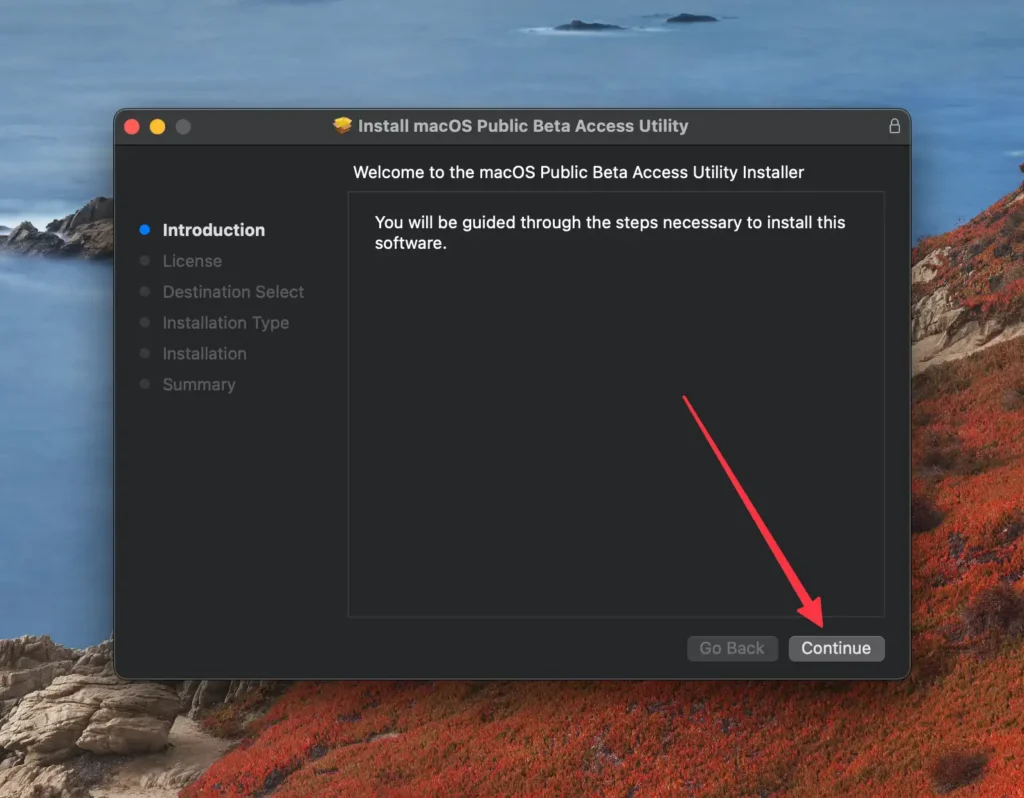
3. Scroll down and click “Download the macOS Public Beta Access Utility” to download the utility.
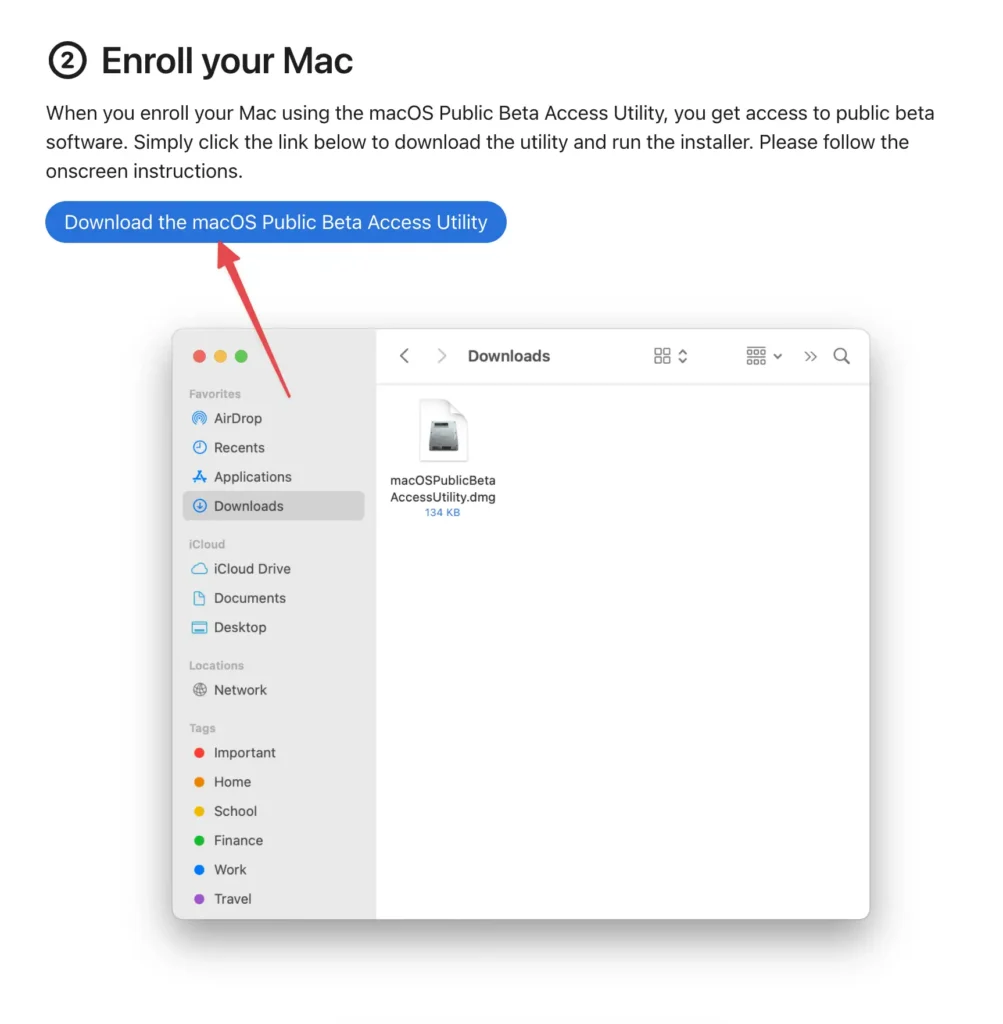
4. Once the utility has been downloaded, double-click on it to launch it. And right-click to open macOSPublicBetaAccessUtility.pkg
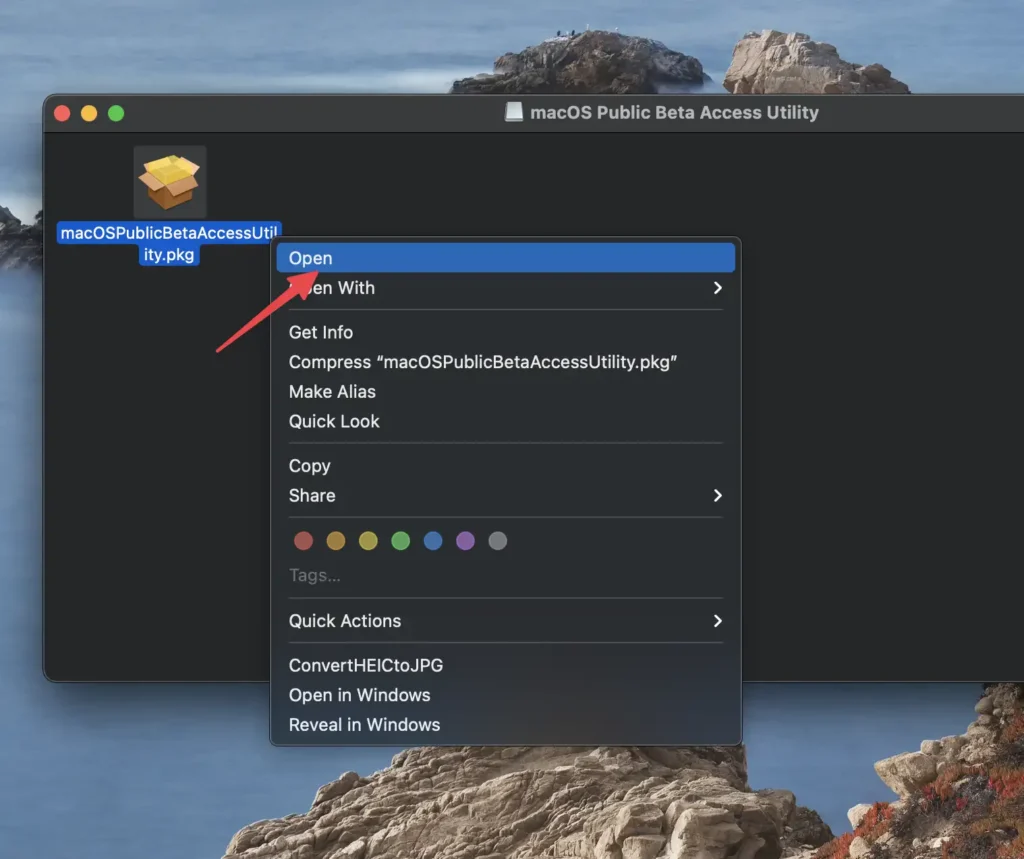
5. Click the “Continue” button and follow the prompts to complete the installation process.
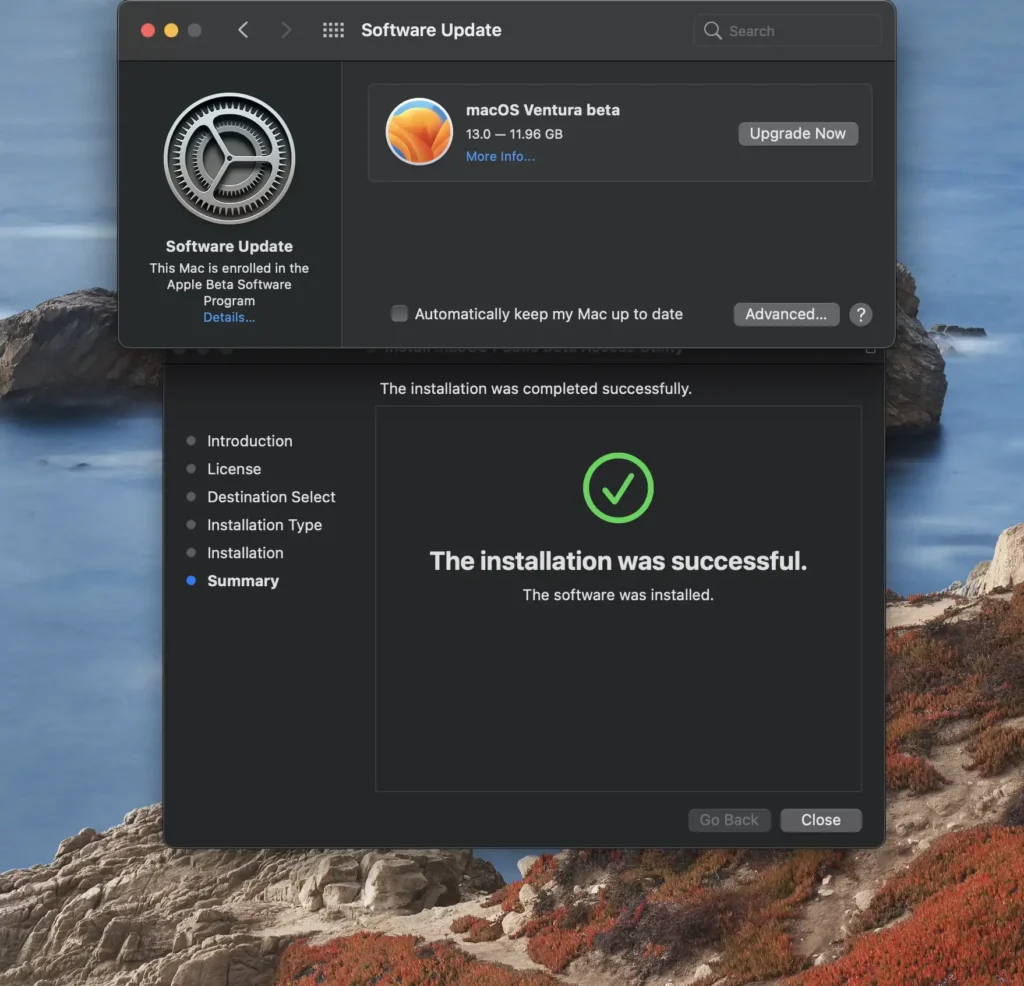
The beta software will now be downloaded to your Mac.
Install macOS on the New Partition
Now that you have downloaded the macOS 13 Ventura developer preview, you can install it on your new partition. Follow these steps:
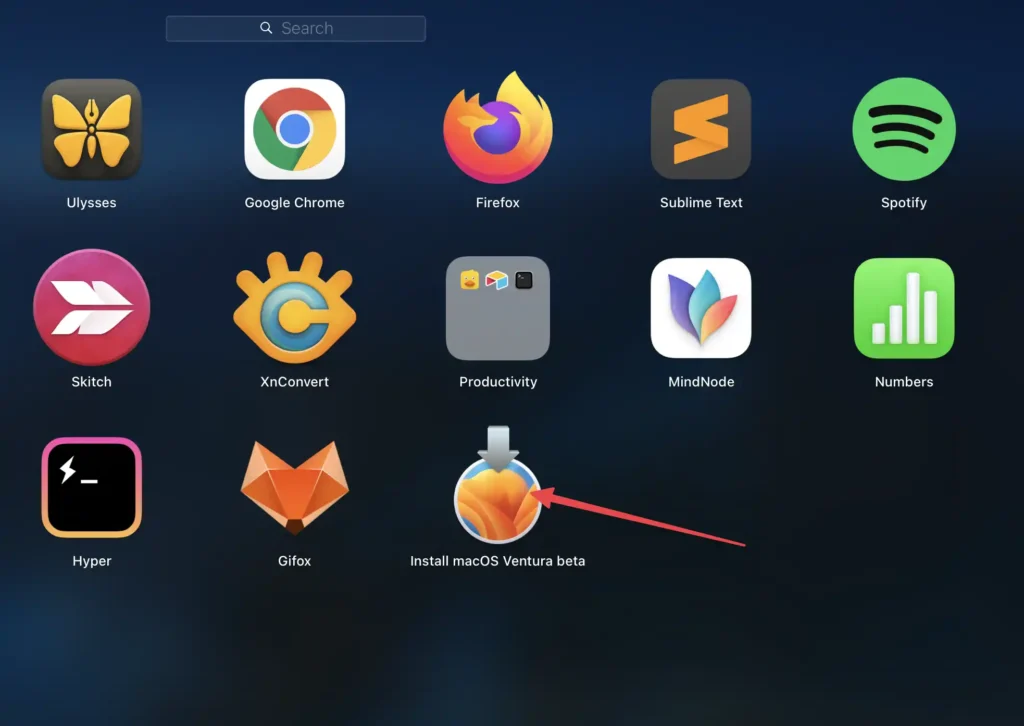
Double-click on the “Install macOS Beta” application downloaded in the previous step. This will launch the macOS Beta installer. Go to LaunchPad and double-click Install macOS Beta, or go to the Application folder and cast it from there.
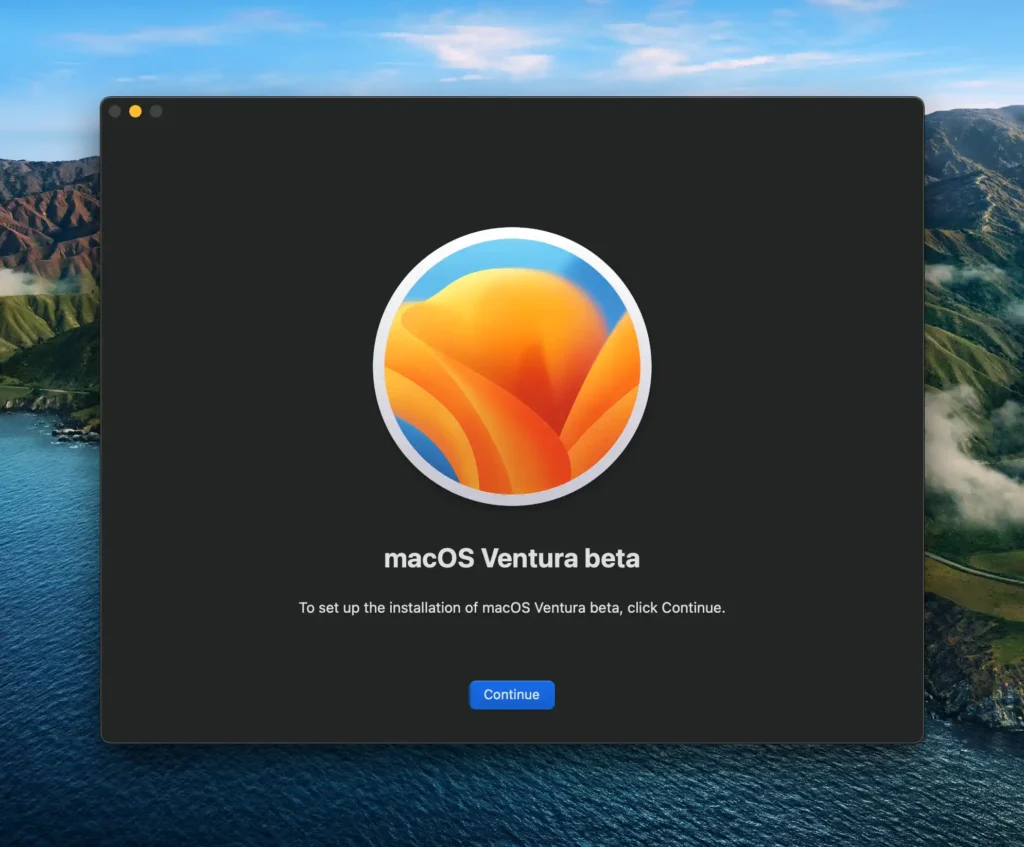
Click on “Continue” to continue with the installation.
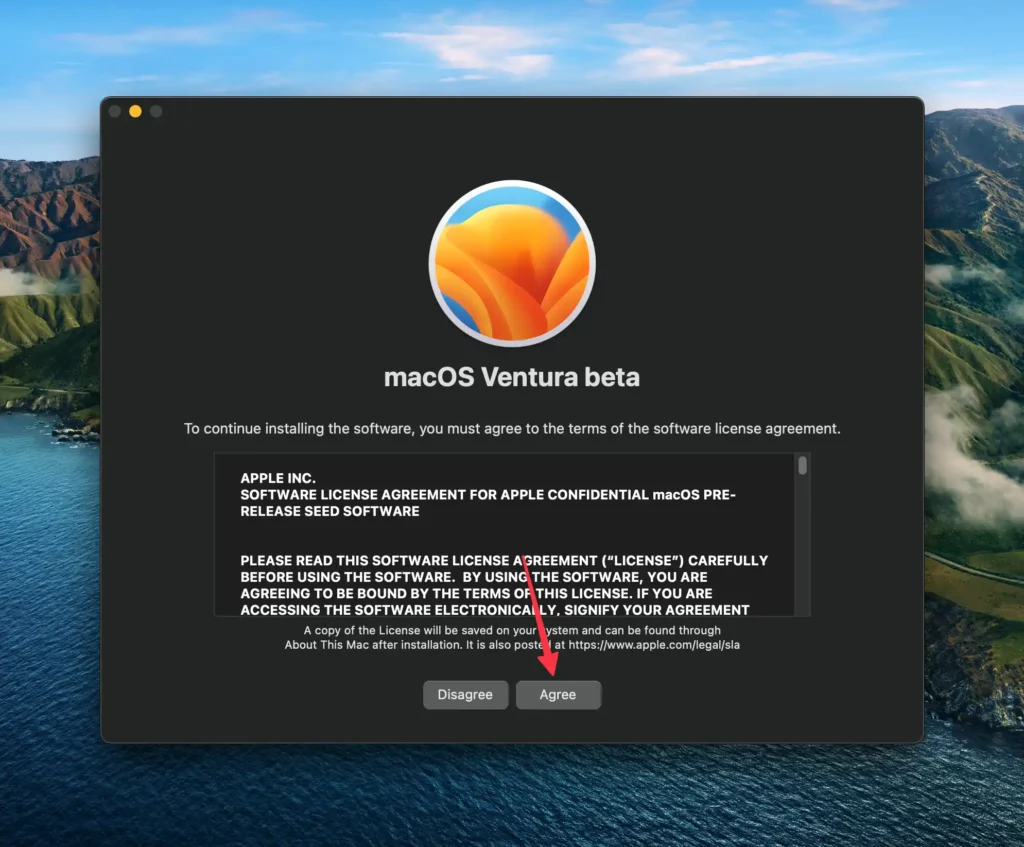
Click on “Agree” to agree to the terms and conditions.
Click Show All Disks…
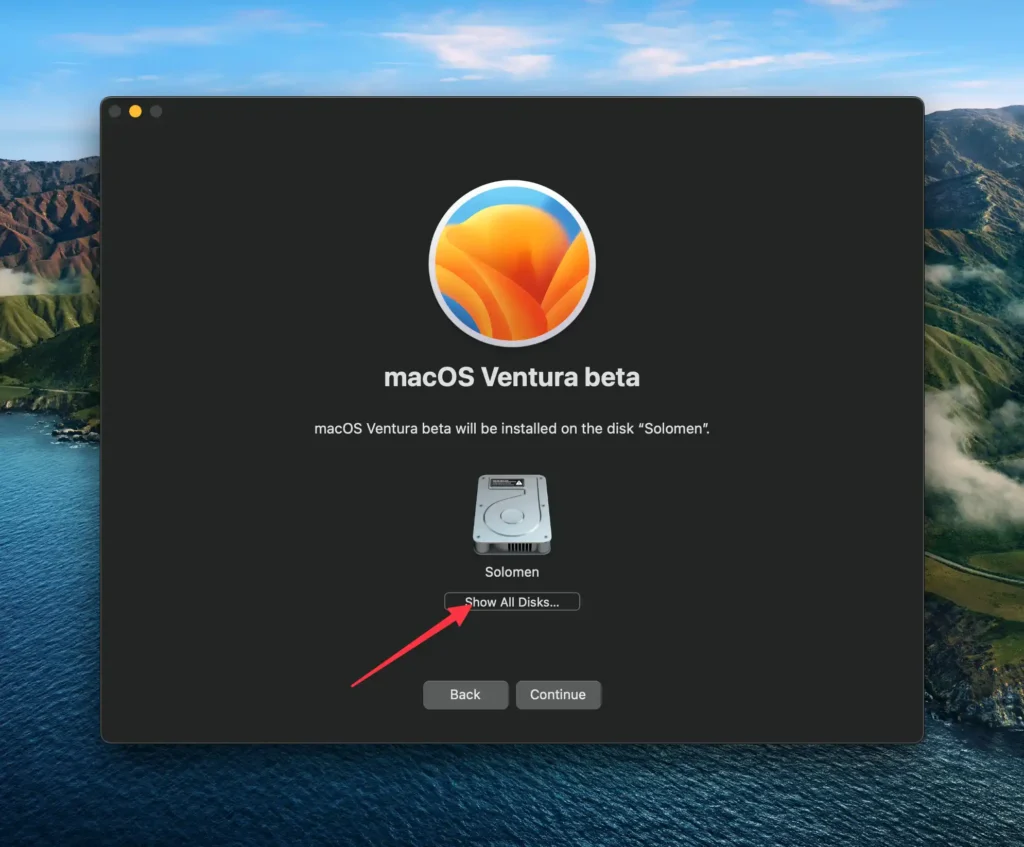
Select the hard drive you want to install macOS on from the list of drives. This should be the new partition that you created in Disk Utility from the step above.
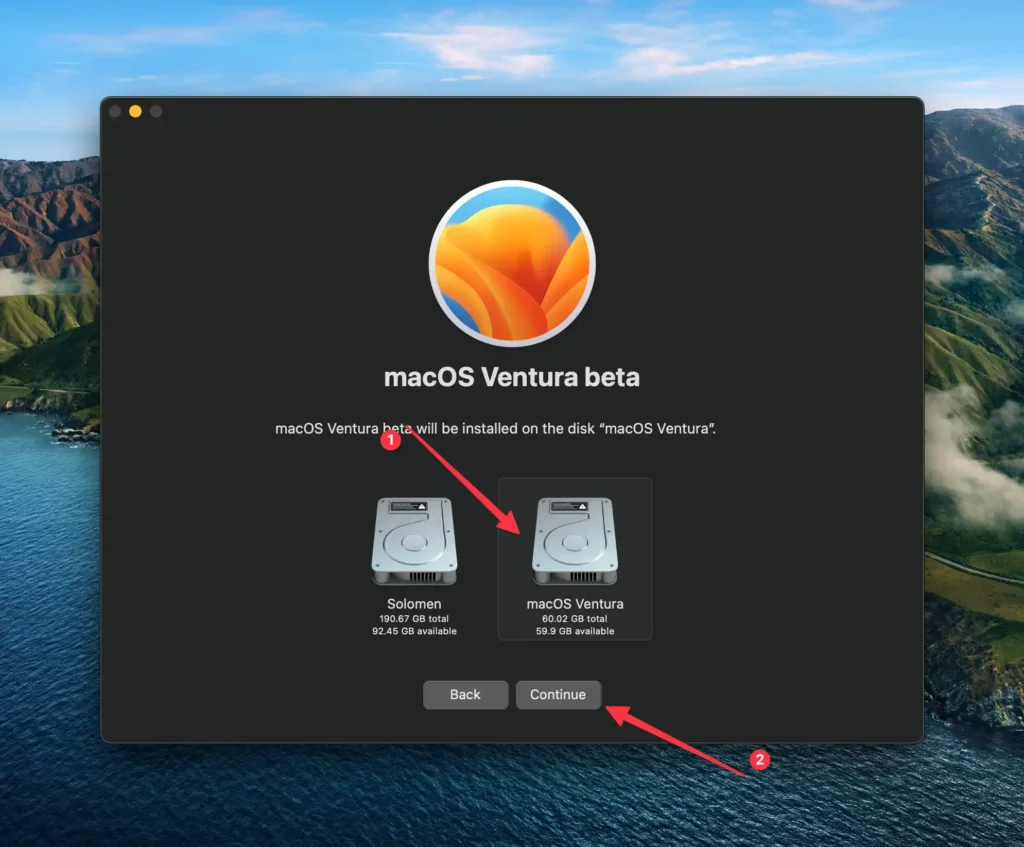
Click on “Continue” to install macOS Ventura on the selected partition.

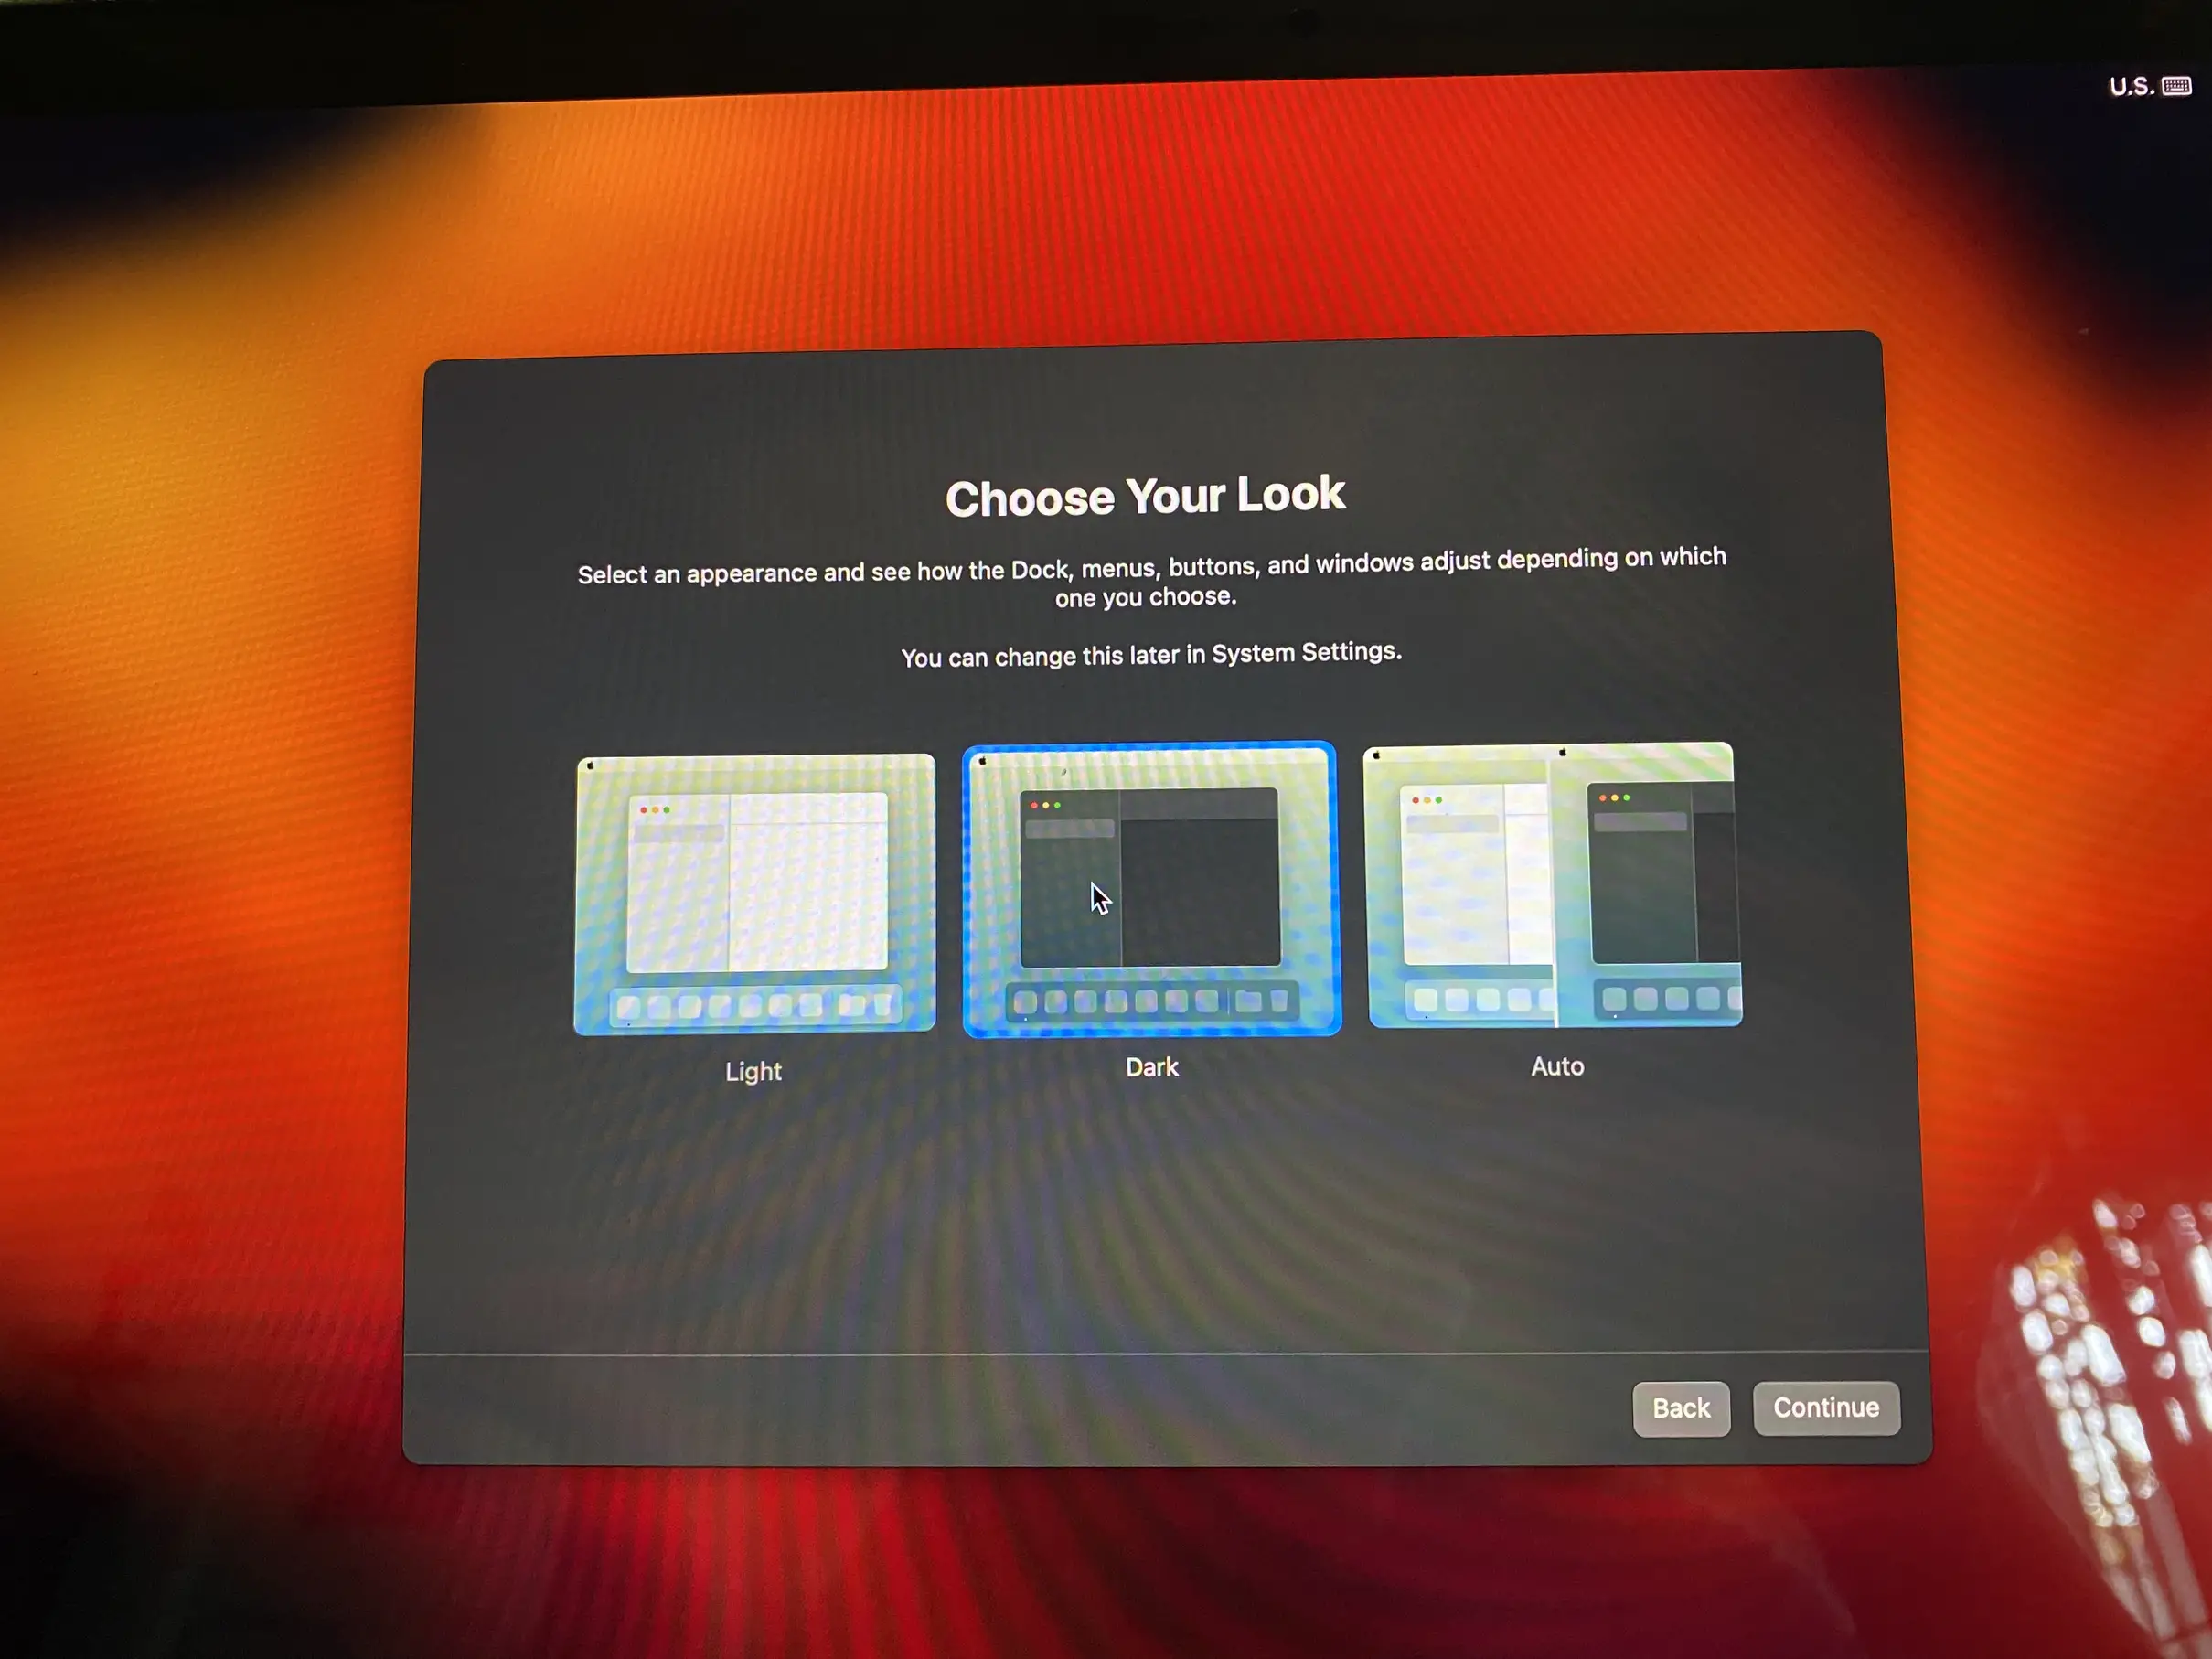
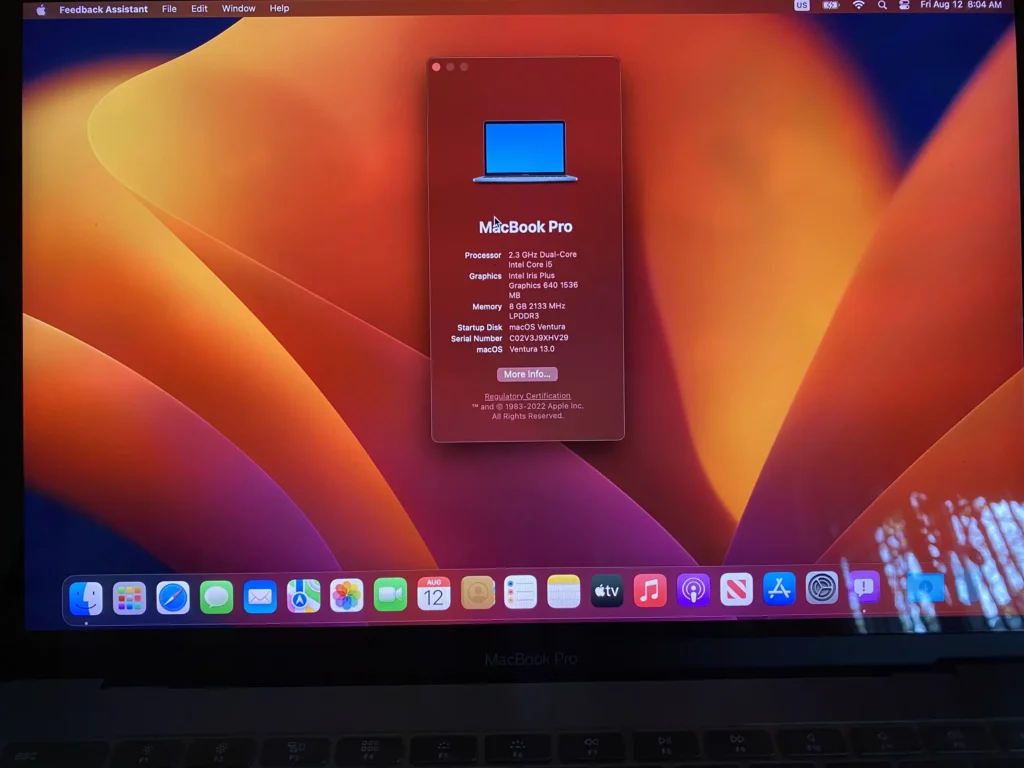
Your Mac will reboot, and follow the on-screen instructions to set up your Mac. You will be ready to use macOS 13 Ventura!
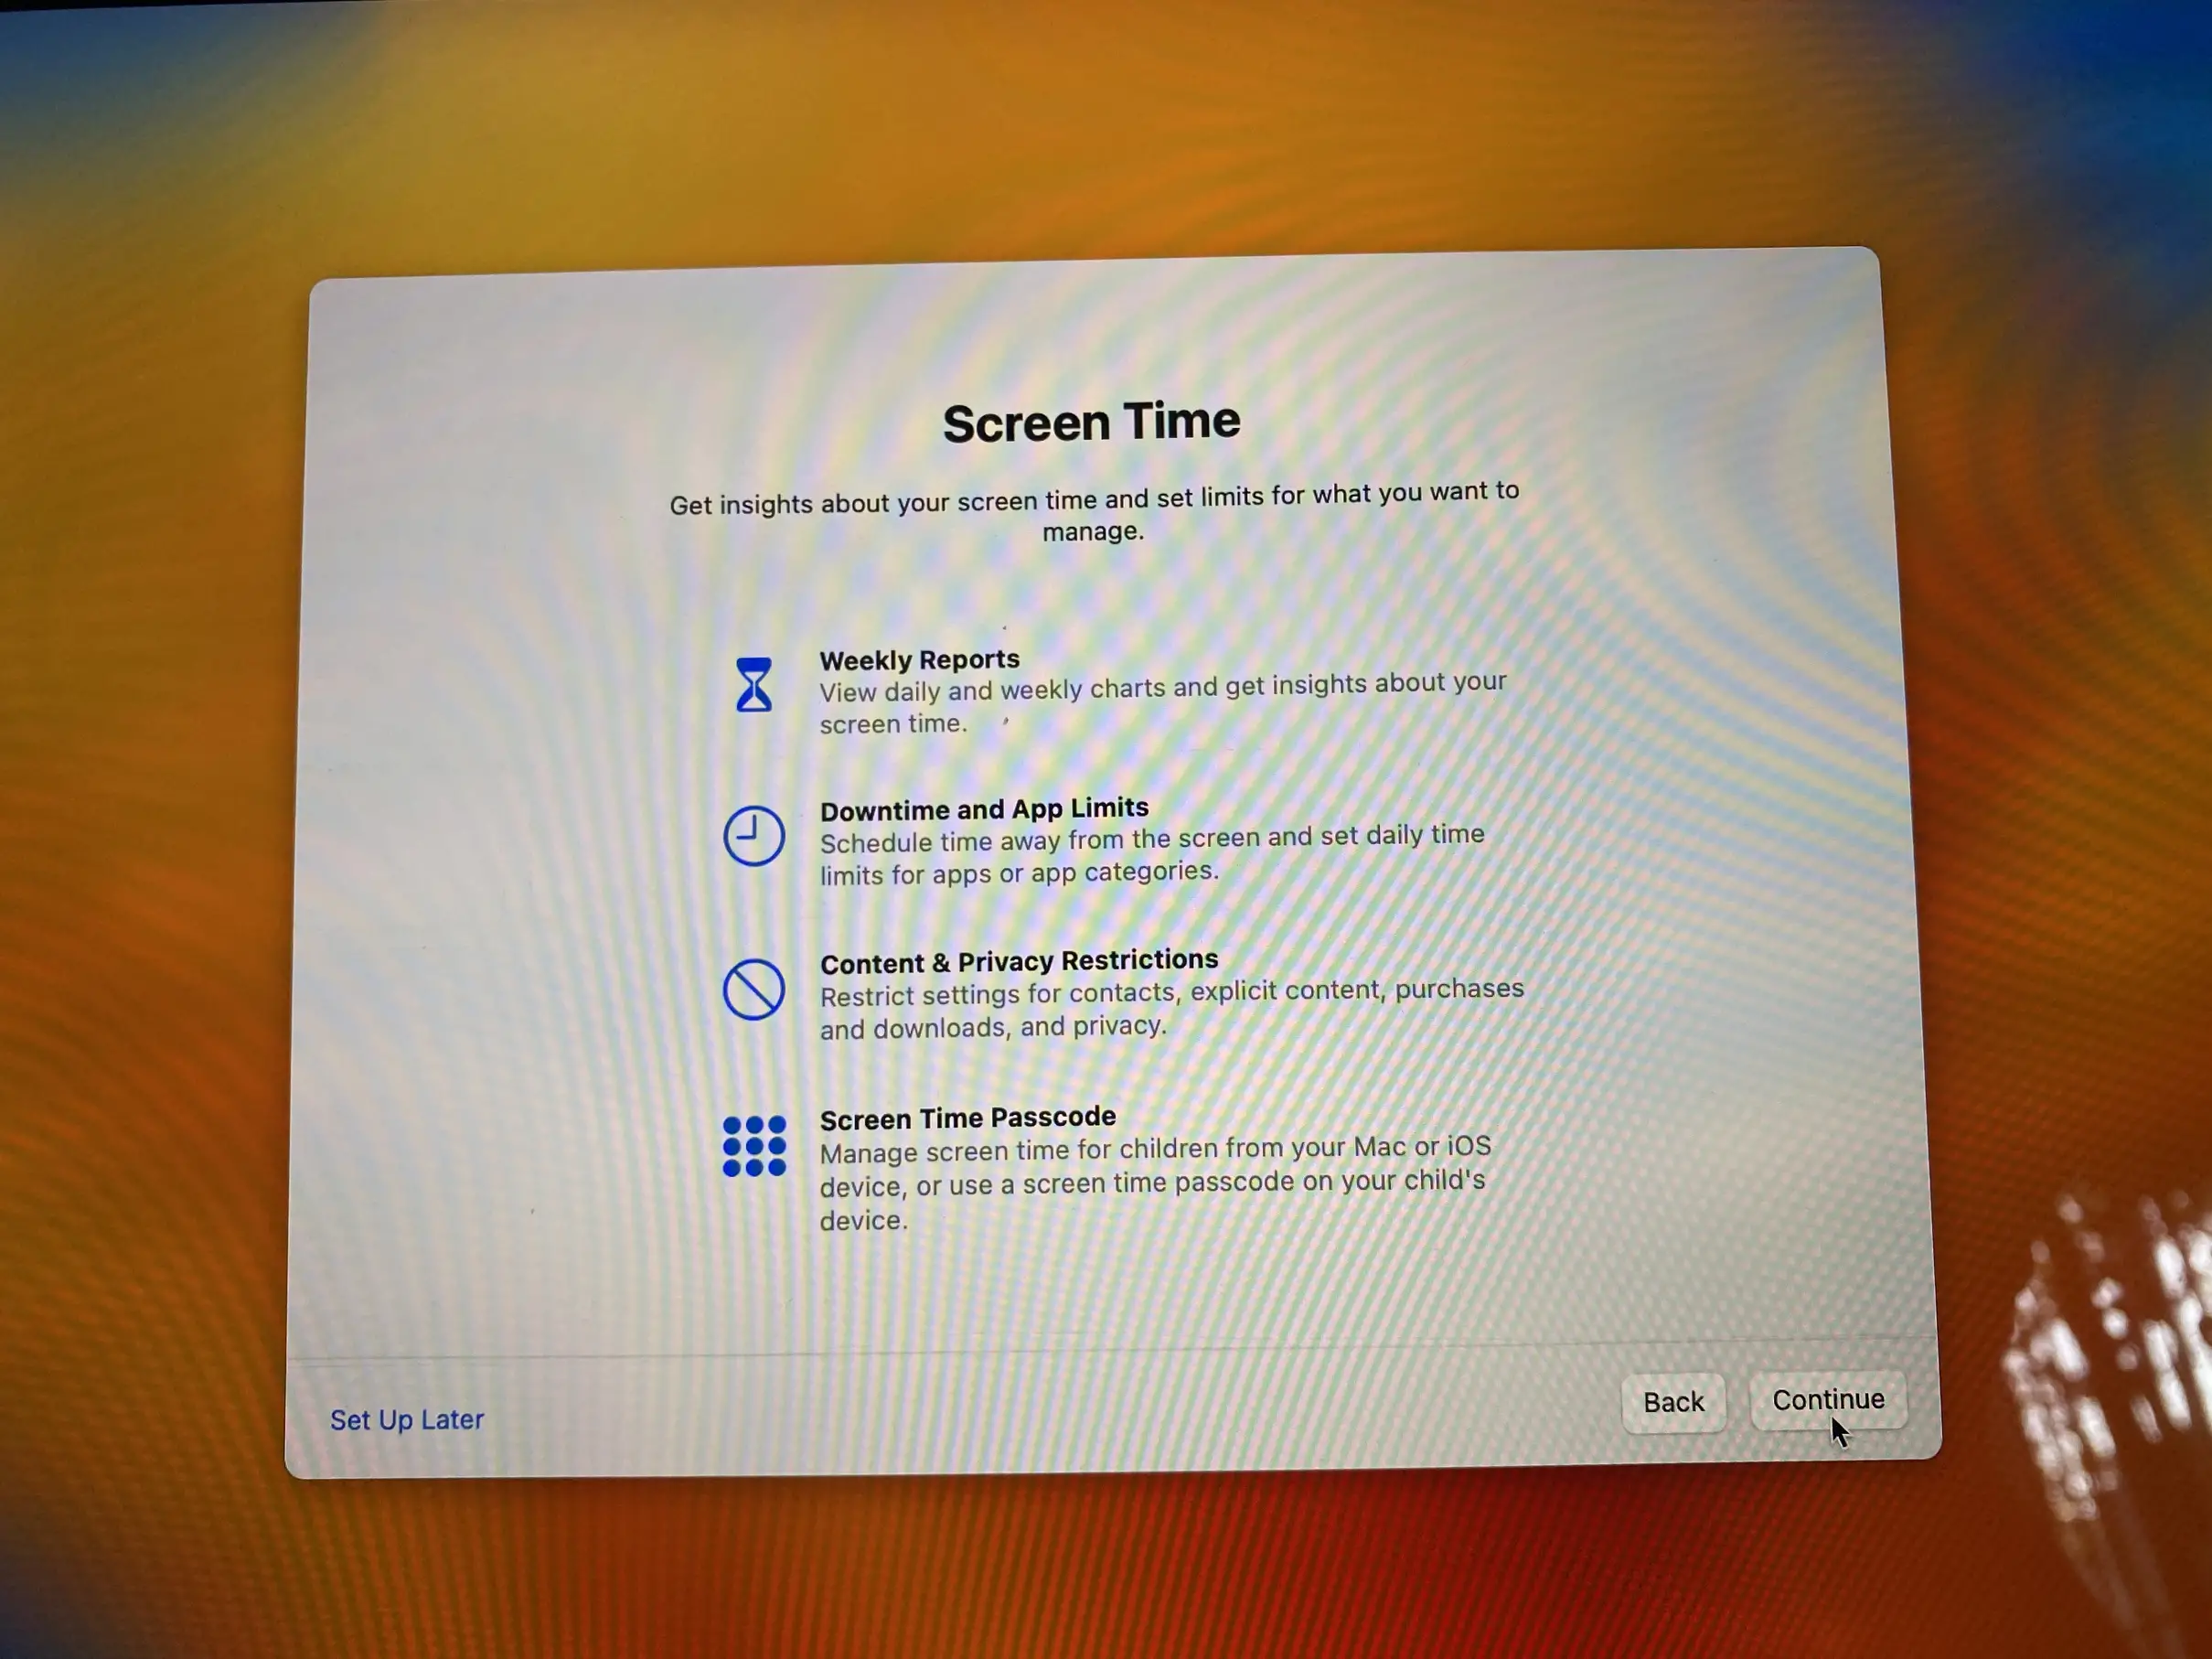
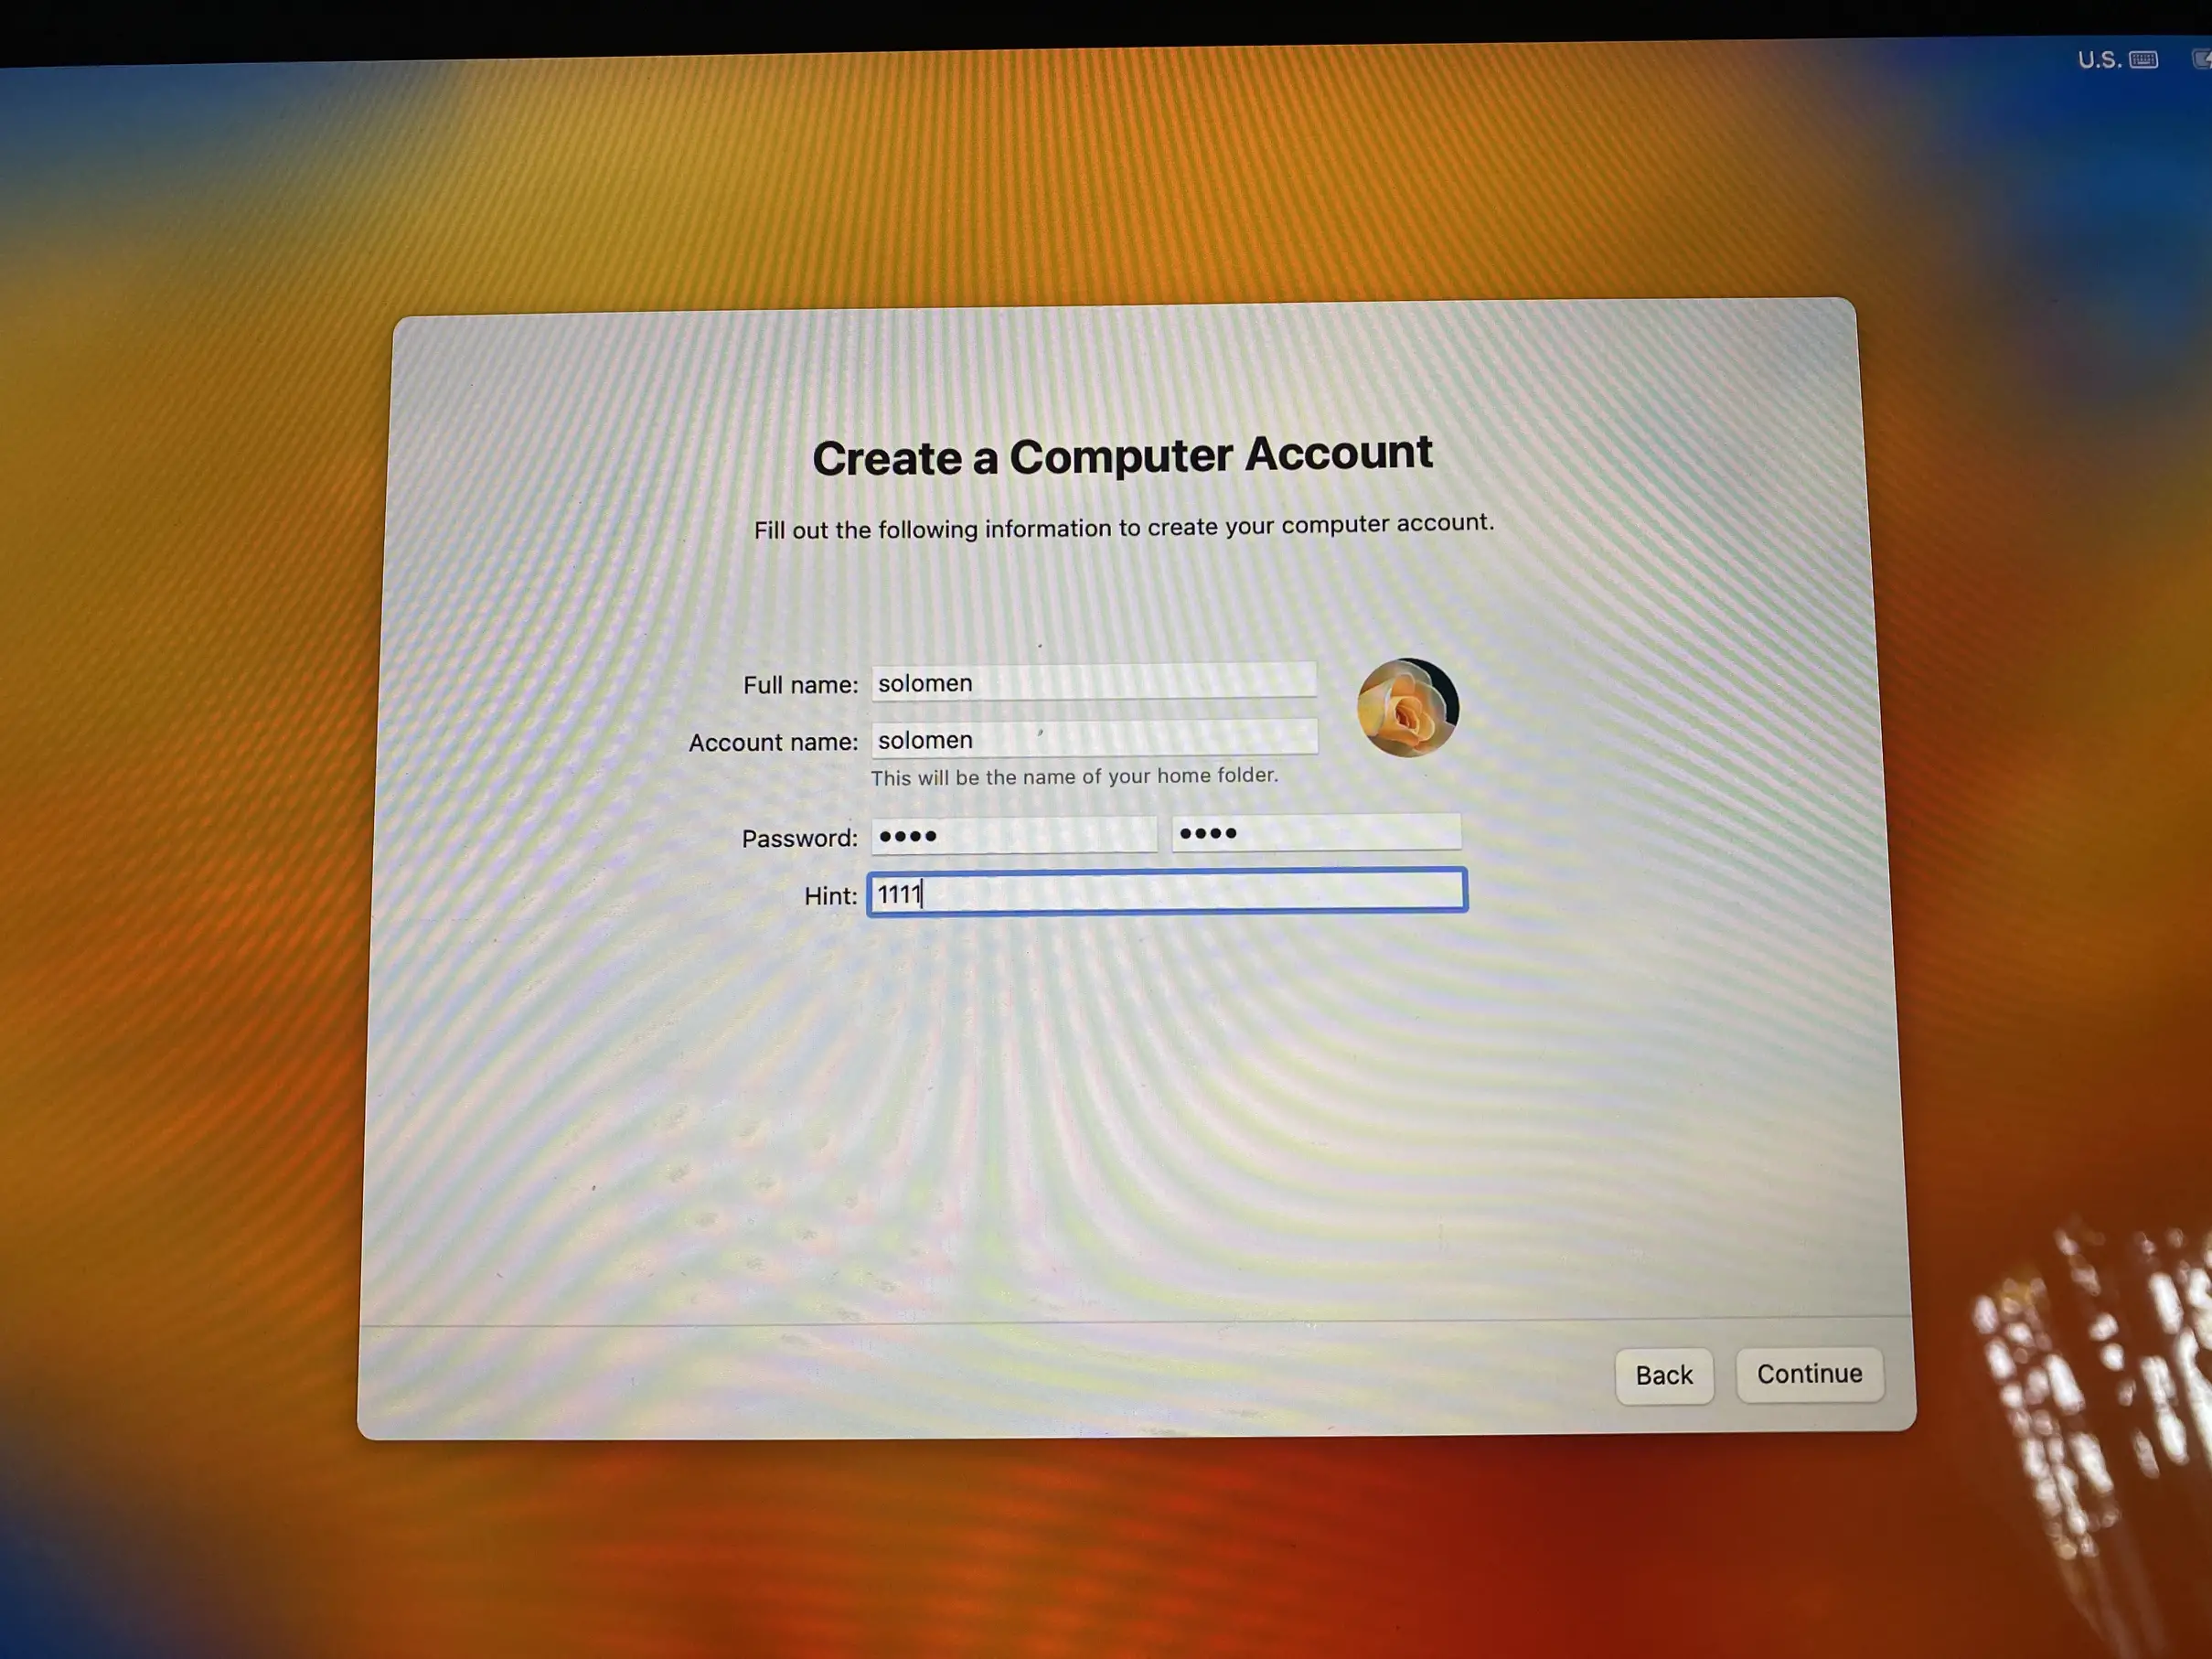
The installation process will now begin and may take some time to complete. Once finished, your Mac will reboot into the new partition with macOS 13 Ventura installed.
How To Switch Back And Forth Between macOS
Now that you have successfully installed macOS 13 Ventura on your Mac switch between it and the stable version of macOS, which is currently macOS Mojave/Big Sur/ Monterey. Follow the steps below to do this:
Mac with an Intell Chip:
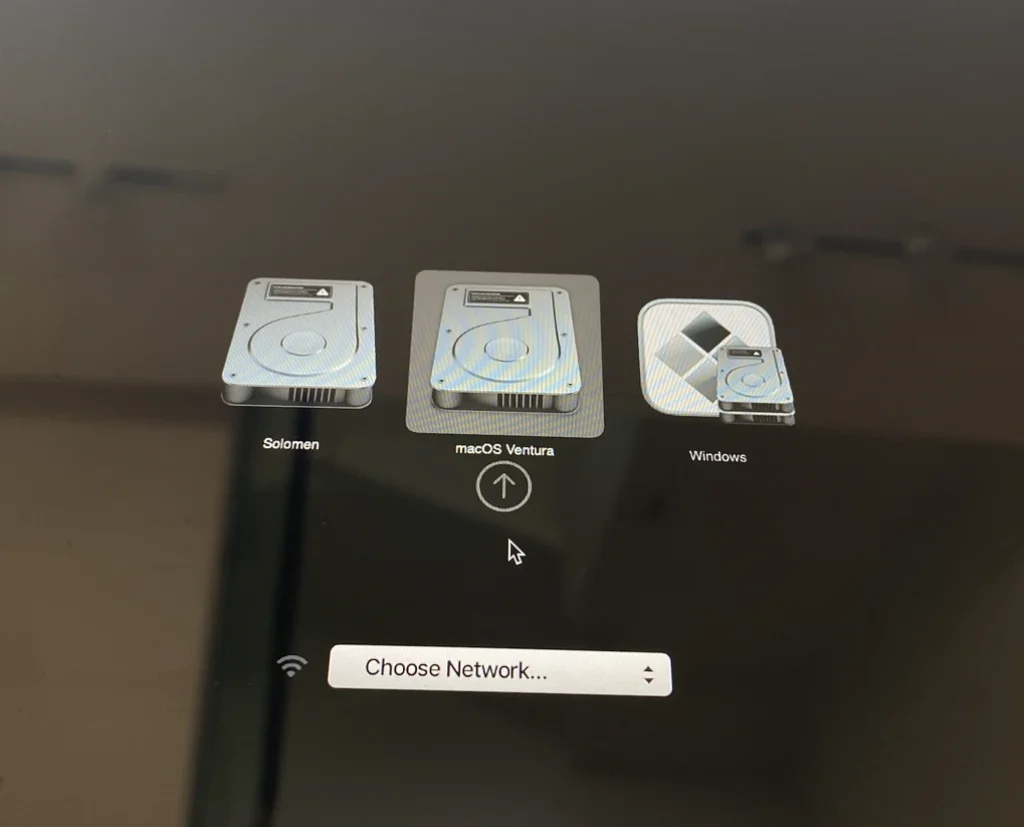
- Reboot your Mac and hold down the Option key while booting up.
- You will see a list of all the available volumes on your Mac. Select the one that you want to boot into and press Enter.
- Your Mac will now boot into the selected volume.
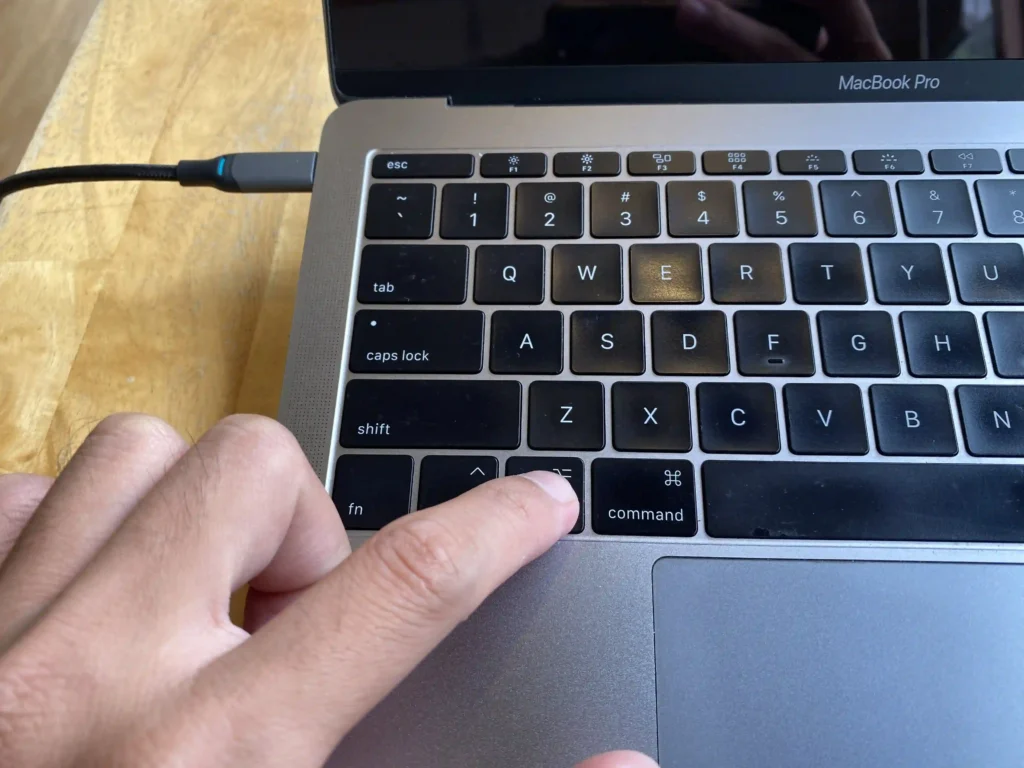
Mac with Apple silicon M-series chips:
- Restart your Mac and immediately press and hold the Power button until you see the startup disk options.
- Select “macOS.” It would help if you booted using the trackpad or arrow keys and hit the Enter/Return key.
Conclusion
That’s all you need to do to install macOS on a separate partition. Once you have installed it, you can use it alongside your current version of macOS and test out all the new features it offers. If you don’t like it, you can permanently delete the partition and return to your previous setup.
Do you have any questions about installing macOS on a separate partition? Let us know in the comments, and we’ll help you out.
Solomen is the founder of MrHow.io, and he is happiest when working with technology and able to help others. In his free time, he often listens to Baroque music, swims or runs. Feel free to contact him on social media!