There can be many different reasons behind recording Windows 10 screen, one of the biggest reasons is that you might want to point out a problem and explain it to your friends. Similarly, it can also be used for teaching purposes, where the PowerPoint presentation is shown on the screen and you can do voice over using a video editing software.
One of the most common uses of recording Windows screen 10 is while playing games on the computer. Normally, there is no specific tool in the Microsoft Windows 10 that will let you do that task, however, with a hidden screen recording tool in Windows 10 will let you do this task.
This hidden tool has been found in the XBOX application on your Windows computer and works with only specific applications. This is basically a game recording tool and you will trick it to think that the specific app that you are using is a game. There are two simple buttons and no special settings to pause and start recording again. Here’s how you can record screen using this built-in tool.
How to Record Windows 10 Screen
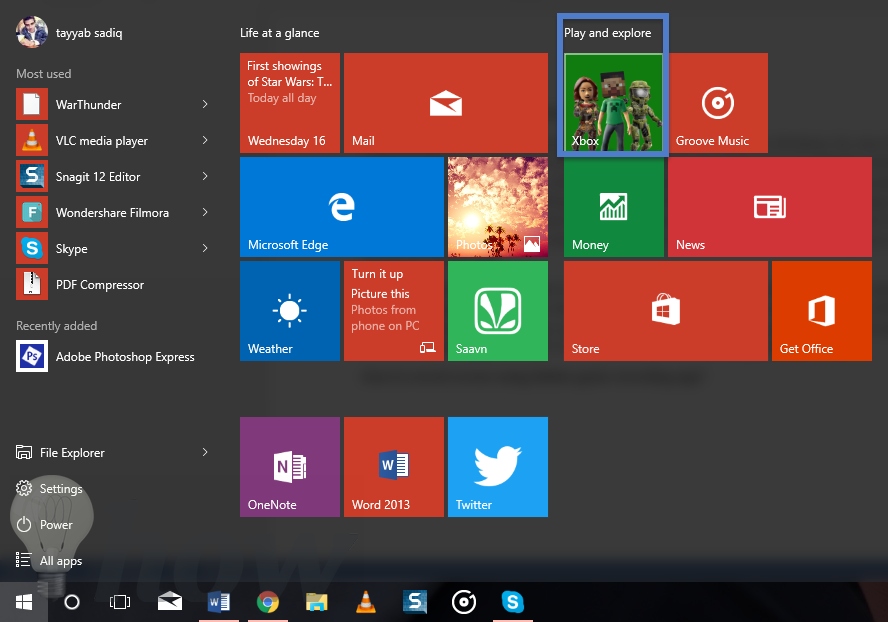
Click on the Start button in the bottom left side of the Windows and select XBOX from the start menu.
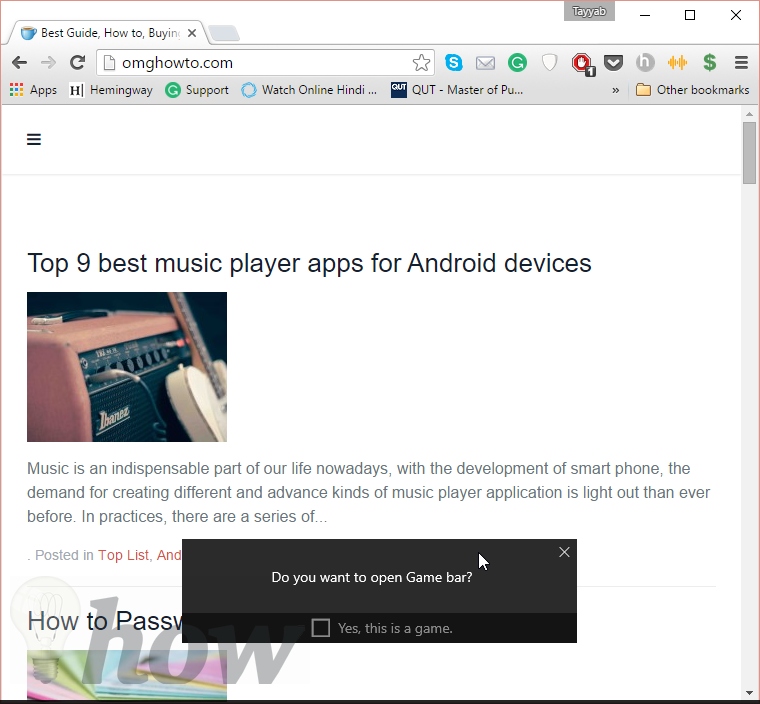
Once the XBOX application is opened, it may take some time to log in your XBOX account, but you don’t need that anyway. Simply minimize this application and open another application for which you want to record the screen. Now, Press Windows + G, and it will show a little bar at the bottom of the page, asking that “Do you want to open Game bar?”
Tick that little box and a new bar will opened in the application that has different controls such as screen recording, screen capturing and record that. You will also have some extra buttons such as XBOX to directly open the XBOX application. Click on Settings and here are the settings for recording. Click on the Record button to begin the recording process.
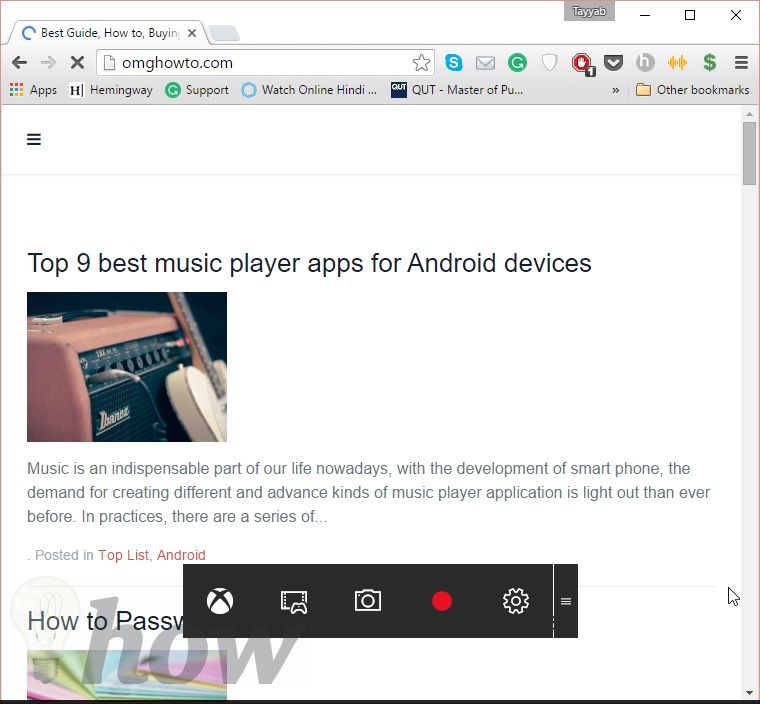
When the process of the recording will start, this little game bar menu will disappear and instead of this bar, a little timer will be shown right below the cross button on windows.
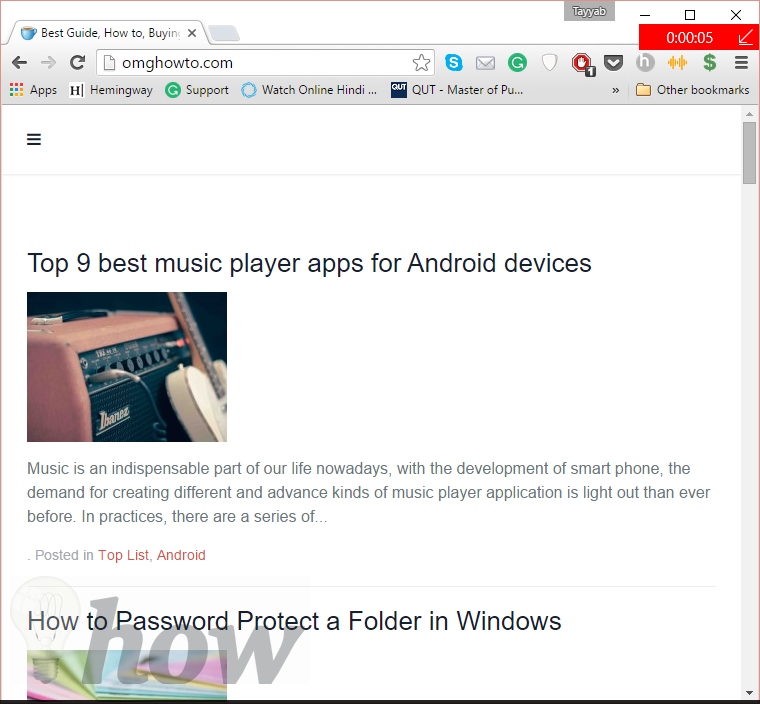
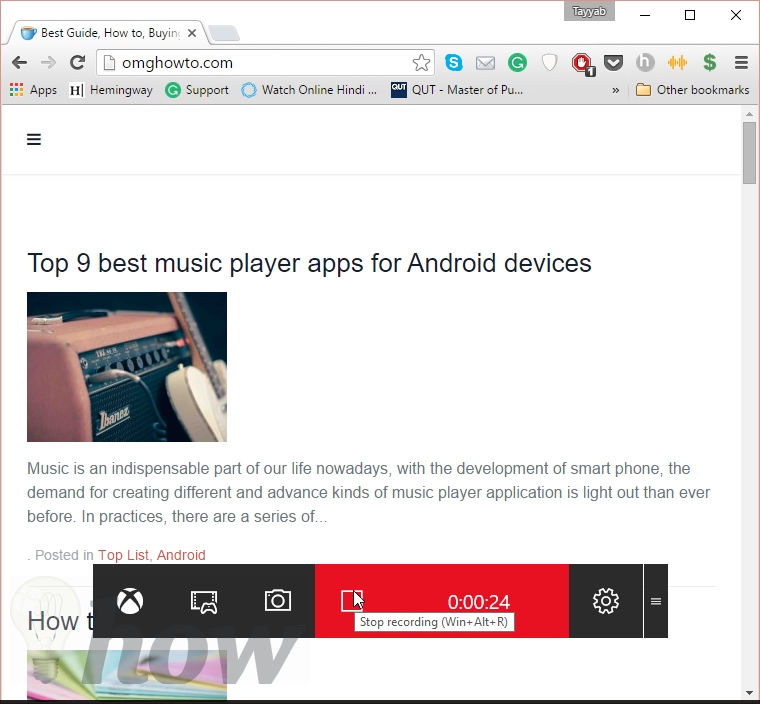
But you can always hit the same shortcut key (Windows + G) to get the game bar back on the screen. Press the Stop button to halt the recording process.
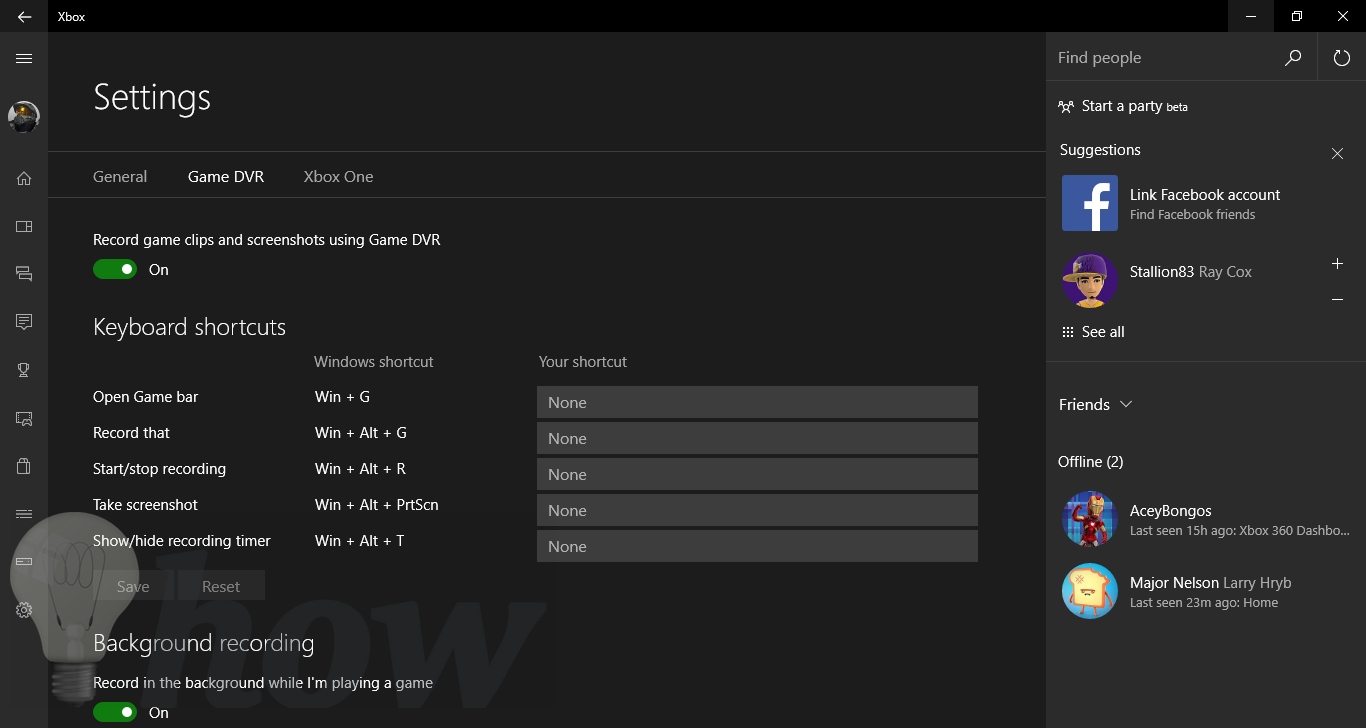
There are different settings in the game bar, however, a detailed version is present in the XBOX settings under Game DVR. You can set your own keyboard shortcuts, set the maximum recording time, when to record options and change the location of recently recorded videos. There is an option that will let you change the quality of the video.
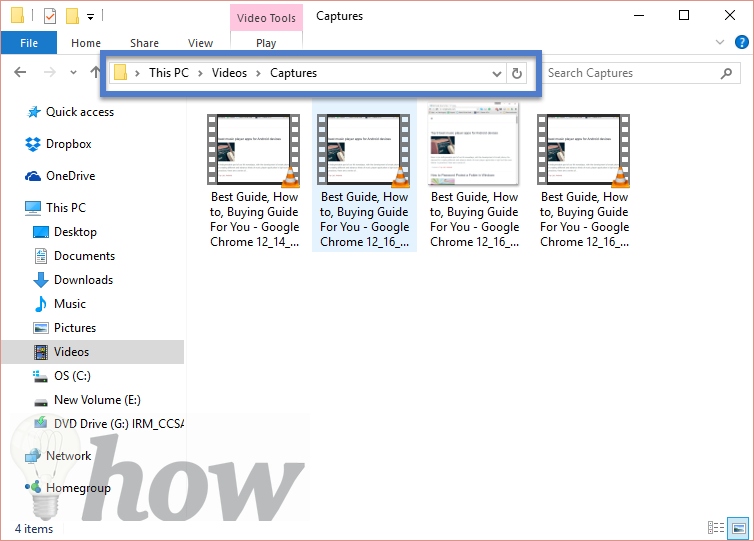
Once you have finished recording, you can find all you recordings in videos on your computer. Open the Explorer and click on Videos and there is a folder called captures which has all the recorded videos.
Things to Remember
- You can’t record the Desktop, Settings, Start Menu or Windows Explorer in the Windows using this screen recording utility.
- To record the Folders or anything on the screen, you will need to install a third-party video recording software for windows such as SnagIt, Camtasia. These tools come at a price but will give you tons of different modes and options while recording videos.
Joyoshare VidiKit
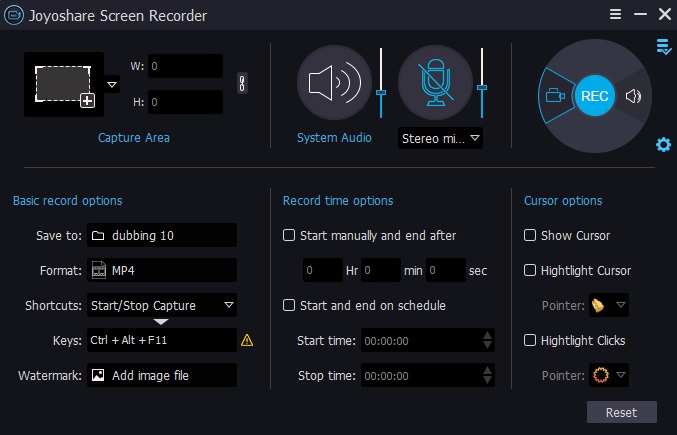
Joyoshare VidiKit is one of the best screen recorders for low-end PC, and a leading game recording software. It records gameplay, including audio from system audio and microphone sound.
It is a great screen recording software that doesn’t require a lot of processing. Joyoshare VidiKit provides a simple used interface and you can use it easily even you are newbie. Also, there are plenty of tutorial video on YouTube to help you better use it.
Besides, Joyoshare VidiKit’s lightweight design make it an excellent tool for recording HD gameplay with no lag. Not only screen recorder, Joyoshare VidiKit also can help you compress video, convert video, edit video, repair video and more, it is really a good video toolkit.
Tech Savvy, Avid Reader, Phamacist by Profession and a Passionate Writer who loves to help people by his writing guides and tutorials. Need help on Computer or Smartphone, Shoot a question on twitter: @tayyabsa and don't forget to follow me!